Frugal Photo Friday: Home and Decor
Each Friday for the month of October Money Saving Mom and Simply Rebekah are sharing frugal tips. I am joining in and sharing some of mine. This weeks subject was Home and Decor. For my decor idea I used some boxes to convert into cute organizing boxes for my sons bookshelf.
I needed to organize my sons busy bags. We had made so many they were overflowing out of the baskets I had originally bought to hold them all. The baskets go great with the decor in the room but were just too small.
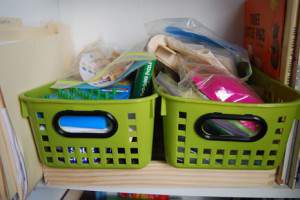
I got a great idea when I found I had two boxes from the ziploc bags I purchased, so I thought why not use them. First I tried them out on the shelf to make sure they would fit and sure enough they did. At first I was going to use a paper bag turned inside out to cover the boxes but the bag just wasn’t big enough.
So off to the Dollar Tree I went in search of some paper to cover the boxes. I was able to locate a very cute green, blue and white poka dot wrapping paper to use. Since my son’s room is green with a recycled blue jeans quilt the paper was a great match and only a dollar.
I wanted to make sure my son could get any items out of the box easily so I first taped the top flaps down into the box. I guess you could cut them off but I thought having the extra thickness at the top might make them a little more sturdy.
Then I wrapped the box and I also glued the seam on the side to make sure no little fingers would catch the paper and tear it. The boxes turn out really well and there is even enough room in the boxes to fit all the busy bags and even enough room to add a few more items if needed.
Now for my Home idea,
My husband and myself knew we needed to re-seal our deck. Our deack had needed to be sealed the year before but we just didn’t get to it. So this year, we just went and bought the supplies. So when the weather was right we could tackle this job. I really wasn’t looking forward to doing this job.
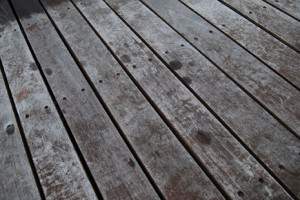
Here is what we started with, a very ugly looking deck. It just looked horrible and this is what everyone saw when walking up to our home.
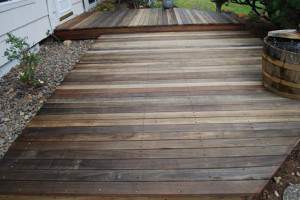
After 4 hours of scrubbing and cleaning we had this better looking deck but with all the rain we get we knew it wouldn’t stay looking nice if we didn’t try to seal it. Even though in the past, because of the type of wood it is, the sealer never seemed to last.
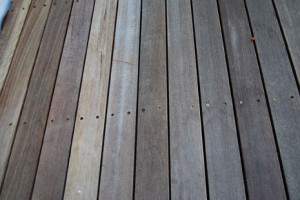
To put the sealer on my husband worked on one side and myself on the other side of the deck and about an hour later this is what we had for a deck. Such a big improvement and the cost was only $62 and the time spent.
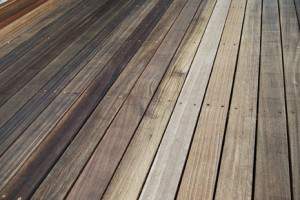
If you would like to see my post on the deck cleaning and sealing it is here.
How do you save money while doing home decor or improvement around the house?
[signoff]
Want to see more ideas? Go to Simply Rebekah or Money Saving Mom





Oh my word! What an amazing difference in your deck! Very impressive. Thanks for sharing!
We were really happy with how it turned out too. Now fingers crossed it will last through our rainy winter.