Raised Bed Rehab
I know this time of year isn’t really the best time to redo our raised beds but that’s just how it worked out for us. About 6 years ago, the boards that hold up the soil in our raised beds looked really bad. We had to replace them. Because my husband has an allergy to cedar we opted to go with regular untreated wood. It was less expensive and easier for my husband to work with.
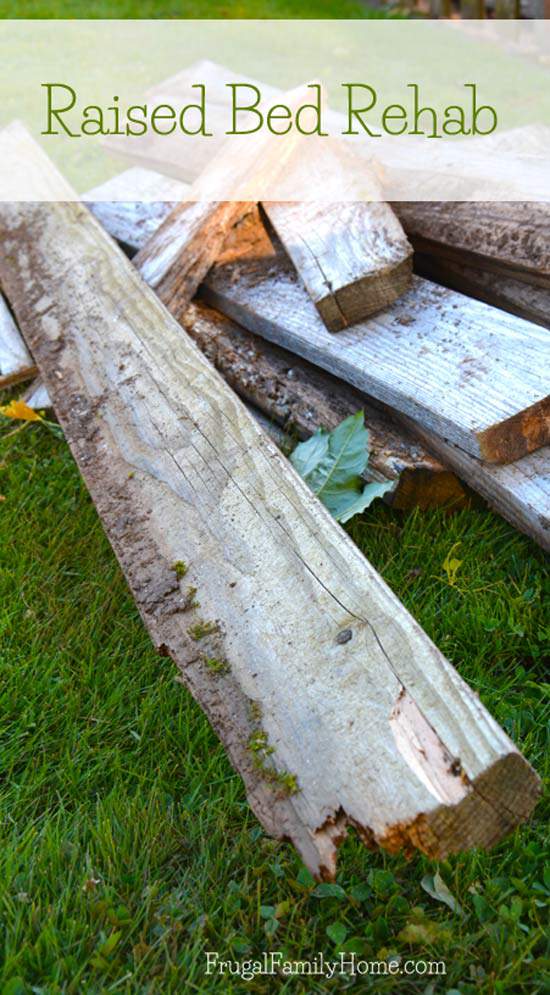
Now six years later, we need to replace the board again. Our neighbor, being the great guy he is, told us about a cedar wood supplier that had some nice wide cedar boards to use for our garden. He even offered to pick them up for us the next time he was near the lumber yard. I told you we have great neighbors.
Our new cedar boards have been sitting on our deck for a couple of weeks now. My husband had discussed just making the raised beds a little wider and leaving the old boards in place, building the new boxes and then replacing the current boards. Since the garden is partly planted already. Again, not the best planning.
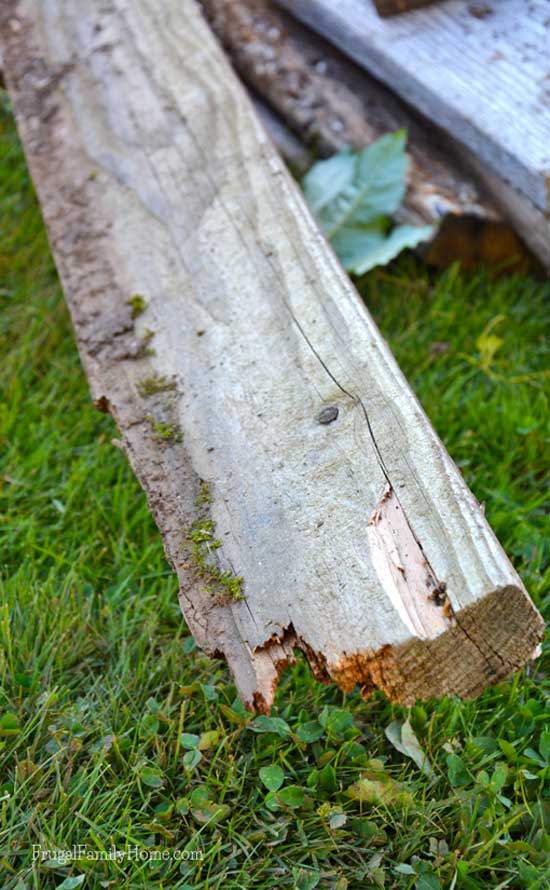
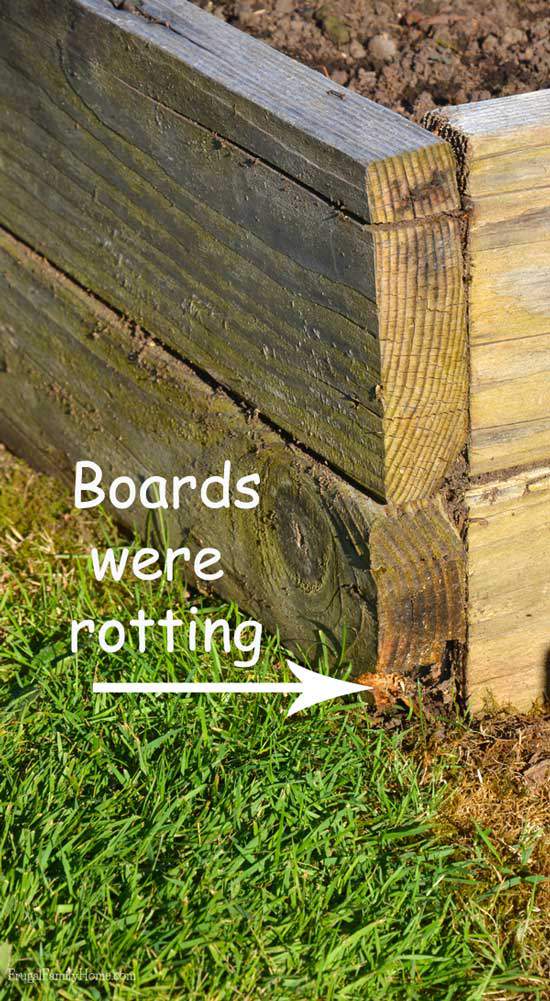
Over Memorial Day weekend, we decided to take on the first box. My husband had some work at the airport to do, while he was gone I started to take apart the first box. They were really bad, very broken down. So badly broken down, I couldn’t get the huge screws that held the top and bottom boards together out.
With a little work, most of them came out. The ones I couldn’t get out, my husband was able to remove when he came home. You would think since the boards were so badly rotted the screws would be easier to get out.
My husband wanted the raised beds to be level. The last time we installed the boxes, I thought we leveled them but they definitely weren’t level six years later. Maybe it was all the decay that threw them off. But this time we were definitely going to get them level.
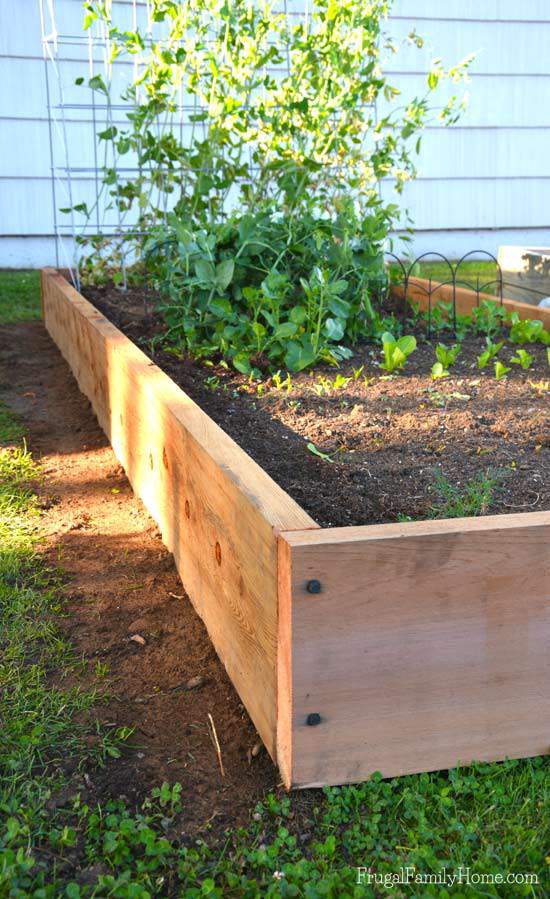
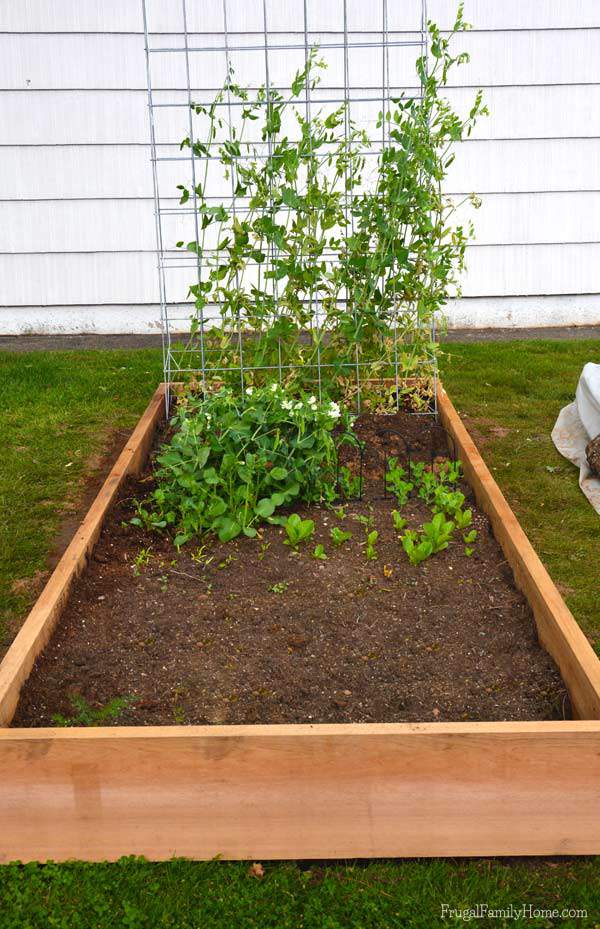
After the boards were cut and level we assembled them with the reclaimed super long screws. These little babies are really spendy. I think we paid $50 for them six years ago. We reused them since they were still in such good shape. Finally about 9:30 at night the first box was replaced. Isn’t it a beauty? So far we haven’t lost one plant either. Woo hoo!
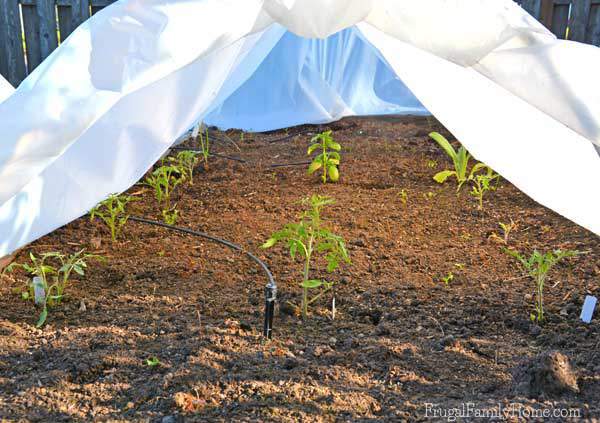
Here’s a few photos of how the garden is growing this week. I had to cover two of the raised beds. The ones we haven’t tackled yet, to keep the plants happy. Our tomatoes are growing well under the cover.
I even found a strawberry starting to turn red. I hope we will be eating strawberries out of the garden soon.

I’m hoping for better weather when we tackle the other two raised garden beds, so I can get some better photos of the process to share. Just in case you need to tackle rotting raised bed boxes.
[signoff]
Looking for more gardening ideas? Head on over to the gardening page for more gardening ideas and inspiration.
Get the Companion Plants List
When you join the gardening email list, you'll not only get gardening tips sent to your inbox, you'll also get the companion plants list too.

Shelly your garden looks great! I added onto my raised beds this year. I had 4 e. 4×4 and 1 2×4, now I have 2 ea. 4×4, 2 ea. 8×8 and 2×8. I also added a 3×6 along the fence where my gate opens up. This year I planted my tomatoes early and around each support I wrapped some plastic around it and clipped clothes pins to it to hold them on. I left them like this until the weather warmed up enough, now the 4 plants I did this with are growing like crazy! I’ll do this again next year but with all my tomato plants. My 2×8 bed is for strawberries and this year there is a quail nesting in it. I’m hoping I can beat her to the berries as they ripen, but she does have the front row seat for that show. This year I also planted 4 fruit trees, an apple, peach, apricot and nectarine. I’m going to do the Backyard Orchard Culture method from Dave Wilson Nursery website. I look forward to seeing how your garden grows throughout the season!
Sakura, sounds like you have really expanded your garden this year. Way to go!
I removed my tomato covers because the weather was getting warmer, but now it cooler again. I may need to wrap the cages too. They do so much better when they are wrapped. I was just *hoping* not to have wrap them this year.
We are battling slugs for our strawberries. They are almost ready to pick. I’m hoping to have some pictures next week of luscious berries. But the slugs have beaten me to the ones that have ripened so far. I think the quail nesting in your strawberries knew of the bounty that would be ahead. Easy grocery shopping for her. 🙂
Fruit trees are on my list but not this year. We have a bunch of juniper to remove before we can get the space to plant the trees. I’m going to look into the Backyard Orchard method you mentioned. We are hoping to have three trees, peach, plum and dwarf cherry. Maybe next year will be our year for fruit trees.
Wow, Shelly! You guys did an amazing job. I’m definitely going to pin this post, because when we do garden again, we want to have a raised bed garden. Thank you!
Thanks Sandra.Raised bed gardening is the way to go, especially if you have awful soil like our clay soil.
I hope the other two raised beds go good too. I have all my plants planted and one of the boards is starting to fall off. 🙁 So it is in desperate need of replacement. Hopefully this weekend we can tackle that bed.
Thanks for pinning it.
Your beds look fabulous, Shell!
Sonny-boy rebuilt 20+ garden beds in a community garden for his Eagle Scout project years ago. He had a lot of helping hands, and it was still a LOT of work! I don’t envy you your rebuild, although the results are wonderful.
That’s a lot of garden beds to rebuild. I’m glad we only have two more to go. I’m really happy with how great the first one turned out. Hopefully we will be able to rebuild another one this weekend.