Easy to Make Tin Can Lanterns
With summer coming to a close soon, night is coming just a little earlier each day. I thought it might be fun to make these cute tin can lanterns to light up the deck or patio in the evening. Or even bring them inside on a mantel and enjoy them even longer into the fall.
This craft was a little bit of trial and error for us. We thought we had the holes big enough in the tin cans, but then when we painted them, the holes were so small they almost all filled in with paint. So when you are making the holes for your lantern, bigger holes will be better. It will be less likely to fill up with paint while painting the lantern.
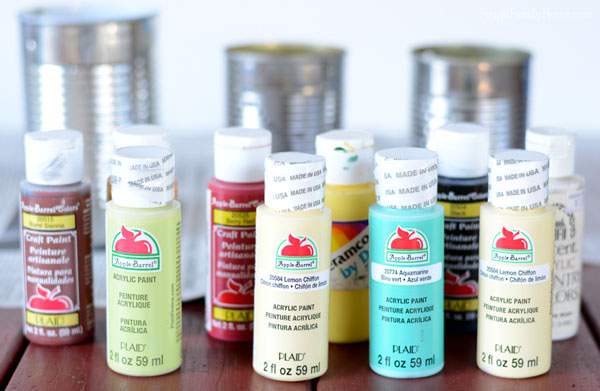
To paint the tin can lanterns, we used an acrylic craft paint. I think spray paint would also work, but we had already purchased the acrylic paint and it worked just fine. For the lighter colors, we needed to add three coats of paint. With the darker color, only two coats were needed.
Items Need to Make the Tin Can Lanterns
- Tin Can
- Nail
- Hammer
- Paint
- Wire (we used decorative floral wire)
- Flameless Candle
How to Make a Tin Can Lantern
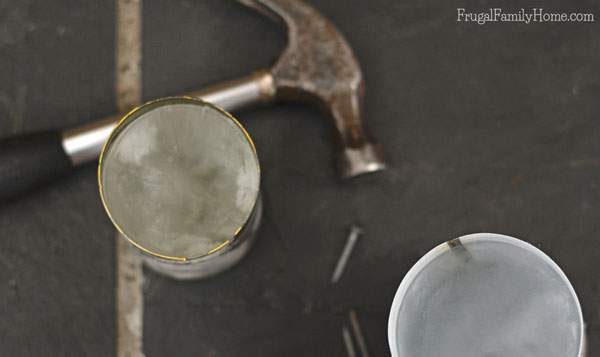
Fill the tin can with water and set in the freezer to freeze. Having the ice inside will help to hold the shape of the tin can while you are using the hammer to make the holes. Be sure to make two holes towards the top of the can, so you can add the wire hanger when done.
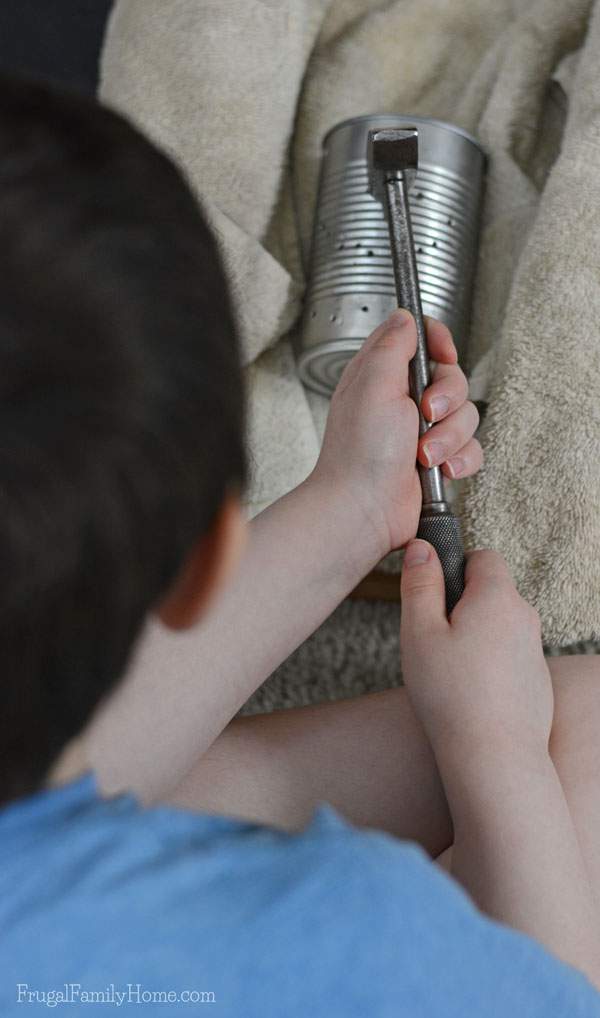
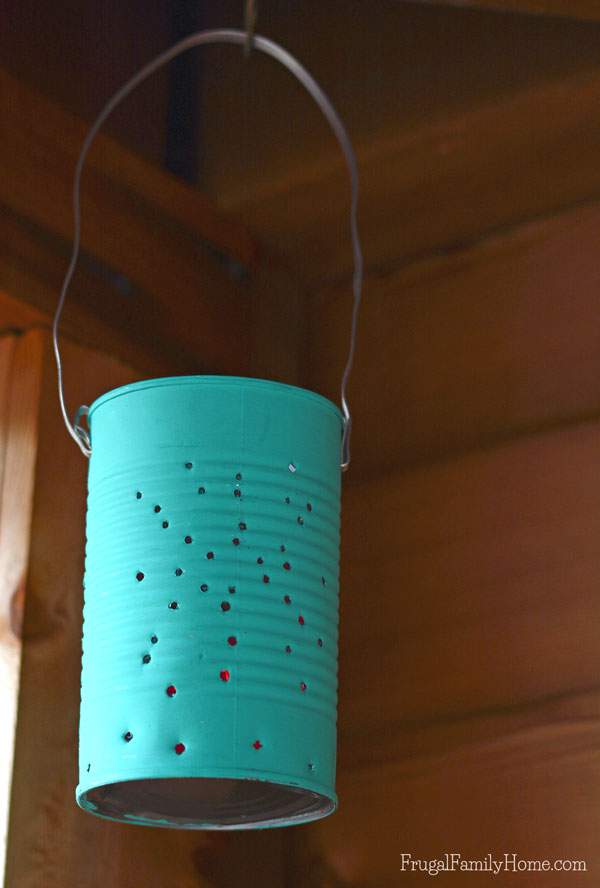
Using the nail and hammer make holes in the side of the tin can in a pattern. My son made a happy face, I made a sunburst, and my daughter made a star on hers. Make sure to make the holes a good size. The holes we made at first were a little small and filled with paint, so after the lanterns were done drying, I needed to enlarge the holes a bit. Which turned out to be a task, since I had to be careful with the paint.
Remove the ice from the lantern and let them dry in the sun or dry very well with a towel. Be careful of the sharp edges from the holes on the inside. We found it safer and easier to just let them dry in the sun.
Paint the lanterns with the acrylic paint. You may need to add two or three coats to get the can fully covered. We needed three coats for our lighter colors of paint. Two coats were all that was required for the darker colors of paint.
Once the paint is dry, enlarge any holes that might have been filled in by pushing the nail into those holes. You might not need to do this step if your holes were large enough.
Add one end of the wire to one hole at the top of the can. Then bend it around to the other hole. Leaving a loop to hang the lantern by.
Turn on the flameless candle and place it in the lantern. We just dropped our flameless candles into our tin can lanterns to avoid the sharp edges from the holes. When we want to turn the flameless candle off we just turn the lantern upside down to drop the flameless candle out. That way we avoid the sharp edges altogether.
Once done, you can enjoy the lovely glow that come from your homemade lantern just about anywhere. At night in the dark you can’t even tell they are made of tin cans. These tin can lanterns would make a great addition to the garden, to place light in just the right spot, without it being too bright. Or to hang around the eaves of the house or even in a gazebo to give a little light in the evening, while you are out enjoying the night.
These would also be great on the mantel in the fall and winter to add a little light to the room. I could see us making a few different ones for different times of the year to use indoors and out.
What do you like to use for lighting outside in the evening? Do you have lights on your patio or out in your gazebo?
[signoff]




This looks like such a fun craft. 🙂 I know my boys would enjoy it!
These are just adorable! I’m glad that you mentioned the tip about freezing the ice inside the can so that it can hold its shape while you punch the holes…I would have never thought to do that 🙂