DIY Cloche Covers

DIY, Cloche Covers
I was able to get my tomatoes planted in the garden and then the weather promptly turned cold. That can happen here in the northwest. We can go from 80 degrees weather in April to 50 degree weather in May, so I always have to be prepared when gardening here.
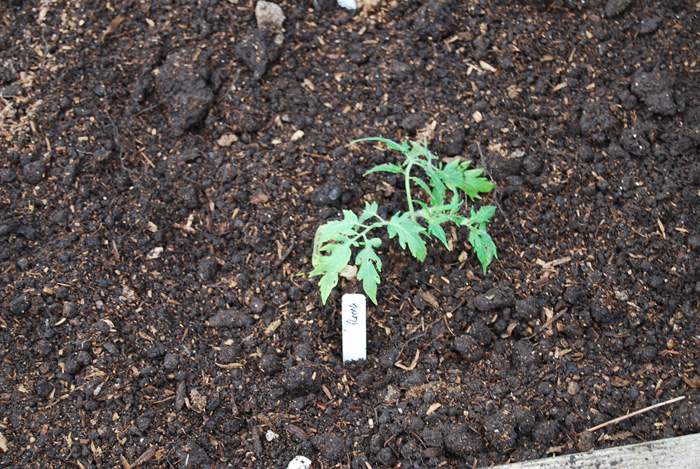
In the past I have used plastic to cover the whole raised bed. But this year that just wasn’t going to work as the peas are already as tall as I am. So I needed to cover each of the tomatoes plants individually.
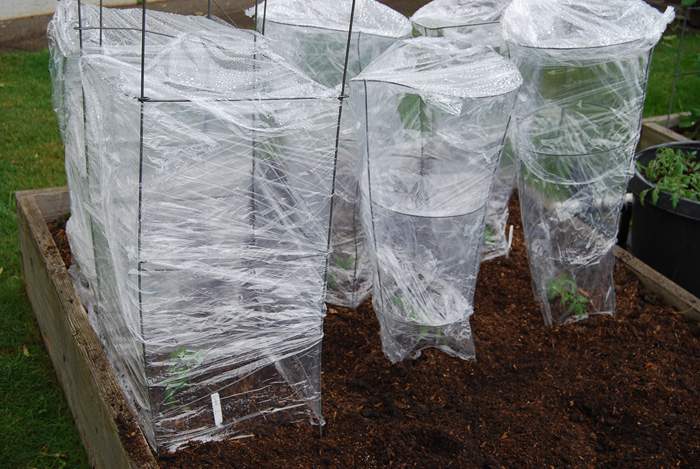
Since my husband had a huge roll of plastic wrap on hand, that was leftover from another project. I wrapped each of the tomato cages in plastic to help keep the tomato plants a little warmer.
Once the weather turns better I can simply just cut off the plastic and let them continue to grow.
I had a little trouble wrapping the cages, envision me in the garden with a tomato cage stuck in the ground trying to go around it as the cage tries to fall over. I am sure my neighbors got a good laugh at that.
So as the rain started to come down on me I got the idea to have my kids help me spin the cages as I wrapped them. Having the kids help really worked so much better, too bad I didn’t think of it sooner.
The plastic isn’t very attractive but will do for the short time it is needed.
I was almost done wrapping all of the cages when I ran out of plastic. I really thought there was enough plastic and I thought I had one more tomato cage.
So I went with my original plan of using old milk or water jugs to cover the plants. I always keep a few plastic jugs on hand for covering plants this time of year. Just in case.
An old milk jug or gallon water jug works just great. I even have used the half-gallon size plastic jugs for smaller plants.
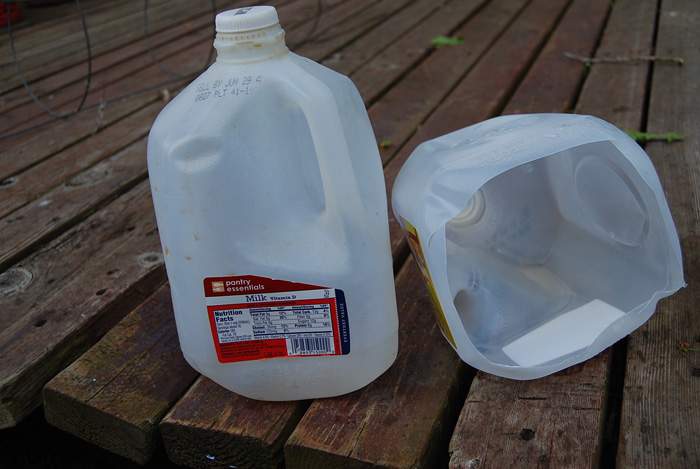
I just cut the bottom of the jug off. Be careful as you are cutting the bottoms off. I didn’t get my plastic jugs quite rinsed out well enough and some of the old milk remained in a few of my plastic containers and the smell was awful. Just awful.
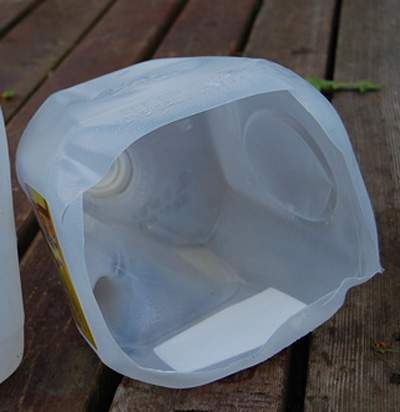
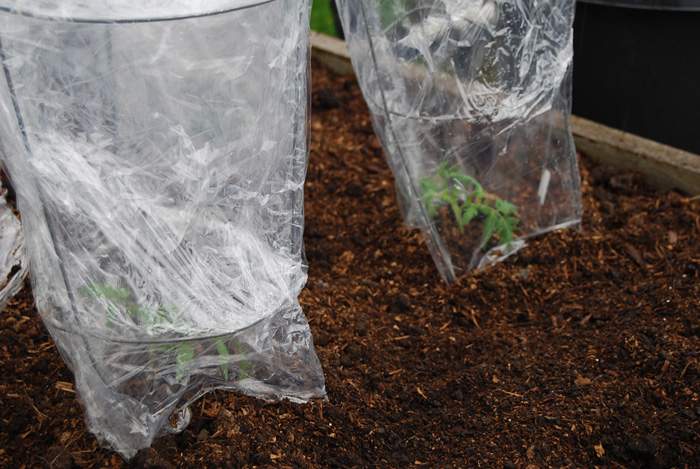
I find that if I leave just a small lip on the bottom of the jug I can push it down into the dirt and it stays quite well.
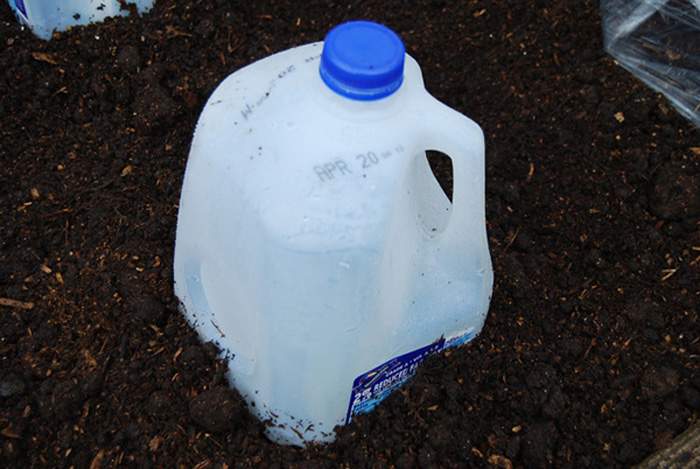
Just place the prepared jug over the plants and then push some soil up around the container to help hold it in place.
I actually placed my tomato cages around the jugs to help keep them from blowing over. But most of the time just building up the soil is good enough.
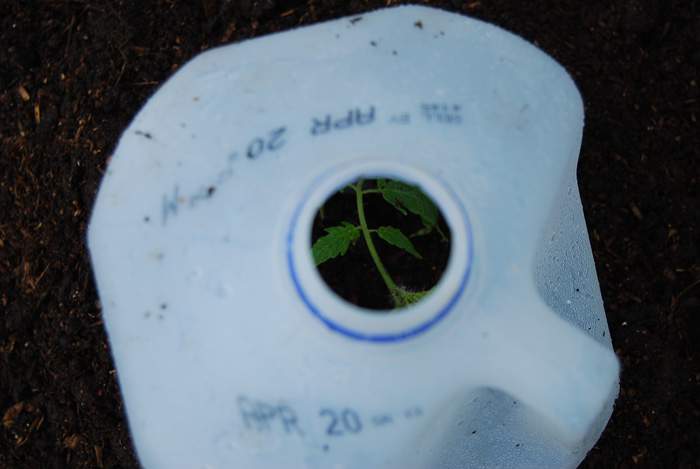
Then when a warm day comes along I take the top cap off to let the extra heat escape out the top. On the cooler days I just leave the top on. I also water the plant through the opening on top.
Then once the weather improves I just take the cloche cover off, usually sometime in June.
But I always keep the homemade cloche covers until the weather is consistently warm for some time. Usually July, as you just never know what the weather might do. 🙂
Where you live do you need to use cloche covers for your plants?
Looking for more gardening ideas? Head on over to the gardening page for more gardening ideas and inspiration.
Get the Companion Plants List
When you join the gardening email list, you'll not only get gardening tips sent to your inbox, you'll also get the companion plants list too.


looks like a great plan!
They had doubled in size already so I think it is working out well. 🙂
Your plants look so happy in their cloches! We wrap our cages with clear plastic too! They need to stay wrapped until July 1 or so here. Tried the milk jugs, but they blow away in our harsh winds – even when they’re staked 🙂
This is our first year trying the plastic wrap and the plants have doubled in size in just two weeks. So they must like their homes. 🙂 Wind can be a problem here too but when I have the jugs inside the tomato cages it seems to keep them in place. Staking hasn’t worked for me in the past either.
Way too much plastic!
Thanks for feeling free to speak your mind. But when you say “way to much plastic” do you mean I used too many layers to wrap on my cages or do you think using the plastic in the garden is not the way to go?
If you don’t use plastic to protect your sun loving plants early in the growing season what do you use? I am always open to alternative from my readers. 🙂
This is my first year trying to wrap my tomato cages with plastic to protect them and they have doubled in size in the last two weeks even though we had less than ideal weather. (With temps in the 40’s and 4 inches of rain in the last two week.) My plastic jug covered tomatoes did the same. I had to uncover them today as they had outgrown the jugs.
Do you vent the tomato cages you wrap in plastic or are they sealed up tight? Also what’s the temp where you live in July? I am trying to figure out when to take mine off.
Kim, I do make sure I have a way of venting them. I usually leave a flap at the top so I can peel it back on a warmer day.
I only leave them covered until the weather warms up here. I usually take mine off in June when we start to get more consistent warm weather. I always keep my covers handy until July because occasionally we will get a cool week in June. But if you live in a warmer climate you might need to remove them sooner. I hope that helps.