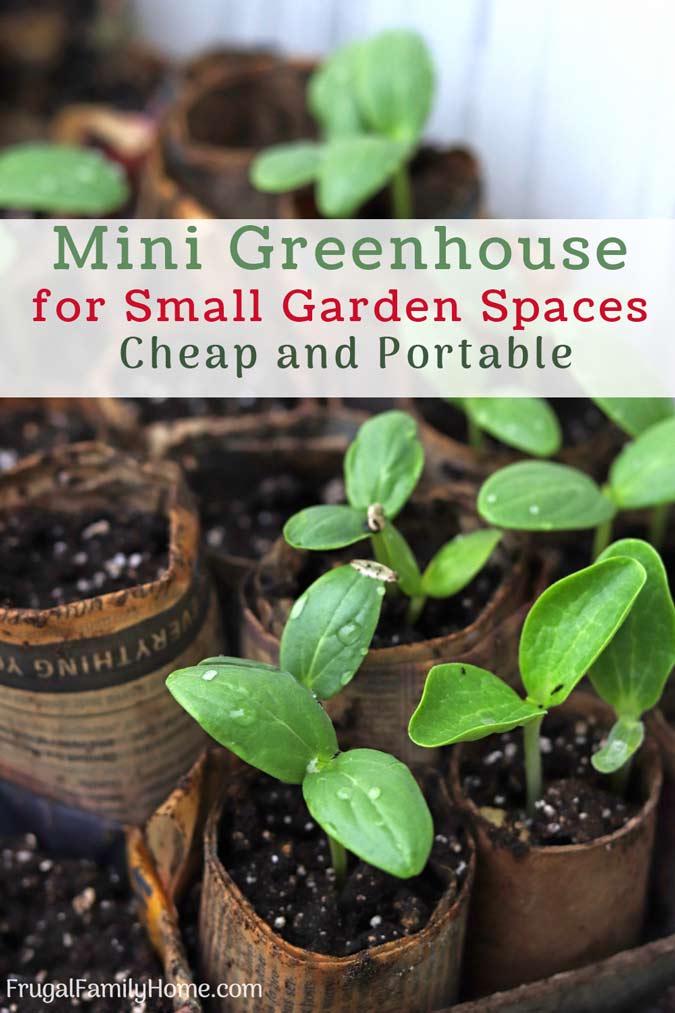
Easy Mini Greenhouse for Small Garden Spaces
You don’t have to have a big yard or area to garden. You can grow a lot of food in your backyard. And this mini greenhouse is perfect for starting seeds and getting them growing.
Which can help you save money too.
Our garden is a small garden. We live in an average city lot and have four raised beds we garden in. So we don’t have a lot of room. We don’t have a huge garden but we grow quite a bit of food in the space we have.
I also am a frugal gardener. I like to reuse and use what I have on hand as much as I can. I also seed save and start my plants from seed each year.
Plants are a lot more expensive than seeds. When you start with seeds, you have more choices to what you’ll grow too.
But because our area is up north and a little cooler, I need to start my warm weather seeds early. And I need to keep them protected until they are big enough to transplant to the garden. And the weather is warm enough too.
I have a cold frame greenhouse which is great, but I know not everyone has one. And if your space is limited, you’ll need a solution. That’s where this portable mini greenhouse comes in.
It’s simple and easy to use and move to where you need it. I have sun in the morning in my side yard. But I have to move my mini greenhouse in the afternoon to the backyard to keep it in the sun. And this mini greenhouse is the perfect solution to moving sunshine.
Some links below are my referral links. When you purchase through them, I can make a little money at no extra cost to you. See my disclosure policy for more information.
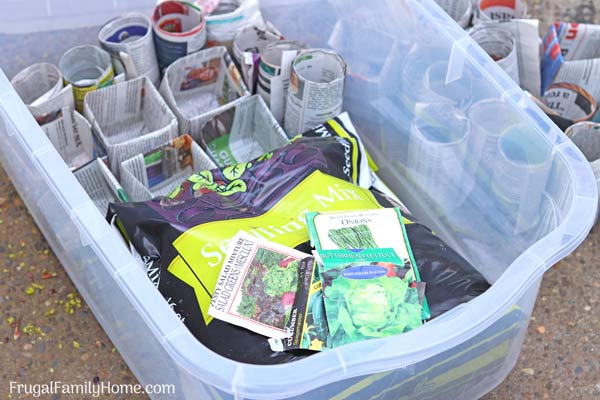
What You’ll Need for Your Own Mini Greenhouse…
A big plastic storage bin with a lid
DIY seed containers or small plant pots
Seedling Starter Soil
Seeds
Paper for Seed Tracking (so you’ll know what has sprouted and what hasn’t)
Steps to Setting Up your Mini Greenhouse
1. Preparing the Mini Greenhouse or Storage Container
Mark on side of your mini greenhouse or plastic storage bin. I used a sticker to mark one end and added that to my seed tracking sheet.
This is a great way to know what is planted where if you use all the same sized containers. If you are using a lot of different sized containers like I did this year, it’s not as important. But I still wanted to mention it.
2. Get your Containers Ready
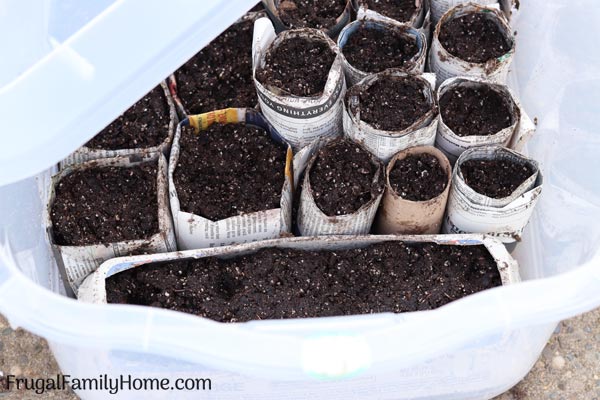
Place the seedling mix into the pots. I used DIY seed starter containers made of newspaper this year. But in the past, I’ve used old small black plastic containers I saved from previous years.
If you’ll be using an old container, be sure to sterilize it first. I use bleach water in a bucket and then soak them for a few minutes. Then I rinse and let them dry in the sun.
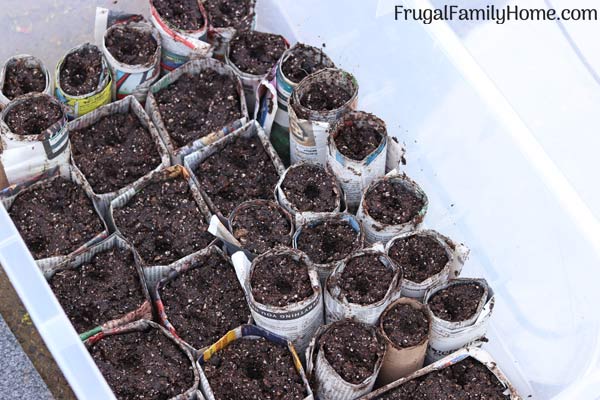
3. Arrange Pots in the Mini Greenhouse
Once the soil is in the pots, it’s time to arrange them into the greenhouse. I wedged mine in tight to get as many as I could in.
4. Map out your Seed Tracker
Draw a grid on your paper for each of the containers in the greenhouse. This is less important if you are using a variety of different containers like I am but I still made one to use to track where I planted each kind of seed.
5. Plant your Seeds
Add the seeds to each of your containers and write which seeds went in each container on your seed tracker.
This year I planted and my kids recorded which seeds went into each container. It kept the paper looking nice, without a bunch of soil smudges.
6. Water
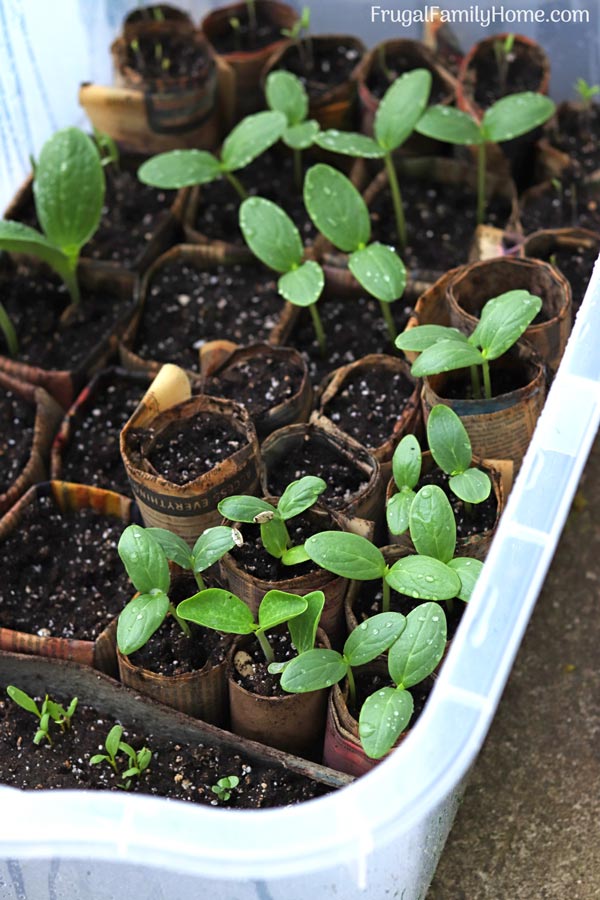
Once all your seeds are planted, water them well and put the lid on. As the greenhouse heats up the water will form on the top of the container and drip back down. Keeping the plants moist and warm.
The warmth and the moisture will help the seeds germinate and grow.
7. Vent as Needed
As the weather gets warmer, you might need to vent your greenhouse, so it doesn’t get too hot. I pop one edge up and hold it open slightly with a rock or stick.
It lets enough heat out on hot days but not too much as to chill the plants.
Benefits of a Portable Mini Greenhouse
When you don’t have space for a regular greenhouse, this mini greenhouse is great. It big enough to start quite a few seeds but small enough to store it easily when not in use.
You can move the mini greenhouse to stay in the sun all day if your backyard is like mine and you don’t have a full days sun in one spot.
It’s great for small gardens where space is limited. In the off-season, you can wash the DIY greenhouse and use it to store other things.
You can move the mini greenhouse indoors at night to help regulate the temperature and moved outdoor during the day.
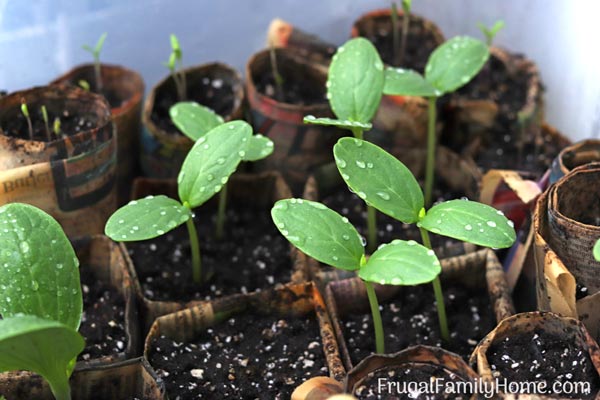
Your seedlings can grow tall enough to get a good start and then move them to the garden.
It’s easy to harden off the plants by leaving the lid off during the day and at night covering them. Helping the plants to adjust before being transplanted to the garden.
If you are a backyard gardener like me, this is the perfect solution to a warm place to start seeds if you don’t have the room or a sunny spot for a greenhouse.
It’s also frugal too since the main cost is the plastic storage bin for under $10 and it can be used for other things during the offseason.
More Great DIY Gardening Ideas for You…
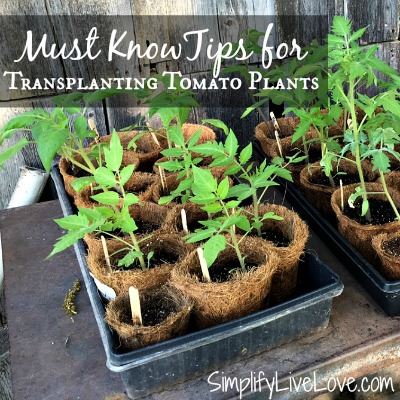
Find more garden inspiration by following this link.
Get the Companion Plants List
When you join the gardening email list, you'll not only get gardening tips sent to your inbox, you'll also get the companion plants list too.

I can’t believe I’ve never seen this idea before. Genius!
Shell this is a “Duh” moment for me. Can’t believe we haven’t thought of this! Dave starts all his seeds in our house and then he needs to get them more light before transplanting. This is a great idea to get those seedlings out side in the sun without getting windblown.
Wow, what a great idea Shelly – I love it!! I especially like how it makes hardening off easier – that’s usually the area I drop the ball. 🙂
You are my garden hero! Thank you so much for sharing this!
So glad you liked this idea, Della!
This is such a great idea, Shelly! It also helps keep water off any wooden surfaces or window sills too! Love it. 🙂
Could this be done with starting annuals outside, like petunias? I live in zone 4B
Charlie,
I’m sure you could use this to start petunias. I’ve started flowers in mine before too. I hope that helps.
Very informative. Thx. Newby to gardening in tiny apartment patio.
Yvonne, glad you found it helpful.