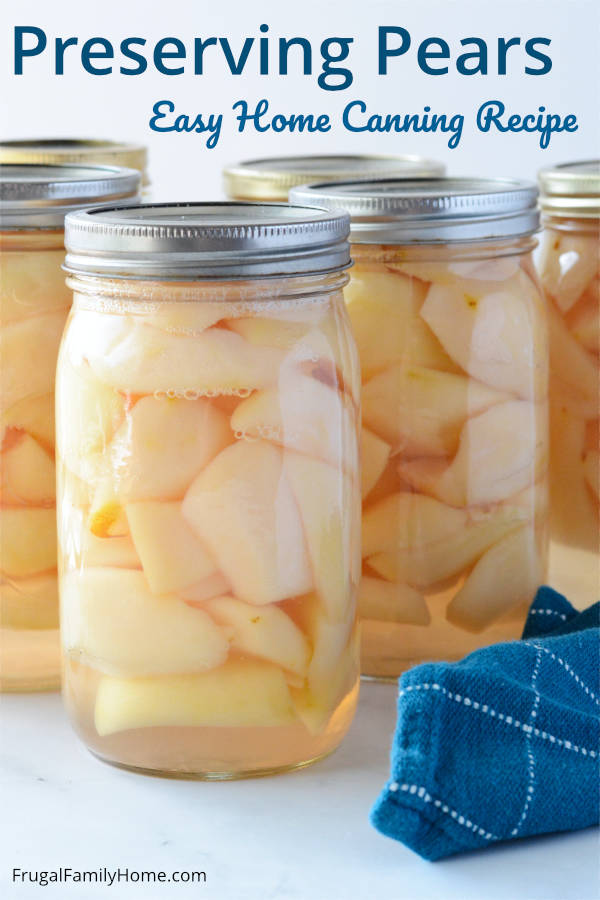
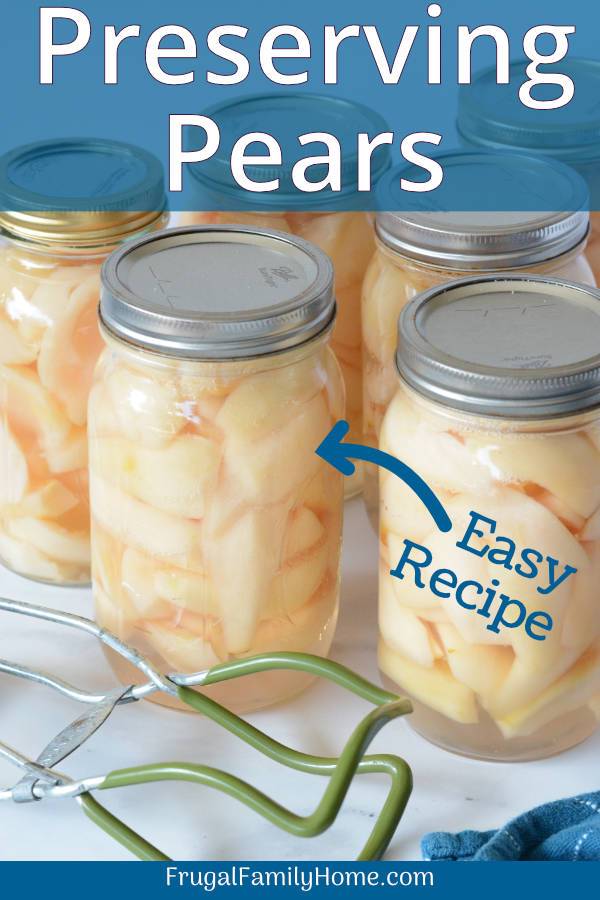
How to Can Pears, Simple and Easy Preserving Pears Tutorial
If you want to keep those delicious in season pears for winter, you’ll want to preserve your pears. Then you can enjoy a delicious sweet pear even in the dead of winter. Here’s how to can pears at home.
I’ve been canning pears for years, the home canned ones are so much better than the store bought canned pears too.
When you home can pears you can pick the variety of pears to can and the liquid to can them in. But first, you need to get your pears.
Where to Find Pears
If you have a pear tree, then you are set you only need to pick the pears. That is what we do each year at my great aunt’s house. We pick the pears for her and she lets us take the extra pears for ourselves. It’s a good trade.
But if you don’t have friends or family with a pear tree, you can find pears at your local farmer’s market or maybe even find a place to u-pick pears. Click on your state to find the u-pick farms.
What Varieties of Pears to Preserve Best
Picking the right pears to can is important. Just like when you can peaches, you want to the right pear.
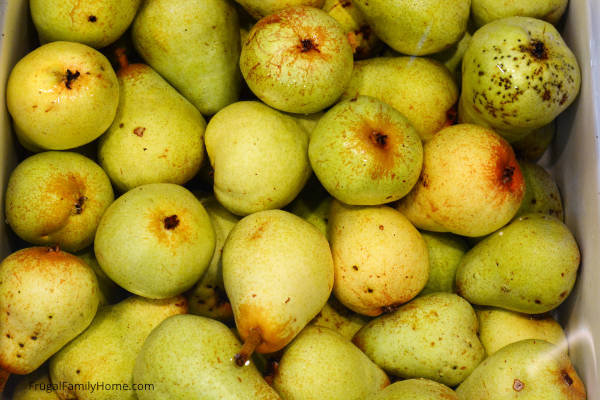
The ones we almost always can are Bartlet pears. They have a good flavor and hold up to canning really well. But some people find them grainy.
If you find Bartletts grainy, you might prefer to a Comice or d’Anjous. Most pears will work except Asian pears.
Asian pears are not acidic enough and you must add lemon juice to can them. Add 1 tablespoon to each pint or 2 tablespoons to each quart.
Ripening Pears at Home
Now pears are picked green so they need to be ripened before canning. Lay them out in a single layer in a cool area of the home and wait until the pears just start to turn yellow. We spread ours out in our basement and let them ripen.
You want to can nice ripe pears. You don’t want mushy pears; you want pears that are perfect for eating to can.
But… I did an experiment one year because a relative of mine said she canned all of her pears when they were green.
I canned half of my pears after ripening and half of the pears when green. I marked the jars so I would know which ones were which.
And the truth be told, we could not tell the difference between the canned ripe pears and the canned green pears at all.
I normally can my pears when they are ripe, but you might want to experiment like I did and see.
Some of the links below are my referral links. Which means as an Amazon Associate I earn from qualifying purchases and when you purchase through them I can make a little money at no extra cost to you. Thanks! See my disclosure policy for more information.
Canning Equipment Needed
This is the equipment you’ll need to can pears at home. I’ve listed a water bath canner and a pressure canner.
You don’t need both, just pick one or other to use. If you are looking to purchase just one canner, you might consider a pressure canner.
A pressure canner can be used for low-acid foods and high acid foods. Where a water bath canner can only be used with high acid foods.
No matter which type of canner you use, be sure to follow the manufacturer’s directions on how to use it safely.
- Pressure Canner or Water Bath Canner or an Electric Water Bath Canner (for those of us with Glass Top Stoves)
- Canning Jars (I prefer wide mouth since it’s easier to get the pears in the jar) quart or pint size
- Canning Lids and Bands or New lids only if you already have jars and bands
- Large Stock Pot for preparing syrup for pears
- Jar Lifter
- Ball Blue Book of Preserving
- Fruit Fresh or Salt
- Sugar
Now let’s get to canning those pears!
How to Can Pears in 9 Easy Steps
While this article is a great guide to canning pears, I recommend you pick up the Ball Blue Book of Preserving.
Even though I’ve been canning pears for years I still refer to it every time I can. It’s a great resource to learn all the steps needed to can safely.
If you are looking for a free guide to basic canning procedures, you can get this pdf for free from the National Center for Home Preservation to guide you through the process of canning safely at home.
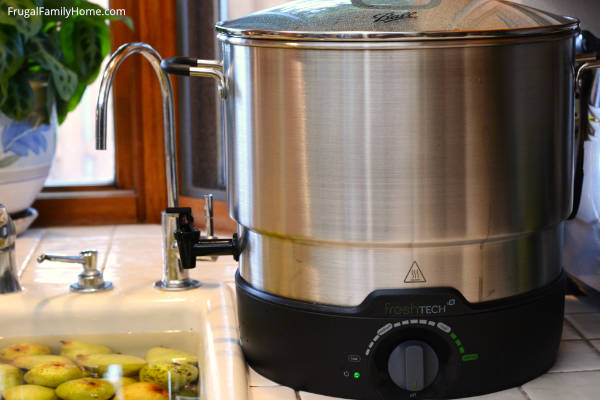
1. Get your Canner Ready
Place your water bath canner on the stove 1/2 to 3/4 full of water. Wash your bands, jars, and lids in hot soapy water.
Then add your clean empty jars to the water bath canner. I let the empty clean jars simmer in the water while I’m preparing the pears.
2. Start your Syrup on the Stove.
Measure the water and sugar into a stockpot or pan. Heat and stir to dissolve the sugar, keep it warm but not boiling. It’s recommended to use a light syrup for pears. Get the measurements for each type of syrup here.
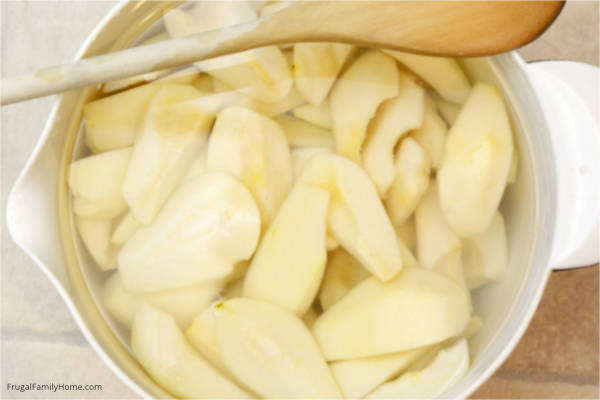
3. Wash, Peel, and Core the Pears
I place my pears into the sink full of water. Then rinse them to make sure they are clean.
The next step is to peel them.
I use a vegetable peeler, or a paring knife to get the pear peeled most of the time. This year I peeled all of them, big mistake. It took forever.
Instead, to save time, you’ll want to have a pot of boiling water on the stove. Add your pear to the water and let sit about 15 seconds. Remove from the boiling water to a bowl of ice water to cool down.
Take the pear out of the water when cool enough to handle and slide the skin right off. It works great for peaches and pears.
Once the pear is peeled, I use a melon baller to scoop out the stem end and the blossom end. The small end of the melon baller works great.
Finally, cut the pear in half and then remove the core with the larger end of the melon baller. If desired you can cut each half in half again to quarter it.
4. Keep Pears from Browning
As you are preparing the pears and halving them or quartering them, place them in a fruit soak to keep them from browning as you are preparing the rest of them.
You can use a product like fruit fresh or use the salt water to keep them from browning. I use 2 tablespoons of salt per 8 cups of water. It works great and the pears don’t taste salty at all.
5. Get Your Lids and Rings Ready
Since your jars are in the canner heating, you’ll also want to get your lids and rings ready. Wash them, set them aside so they are ready to go. Be sure to check your rings for rust.
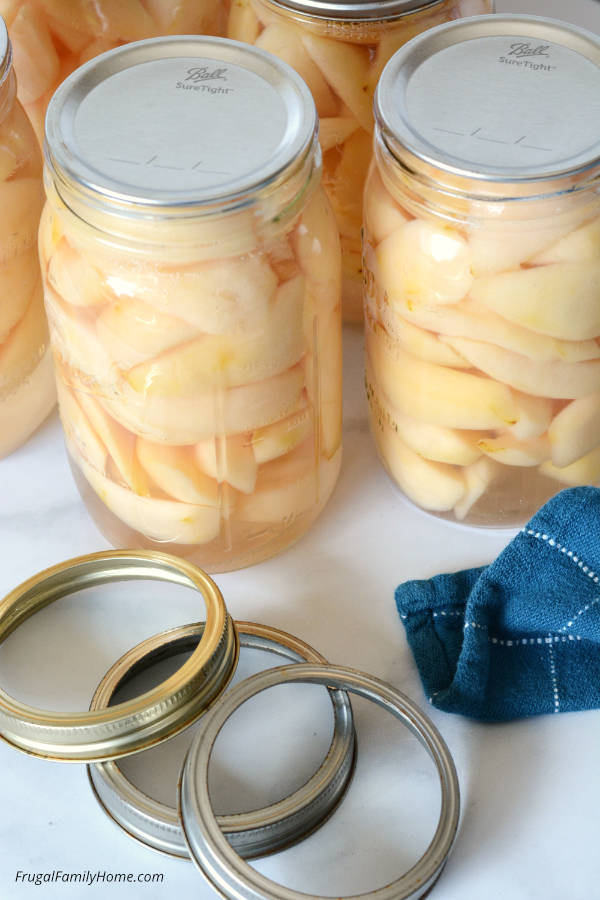
6. Fill the Jars, Hot Pack Method
Once all your pears are ready and waiting, it’s time to can them.
It’s best to use a hot pack, but I have used the raw pack with pears before and haven’t noticed a difference in pear quality. But I’m sharing the hot pack method here.
Drain the pears. Add a layer to pears into your hot syrup. Let them cook about 5 minutes to heat through.
Take one jar out of the canner. Add the heated pears into the hot jar.
Ladle the hot syrup over the pears and remove any air bubbles. I use a rubber spatula to run along the sides of the jar to loosen any air bubbles. Leave a headspace of 1/2 inch.
Wipe the rim of the jar to remove any syrup or pear debris with a clean cloth. Place the lid on the jar and adjust the bands.
Place the jar with the jar lifter back into the canner and proceed with the next jar. Until you have all the jars filled in your canner.
7. Process the Pears
Make sure the water fully covers the jars with at least 1 inch of water over the top of the jar lids.
Process the pears in the water bath canner according to your altitude and jar size. You can find processing times for pressure canner and water bath canner here.
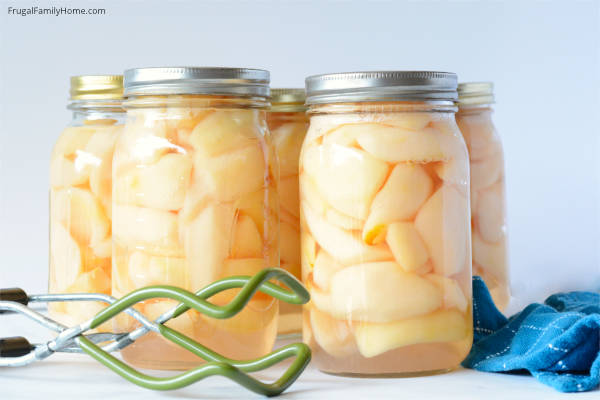
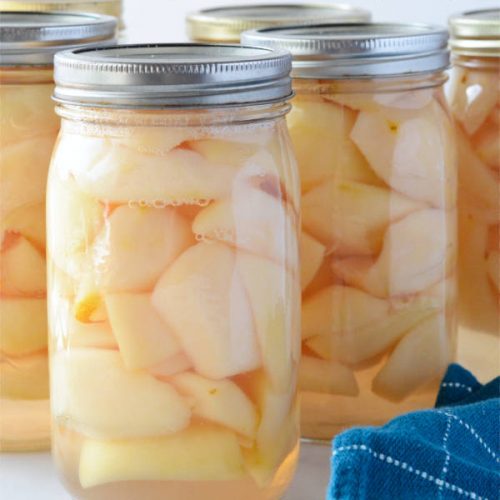
8. Remove from Canner and Cool
Once processing time is up, remove jars from water bath canner place them on a towel.
If you are using metal, lids don’t tighten rings leave them as they are. If you are using reusable lids, then turn the rings to tighten after you remove them from the canner.
Let them sit overnight and cool. Once cooled, check to make sure the lids have sealed properly.
9. Remove the rings and label
Remove the rings from your jars and label them by writing on the lid the date and canner batch if you have more than one canner batch. Test to make sure each jar is sealed by lifting the jar gently by the lid. Store in a cool dark area until ready to use.
There you have it, the basics on canning pears. Be sure to pick up a copy of the Ball Blue Book of Preserving or download the free home canning guide from the USDA site, so you will have all the steps necessary for a safe and successful canning experience.
What Next?!
Learn to Dry Pears at Home Even without a Dehydrator
See More Food Preserving Articles!
Preserved Pears Recipe
Equipment
Ingredients
- Pears
- Fruit Fresh or Salt to prevent browning
- Sugar
- Water
Instructions
- Get your Canner Ready, Place your water bath canner on the stove 1/2 to 3/4 full of water. Wash your bands, jars, and lids in hot soapy water. Add your clean empty jars to the water bath canner. Let the empty clean jars simmer in the water while preparing the pears.
- Start your Syrup on the Stove, Measure water and sugar into a stockpot or pan. Heat and stir to dissolve the sugar, keep it warm but not boiling. It’s recommended to use a light syrup for pears. Get the measurements for each type of syrup here.
- Wash the Pears, place the pears into the sink full of water. Rub gently and swish them. Then rinse them to make sure they are clean.
- Peel the Pears, using a vegetable peeler or a paring knife to peel the pears. Or to save time, have a pot of boiling water on the stove. Add your pear to the water and let sit about 15 seconds. Remove from the boiling water to a bowl of ice water to cool down. The pear skin will slip right off.
- Core and Cut the Pear, Once the pear is peeled, use a melon baller to scoop out the stem end and the blossom end. The small end of the melon baller works great. Cut the pear in half and then remove the core with the larger end of the melon baller. If desired you can cut each half in half again to quarter it.
- Keep Pears from Browning, As you are preparing the pears and halving them or quartering them, place them in a fruit soak to keep them from browning as you are preparing the rest of them.
- Get Your Lids and Rings Ready, Since your jars are in the canner heating up, you’ll also want to get your lids and rings ready. Wash them, set them aside so they are ready to go. Be sure to check your rings for rust.
- Drain the pears. Add a layer to pears into your hot syrup. Let them cook about 5 minutes to heat through.
- Take one jar out of the canner. Add the heated pears into the hot jar. Ladle the hot syrup over the pears and remove any air bubbles. I use a rubber spatula to run along the sides of the jar to loosen any air bubbles. Leave a headspace of 1/2 inch. Wipe the rim of the jar to remove any syrup or pear debris with a clean cloth.
- Place the lid on the jar and adjust the bands. Place the jar with the jar lifter back into the canner and proceed with the next jar. Until you have all the jars filled in your canner.
- Process the Pears, Make sure the water fully covers the jars with at least 1 inch of water over the top of the jar lids. Process the pears in the water bath canner according to your altitude and jar size. You can find processing times for pressure canner and water bath canner here.
- Once processing time is up, remove jars from water bath canner place them on a towel. Let them sit overnight and cool. Once cooled, check to make sure the lids have sealed properly.
- Label your jars by writing on the lid the date and canner batch if you have more than one canner batch. Store in a cool dark area until ready to use.