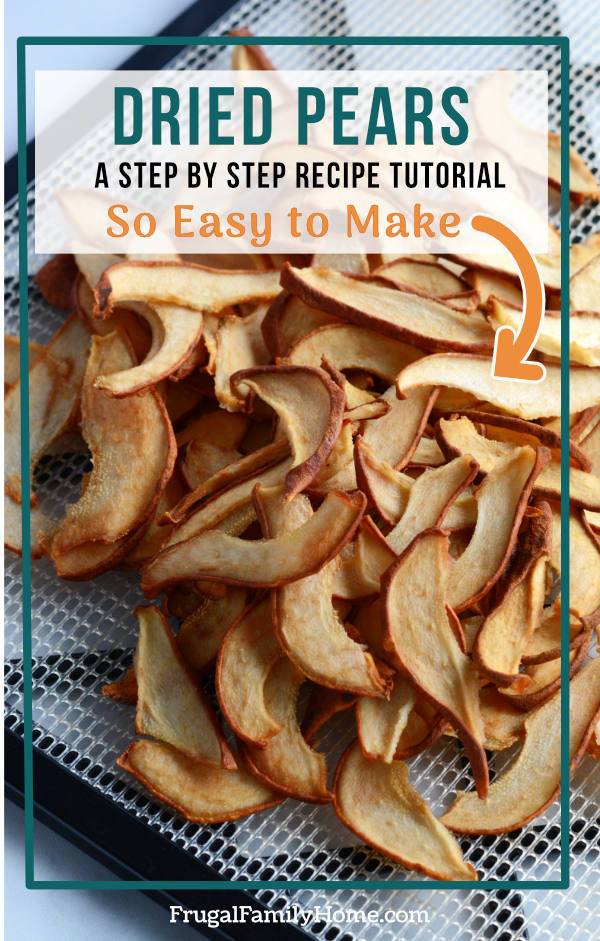
How to Perfectly Dry Pears
Drying pears is a perfect way to preserve them. It’s easier than canning, they take up a lot less space, and it requires no refrigeration. Plus dried pears are so tasty too.
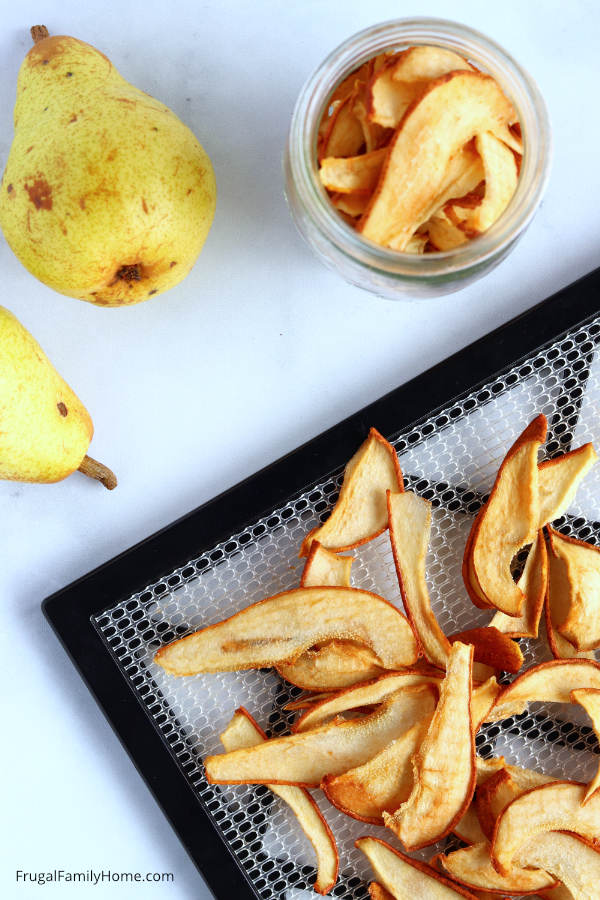
Let me show you how to perfectly dry pears for food storage.
I dry pears each year when pears are in season. I find drying fruit is so much easier than canning it.
Dry fruit takes up a lot less space and no freezer or refrigeration is needed.
You can enjoy your dried pears as a snack, in yogurt, or bake your pears in quick breads, muffins, or pancakes.
Let’s get started…
Some of the links below are my referral links. Which means as an Amazon Associate I earn from qualifying purchases and when you purchase through them I can make a little money at no extra cost to you. Thanks! See my disclosure policy for more information.
What You’ll Need to Dry Pears at Home
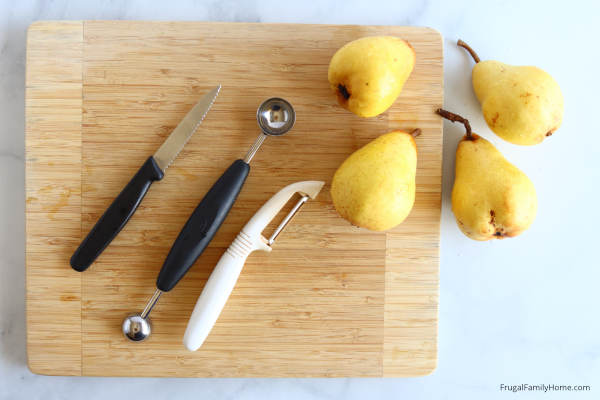
Pear, we use Bartletts
Paring Knife, I love these!
Dehydrator or Oven, This is the best dehydrator.
Now that you know what you need, let’s get started drying pears.
How to Dry Pears at Home (Video Tutorial)
I made a quick video to show you all the steps in drying pears but if you want the written instructions or the printable instructions, keep scrolling down.
Drying Pears, A Step-by-Step Guide
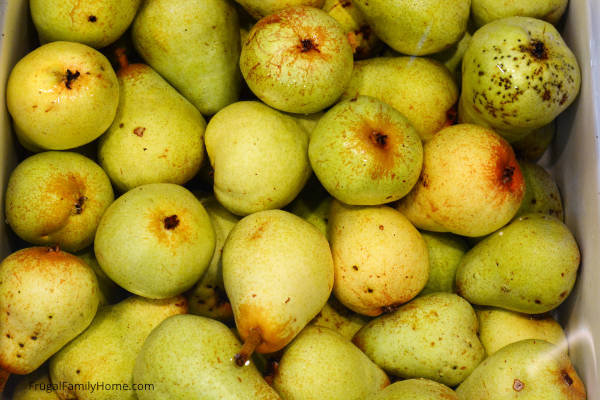
1. Wash the Pears
Be sure to wash your pears well. I fill the sink with water and place the pears in the water. I gently swish them a bit and then using sponge scrub them a little. Then rinse.
2. Remove the Ends
The next step is to remove the stem end and the blossom end. I find this task is easy when using a melon baller. Just scoop out each end and discard.
3. Peel, if desired
Now the ends are removed, you can peel the pears at this point. I usually leave the skin on since we have home-grown pears. But if you don’t grow your own or you are not sure if pesticides were used on them, you might want to peel the pears.
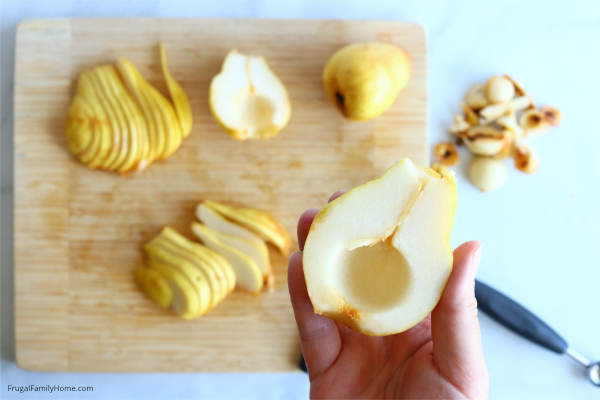
4. Cut the Pear in Half
The next step is to cut your pear in half. Try to go right down the center. Then using the melon baller, scoop out the core and seeds. Do the same for the other half.
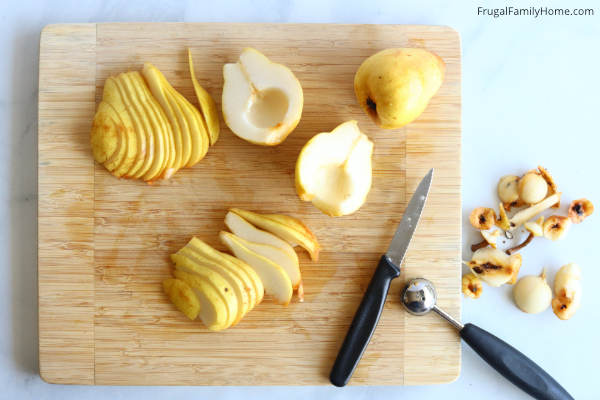
5. Slice The Pear
Now you have your pear prepped and ready to go, all that is left is to slice each half.
Try to keep your slices uniform in thickness so they will all dry at about the same rate.
If you are worried about the pears browning in the drying process, you can treat them with a little lemon juice water.
I don’t treat mine at all. I don’t mind if they brown, they still taste the same.
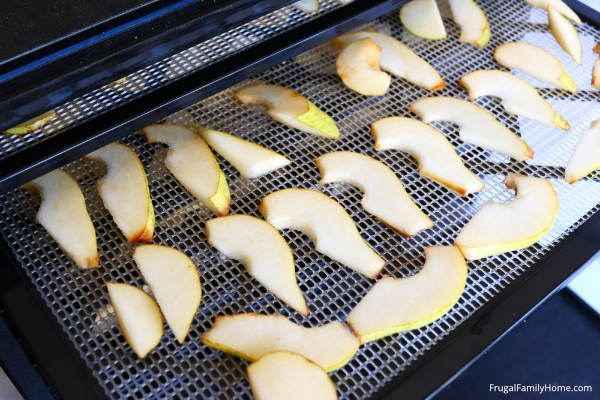
6. Dehydrate the Pears
Place each slice of pear on your dehydrator tray. Leave a little space between each one for good air circulation.
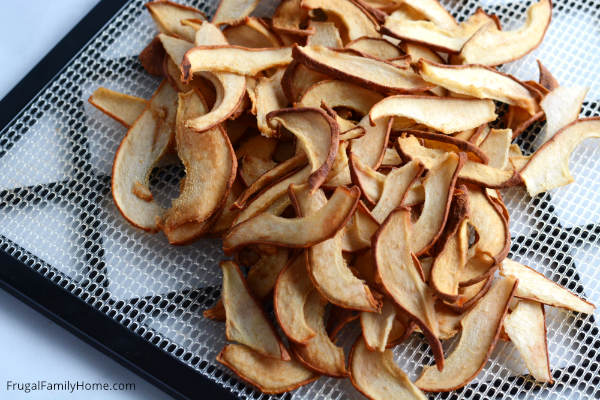
Place your tray into the dehydrator and dry at 135 degrees until the pears are dry with no moisture pockets.
I dry mine really dry. I find they store best that way.
I can always add a little water to rehydrate them before consuming them if desired.
If you don’t have a dehydrator…
You can use an oven. Place your pears on a baking rack inside of a cookie sheet.
Put your oven on the lowest setting. Place your prepared sheets with pears on them and bake or convection bake until they are dried with no moisture pockets left.
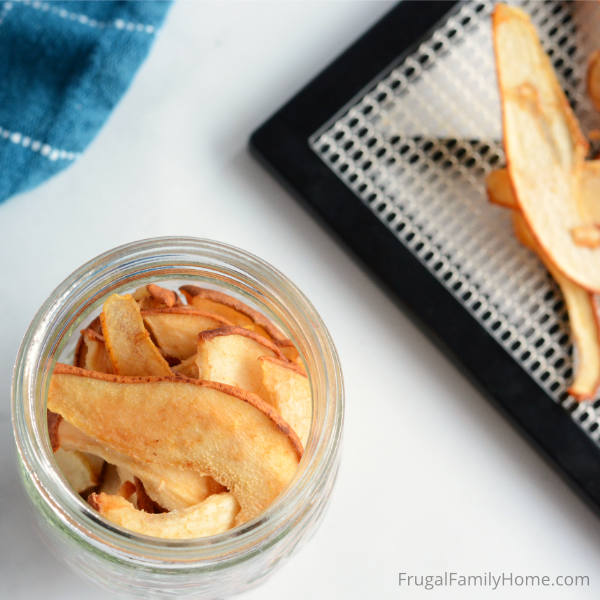
7. Place in an Air-Tight Container
Once your pears are dried and cooled, it’s time to package them for storage. Package them into a glass jar with air tight lids or into some other air-tight container.
You can also seal them in a vacuum seal bag.
I pack my dried pears into smaller bags or jars. So if a pear doesn’t get dried adequately and it molds, I only lose a small amount instead of a full bag.
Plus, it’s easier to take a small jar or bag out to consume and leave the rest in the food storage.
Store in a cool, dark area. The cupboard away from the stove is a good spot for most people.
Storing your Dried Pears
How do you store dried pears?
We store them at room temperature in the cupboard with no problems or molding.
If you are concerned about your pears not lasting for you or going bad, you can always store your dried pears in the freezer in a freezer bag.
You can store your dried pears in a heavy zipper bag, like a freezer bag. A vacuumed sealed bag, or a jar that can be tightly sealed with an oxygen packet.
How long can you store dried pears?
When they are properly stored dried pears will easily last 6-12 months at room temperature.
But at our house, they only last a few months. Everyone at our house loves dried pears, so they go quickly.
That’s all there is to drying your own pears at home. When drying pears the flavor intensifies and they are just like eating candy, but all natural.
My kids gobble them up. I hope your family loves them as much as ours does.
Learn How to Make…
How to Can Pears, (coming soon)

How to Dry Pears
Ingredients
- Pears
Instructions
- Wash the Pears, Be sure to wash your pears well. I fill the sink with water and place the pears in the water. I gently swish them a bit and then using sponge scrub them a little. Then rinse.
- Remove the Ends, The next step is to remove the stem end and the blossom end. I find this task is easy when using a melon baller. Just scoop out each end and discard.
- Peel, if desired, Now the ends are removed, you can peel the pears at this point. I usually leave the skin on since we have home-grown pears. But if you don’t grow your own or you are not sure if pesticides were used on them, you might want to peel the pears.
- Cut the Pear in Half, The next step is to cut your pear in half. Try to go right down the center. Then using the melon baller, scoop out the core and seeds. Do the same for the other half.
- Slice The Pears, Now you have your pear prepped and ready to go, all that is left is to slice each half. Try to keep your slices uniform in thickness so they will all dry at about the same rate. If you are worried about the pears browning in the drying process, you can treat them with a little lemon juice water.
- Dehydrate the Pears, Place each slice of pear on your dehydrator tray. Leave a little space between each one for good air circulation. Place your tray into the dehydrator and dry at 135 degrees until the pears are dry with no moisture pockets. If you don’t have a dehydrator: you can use an oven. Place your pears on a baking rack inside of a cookie sheet. Put your oven on the lowest setting. Place your prepared sheets with pears on them and bake or convection bake until they are dried with no moisture pockets left.
- Place in an Air-Tight Container, Once your pears are dried and cooled, it’s time to package them for storage. Package them into a glass jar with air tight lids or into some other air-tight container. You can also seal them in a vacuum seal bag.

Thank you for putting a lot of effort into making this tutorial. It was very helpful. I am ready now to go try my first batch. (smile)
Nadja, I hope your first batch of dried pears turned out great.
Hi– I have a lot of Asian pears to use– have you ever tried drying them rather than Bartlett’s?
Yes, one year I was giving a bunch of Asian pears and dried them. We didn’t like them as well as the Bartlett’s but they dried well and tasted good we just prefer the Bartletts. I hope that helps.