Pear Coring and Pear Jam
This is the time of year to get lots of canning in. Usually I am working on pickles and tomatoes. But this year our garden didn’t fare very well so we didn’t have too many extra tomatoes and we ended up with no cucumbers after my cucumber plants died twice. After the second fail, I gave up on them for this year. I did get some pickles made last week, but I had a mishap which you can read about.
Some of the links below are my referral links. Which means as an Amazon Associate I earn from qualifying purchases and when you purchase through them I can make a little money at no extra cost to you. Thanks! See my disclosure policy for more information.
I found a great deal on Bartlett pears. At just $.39/lb pound I really should have purchased 20 pounds or more to can. But I only purchased 5 pounds. Since they all seem to ripen at the same time I decided to make some jam.
It was only a few years ago that I first tried making pear jam. I had gotten 100 pounds of free pears and needed to do something with them. So I canned a bunch until we had enough for almost two years. Then I dried some and finally I decided to make some pear butter and pear jam.
Ever since that year, I have made pear jam. It is not only good on bread but makes a great topping for ice cream or a great addition to homemade yogurt. The batch I recently made only took a little over an hour from start to finish.
I like to use the instructions found on the recipe sheet inside the Sure-Jel box or MCP Pectin. Although the last three boxes haven’t included the instructions even though the outside of the box says the recipes are in there. So if you find a box with the recipes be sure to keep a copy just in case. I’m sure glad I did just that.
Preparing the Pears
After washing the pears you will need to peel, core and chop them. After the year of processing 100 pounds of pears, I came up with a little system to make this job much easier. Well as easy as it can be, I like to use a melon baller.
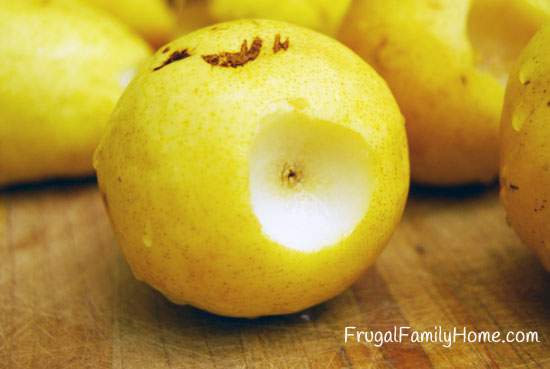
Before even peeling them I use the melon baller to scoop out the blossom end and the stem end.
Once I have all of those removed, I cut the pear in half, the pear still isn’t peeled. I have found peeling the pear first makes them really slippery to hold so I wait until I have the rest of the coring done first. I can’t tell you how many pears hit my kitchen floor before I figured this out. 🙂
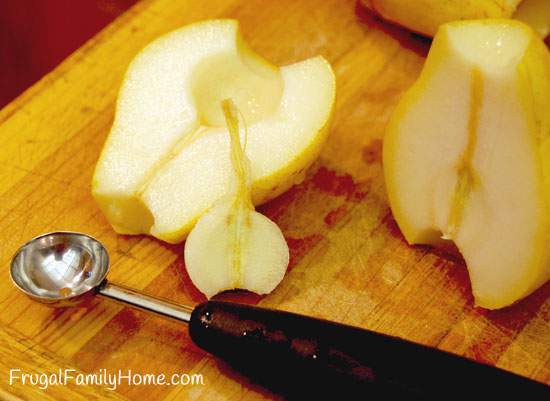
Once the pear is cut in half use the melon baller to remove the seeds but don’t cut the stem strings. Once you have the seeds and core almost scooped out then lift the half ball core and the stem will come out too. (see the photos below)
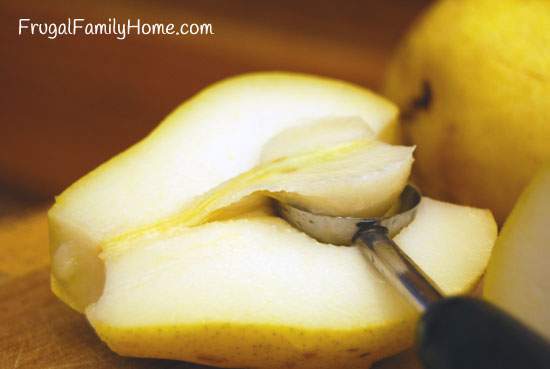
Pretty cool huh!?
Making the Jam
After the core is removed just peel and finely chop. You will need 4 cups of finely chopped pears for the jam. I used about 3 pounds of pears to get the 4 cups of chopped pears.
I added my chopped pears to my large pot and then added lemon juice and the pectin. At first the pears appear a little dry but as they cook more liquid will form as a few of the pears break down. Be sure to stir constantly so they don’t burn.
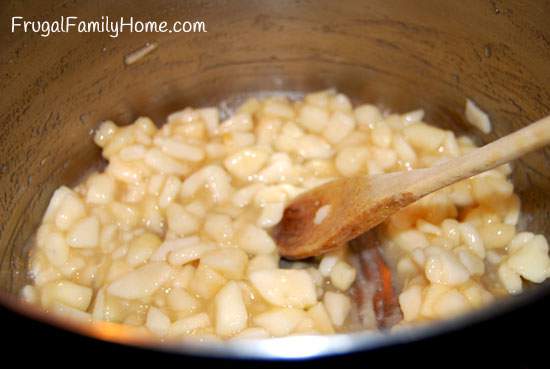
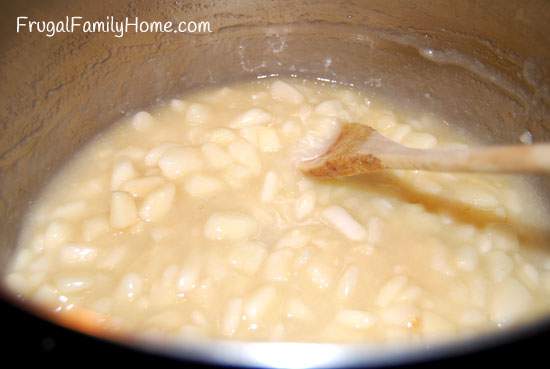
There is a lot of stirring involved with making jam so be sure to have someone that can take over if your arm gets tired or you just need a break. Once the pears are boiling it’s time to add all the sugar, and it takes a bunch.
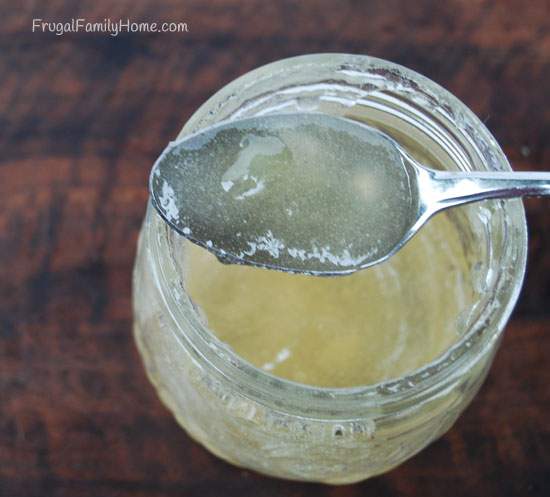
Once you add the sugar you will want to stir and stir and stir until the jam reaches a full rolling boil (a boil that keeps bubbling even while you stir) and cook 1 minute. Here’s how mine looked once it was done cooking,
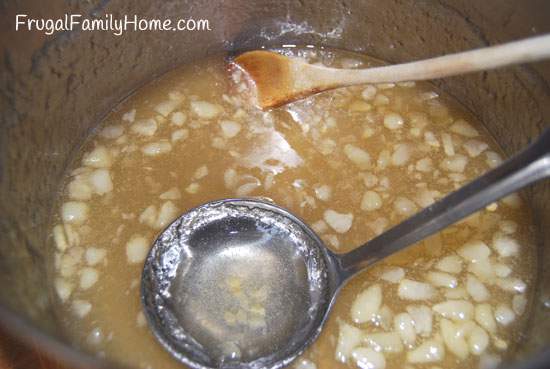
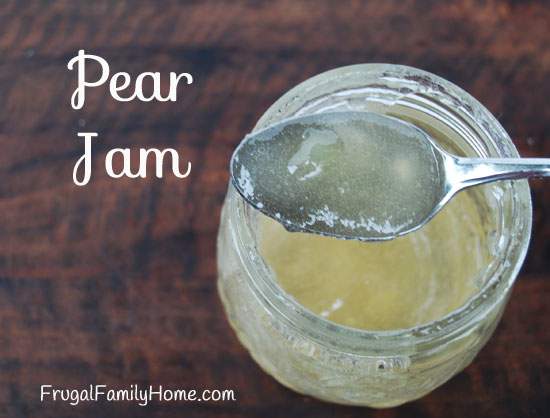
The liquid turns clear and golden in color. Then just process the pear jam in a boiling water canner according to the directions, here’s a resource for you if you are new to canning jam and you have pear jam.
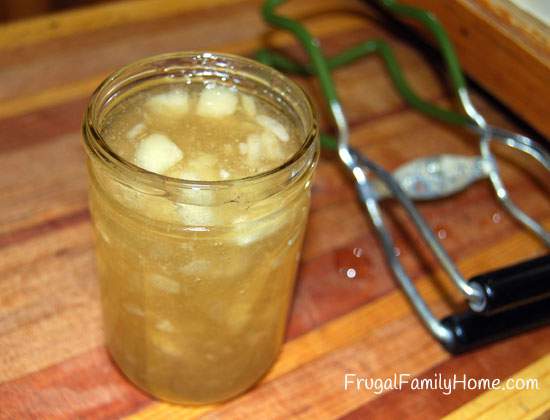
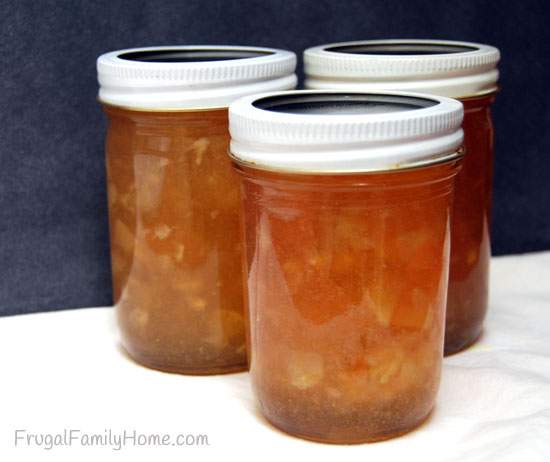
I like how the jam has a nice golden color to it with the chunks of pear floating in it. Pear jam is a great gift to give, since most people don’t make it for themselves and it’s not readily available at the store.

Pear Jam
Equipment
- Spoon
- Stock Pot
Ingredients
- 4 cups Finely Chopped Pears about 3 pounds
- 2 tablespoons Lemon Juice
- 5 cups Sugar
- 1 box Sure-Jell
Instructions
- Sterilize jars by simmering them in boiling water for 10 minutes. Wash bands and lids.
- Core, peel and chop pears. Measure 4 cups of prepare pears and add to a large saucepan with the lemon juice.
- In a separate boil measure the 5 cups of sugar and set aside for later.
- Stir in the packet of Sure-Jell into the pear mixture.
- Bring the pear mixture to a full rolling boil. This is a boil that doesn’t stop bubbling when stirred. Be sure to stir constantly.
- Once the pear mixture is to a full rolling boil, add the sugar. Return to a full rolling boil and boil 1 minute. While stirring constantly.
- Ladle the jam into the sterilized jars to within 1/4 inch of the top of the jar. Wipe the jar rims and threads clean.
- Place lid and bands on jars.
- Process 10 minutes in a boiling water canner or adjust for altitude. You can find more information here about extending time for altitude and the full canning process to follow for jams and jellies in the notes section below.
- Once processing time is done, remove jars and let cool on a towel.
- Test to make sure jars are sealed once cooled. If the jar lid is not sealed refrigerate the jam.
- Properly processed and sealed jars can be stored at room temperature for up to 1 year.
Notes
Nutrition
Have you ever made jam before?
Leave me a comment and let me know your favorite kind of jam.
Want more jam recipes?
Strawberry Raspberry Freezer Jam

Yum! Your pear jam looks so good!
I have made both peach and strawberry freezer jams before and they turned out really nice. I don’t have any experience with canning, and it seems very daunting to me, especially since you have to be very careful to make sure the seal is right and everything.
I haven’t made peach freezer jam in a while. Last year I canned some peach jam, but now you have me thinking of making a batch of the freezer peach jam if I can find some peaches. 🙂
This looks delicious! I’ve never made it before, but I agree that it’s a great gift to give. I’m so impressed by your canning skills, Shelly. Maybe someday for me. 😉