Easy and Delicious Chocolate Mint Layered Fudge
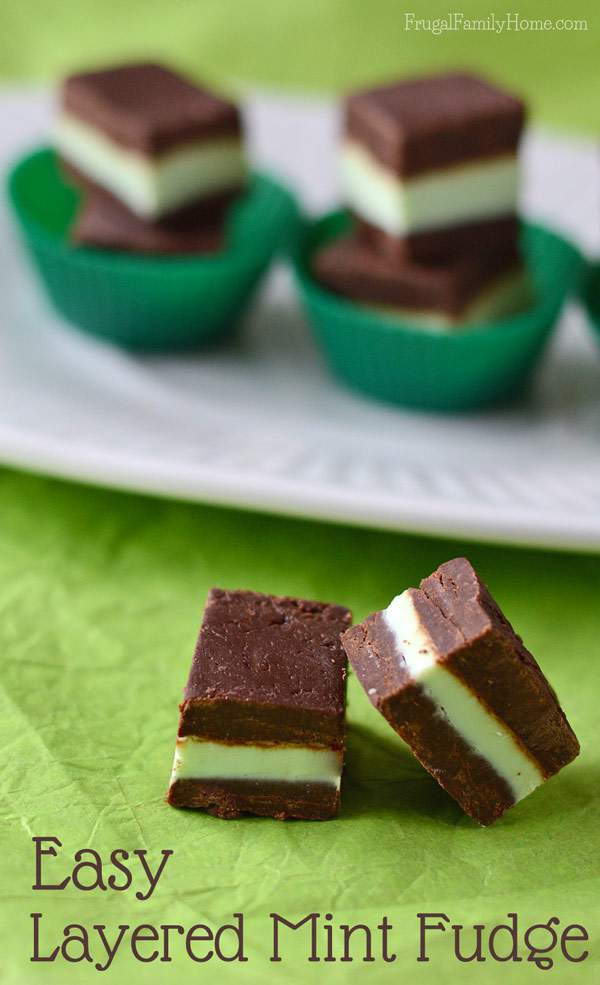
I don’t know about you, but I love mint and chocolate together. Who am I fooling, I love any kind of chocolate. Well, maybe not chocolate covered bugs but just about anything chocolate is good in my book. Since chocolate and mint are a favorite of mine I love these homemade Andes mint candy.

They really do end up tasting very close to the candy. It’s kinda like a mint candy fudge and so easy to make too.
This is an easy recipe but does involve some chilling time for each layer so they don’t become a mixed up mess. Most of the time involved in making them is chilling time, the actual hands-on steps are quite easy.
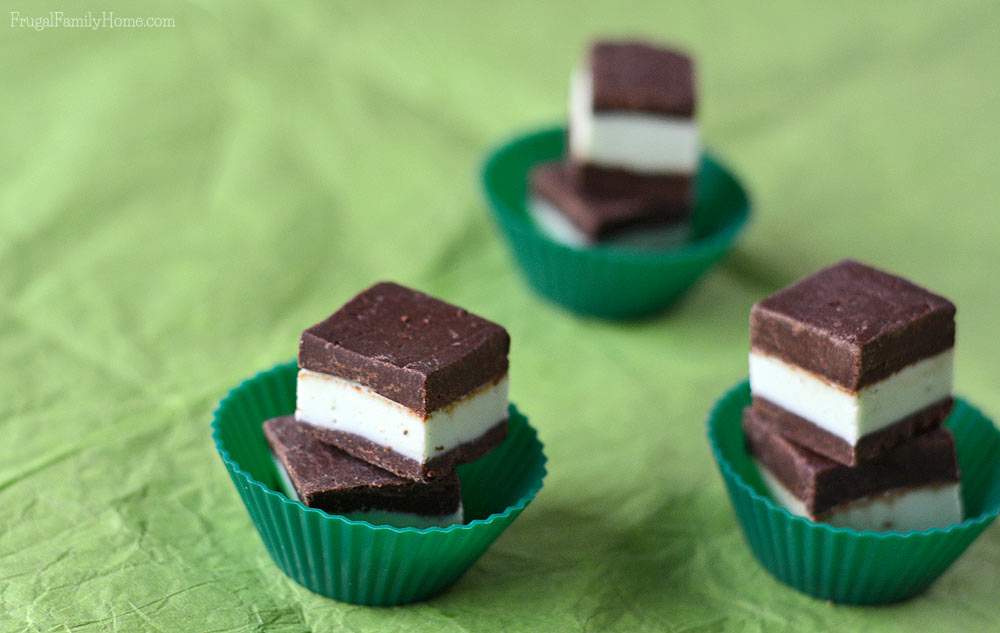
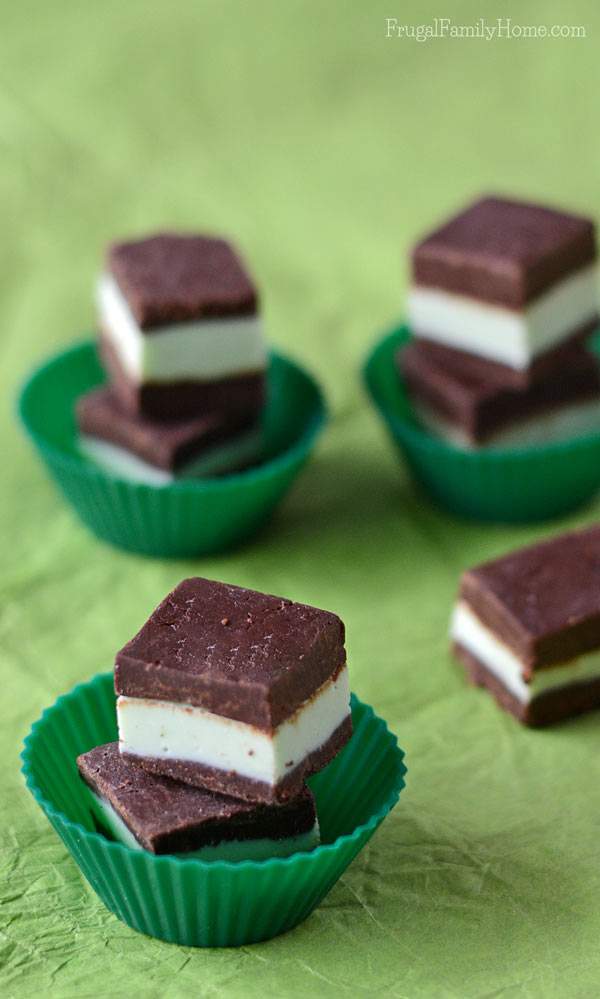
The chocolate layers are a mixture of condensed sweetened milk and chocolate chips. The middle layer is made of candy coating or vanilla chips whatever you have on hand, a little mint flavoring, and food coloring.
I have found this recipe it is best to line the pan with waxed paper. By doing this step, it makes it so much easier to get the candy out of the pan. It also leaves the edges a little jagged so you will need to shave those off. After all, those edges are good samples to make sure the candy turned out well.
Making the Mint Layered Fudge
I like to make the chocolate fudge part of the recipe on the stove. I think it’s easier to keep it just a little warm on the stove instead of using the microwave. I start by adding the chocolate chips and most of the condensed sweetened milk to the pan. Then heat over medium-low heat until the chips are melted and combined with the milk.
To make the first layer, start by adding in half of the chocolate mixture, to a wax paper lined pan and let it firm up in the refrigerator.
While it’s hardening up in the refrigerator, I’ll get the ingredients ready for the mint layer. I add the remaining condensed sweetened milk to a bowl with the vanilla chips or candy coating and then microwave for 30 seconds, remove from the microwave and stir then microwave again. I repeat this process until the mixture is melted and combined well.
Once the first chocolate fudge layer is set, I add the mint layer. After the mint layer is added to the pan needs to return to the refrigerator to chill and firm up. I check on it after about 30 minutes. If it’s firm I continue on to add the last layer of chocolate fudge.
If the fudge in the pan has set up a little, you’ll need to heat it on the stove again to make it spreadable. Spread the last layer of fudge over the mint layer. Making sure to cover all the mint layer well. Then it’s back to the refrigerator until the candy is good and set. I usually let it set in the refrigerator overnight.
Pick up the whole batch of fudge with the wax paper you lined the pan with and cut into pieces. I like to cut these into about 1/2 inch squares since this fudge is a little rich.
Make This Recipe Dairy Free by…
I have found a way to make this recipe dairy free for my family. By replacing the condensed sweetened milk with this dairy free recipe. After that all you need to do if make sure you purchase dairy free chocolate chips and vanilla chips. (affiliate links)
Here’s the printable recipe for you to add to your recipe collection,

Chocolate Mint Fudge
Ingredients
- 1 can sweetened condensed milk or dairy free sweetened condensed milk
- 1 package 12 oz Semi-Sweet Chocolate Chips
- 1 teaspoon Vanilla Extract
- 6 oz Vanilla Chips or Vanilla Candy Coating
- 2 teaspoons Peppermint Extract
- 3 drops Green Food Coloring
Instructions
- In a sauce pan mix the chocolate chips with 1 cup of the sweetened condensed milk.
- Heat over medium heat, stirring constantly until the chocolate is melted and the mixture is smooth. Remove from heat.
- Spread half the chocolate mixture into an eight-inch square pan lined with wax paper and chill 10-15 minutes.
- While the first chocolate layer is chilling. Mix the vanilla candy coating or vanilla chips with the remaining condensed sweetened milk over low heat. Stirring constantly until smooth.
- Stir in the peppermint extract and food coloring.
- Spread the mint mixture over the first chocolate layer and chill another 10-15 minutes.
- Warm the remaining chocolate mixture if necessary and then spread over the mint layer.
- Chill until firm.
- Remove the mint candy from the pan and cut into 1-inch squares.
Do you like the combination of mint and chocolate?
Save this recipe for later by pinning it to your Pinterest Candy Board. While you’re there be sure to follow my Candy board too.
This post is part of my 31 days of Homemade Sweet Treats series.
If You Like this Recipe
Subscribe and you'll get Recipes
sent right to your inbox!
Click the button below and fill out the form.


Mmmm. Andes Mints! One of my favorites. I made Frugal Thin Mints last year by dipping Ritz in Andes chips. I’m wondering if I could tweak it even more by using your recipe. Hmmm.
Frugal Thin Mints sound good. I might have to give those a try too. 🙂
My husband LOVES Andes mints, so I have to try this! I’m not sure where I can find vanilla chips here locally though. I’ll have to be on the lookout 🙂
I hope you can find the vanilla chips. Maybe as it gets closer to Christmas your local store will have them.
I am not a big mint person, but I do love the Andes mints, they have just the right amount of mint and chocolate in them. I wanna try this recepie.
Molly, if you give these a try let me know how you like them.
no problem, I think this is a good Halloween treat as well
Oh you could color the center filling orange and add orange extract instead of mint for Halloween. 🙂
that sound great. I will try to do that.
How many ounces of chocolate chips did u use? Thank u for the answer: I would love to make this for a Christmas party next week!
Eileen, I used 12 oz of chocolate chips. I updated the recipe too.
Yum! This mint fudge looks delicious. 🙂
Where does the vanilla extract go?
Kaylee, you add the vanilla extract to the chocolate chip mixture.
My family loves mint and chocolate, so I will definitely be giving these a try.