Simple Cooking Recipe, Tips to Make a Perfect Pie Crust
Making pie crusts from scratch can be intimidating. I know when I first started making them I felt like I would never get them right. They would turn out tough or stick to the board when I was trying to roll them out. My great grandma used to make great pies. But since she was gone I needed to learn the secrets of a perfect pie crust on my own.

Then one day I was watching a local cooking show. The chefs were making pie crusts, so it was of real interest to me. As they were preparing the pie dough they mentioned not to be afraid of the water or flour. I thought it was odd, but then they explained.
Don’t be afraid to add more water as needed, if the pie crust is too dry it won’t be good. Also don’t be afraid to add more flour as a wet dough will stick and be frustrating. From that time forward, I had a good idea of how to make the perfect pie crust at home.
Pie crust is really a simple cooking recipe. It only contains 4 ingredients, flour, water, salt, and fat. That’s it. In my pie crust below I used shortening, because we need to eat dairy free. But butter will work well too if you can eat it. Just swap out the shortening for the butter in the recipe.
Making Perfect Pie Crust
Here’s a quick video to show each step, just in case your a visual learning like I am or keep scrolling on down to get to the written directions and the printable recipe.
Start by measuring the flour and salt into a bowl and mix. Then cut in the butter or shortening. I like to cut in the fat with my hands. Another technique I learned from that cooking show so long ago.
Cutting in the Fat
I toss the fat into the flour mixture and then pick up the fat pieces give a pinch until I feel the stickiness and drop it into the flour again. This technique breaks up the fat nicely and distributes it well in the flour. Keep going until the fat is small pea sized pieces in the flour.
Adding the Water
Now it’s time to add the water. I never measure but go by the look of the dough. I start by adding a small amount and stirring it in with a fork. If some dry areas remain I add a little more water until all the flour is moistened and the dough comes into a ball easily.

Chill if Using Butter
At this point if you are using butter you might want to pat the dough into a circle and wrap in plastic wrap and refrigerate for a while to chill the butter again. If working with shortening, I don’t bother with the chilling time. But go immediately to rolling the dough out.
Rolling Out the Dough
Rolling out the dough is when you don’t want to be afraid of the flour. Flour your board well and then place the dough on the floured surface. I also flour the top of the dough too. You don’t want to have the dough stick and have to start over, that will only result in tough pie crust. So be sure to flour well before you start to roll the dough.
As you roll out the dough roll the dough away from you only. I like to roll away, pick up the dough turn a little and roll away from me again. It makes a fairly even circle. Don’t roll away from you and then back only roll away. As you pick up the dough to turn it, add a little flour if the dough is tacky at all, to keep it from sticking.
Once the pie dough is rolled out to the correct size, roll it onto the rolling pin and transfer to a pie plate. Picking it up on the rolling pin helps the dough to keep it shape. Place the pie dough into the pan and press it into the bottom. Once the pie crust is seated, it’s time to roll the edges.
If I have a large overhang of extra crust I will cut it off within an inch. With the overhanging pie crust, I just tuck it under to make the edge thicker. Then flute the edge with your fingers or a fork.

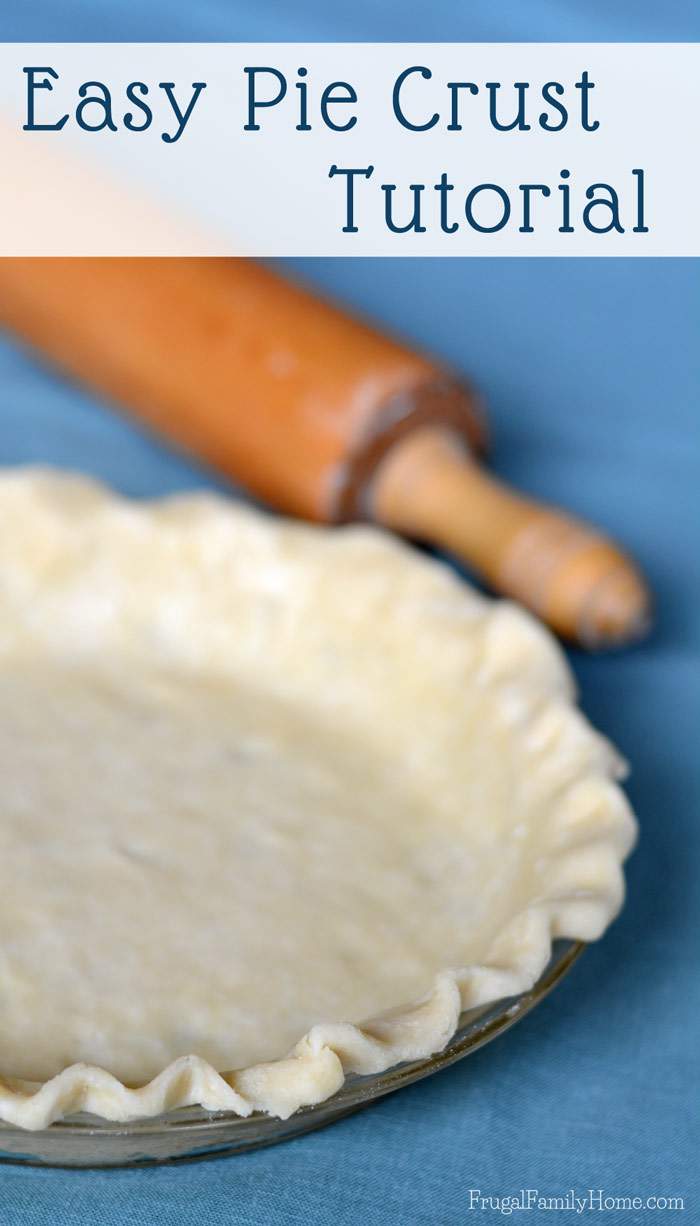
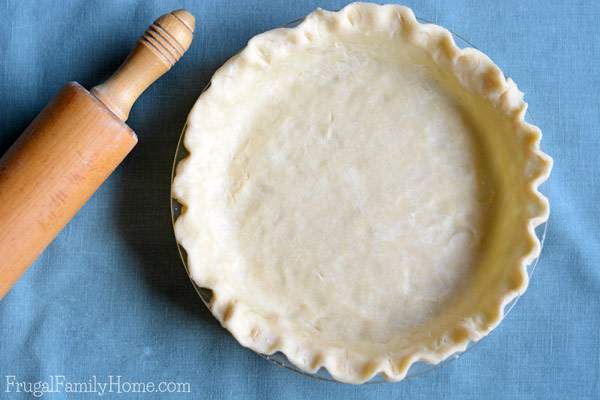
The pie crust is complete and ready to be filled or baked. If you want a top crust too, just double the recipe below and place the filling and top crust onto the pie plate before tucking and fluting the crust.

Easy Pie Crust
Instructions
- In a bowl add the flour and salt, mix to combine.
- Add the fat and cut into the flour until approximately pea-sized pieces remain.
- Add the water a tablespoon at a time stirring it in with a fork. Only add enough water to moisten the flour and make the dough come into a ball.
- Gather the dough into a ball and if using butter, wrap in plastic wrap and chill for an hour or so. If using shortening chilling, the dough isn’t needed.
- On a well-floured surface place the dough and pat it out into a circle. Flour the top of the dough too and roll out into a circle. Rolling only away from you and turning as you go. Add more flour as needed to keep dough from sticking.
- Once the dough is large enough, seat into a pie plate. Tuck in any overhanging dough and flute the edges.
- Fill with filling and bake until done.
Nutrition
What has been your experience with making pie crusts? Is it easy or a hard task for you? What tips could you add to the tips above to make the perfect pie crust? I would love to have you share them in the comments below.
See the rest of the articles in the Frugal Simple Living series by following this link.
If You Like this Recipe
Subscribe and you'll get Recipes
sent right to your inbox!
Click the button below and fill out the form.


I always make my own pie crust and my kids love to help. 🙂 I like that you included a video tutorial in this post, Shelly. I think it’s going to be very helpful to a lot of people.
Getting the kids to help is a great idea, Sandra. My son will watch, but he doesn’t like it get his hands in the dough.
Just watched thank you so much !! Also about home many calories for the crust would you say ??
The crust would be about 95 calories per serving. I hope that helps.
Your pie crust looks so perfect! I used to make pie crust all the time when I was younger, but since I got married, I very rarely do, since my husband doesn’t like pie at all. (I know, he’s weird!)
I am sorry but I just cant see the temp of the oven. and also how long it should cook. I see you said that it should go till done. But I am a bit of an idiot and need a bit of help.
sorry again
Alice
Alice, if your recipe is baked with the filling such as a pumpkin pie, you would bake it according to the pumpkin pie directions. If you are making this as a pastry crust for a lemon meringue or pudding pie. You would want to prebake the crust before adding the filling. For a pastry crust, you would bake it at 475 degrees for 8-10 minutes. I hope that helps.
Is this recipe for 9 inch pie crust? I need a recipe for 10 inch pie crust.
Jenni, this recipe is for a 9-inch pie crust. To alter it for a 10-inch pie crust you would follow the recipe but with these measurements,
1 1/3 cup Flour
3/4 teaspoon Salt
1/2 cup Shortening or Butter
4-5 tablespoons of Water
I hope that helps!
Hi, i just found this recipe and I’m gonna he making 4 different pies. Apple, blueberry,Pumpkin, and unsure of the 4th anyways how can i make a BIGGER batch of this dough?
Carol, To make more crust you can double it and make two batches. You could try 4 batches at one time but I think it would be better to make two double batches to be safe. This recipe is for a single crust, so if you’ll be making an apple pie with a double crust you would want to double it for that one pie. I hope that helps.
Hi Shelly
Question
. water would be room temperature?
2. If using butter and shortening half and half of each does it need to chill for an hour bedore baking?
Your recipe has help me be confident that i can do this. thanks a lot
Fatima, you can use room temperature water or cold water. It doesn’t really make a difference. If using half butter and half shortening, I would chill the dough a bit. The butter need to be cold before rolling it out. I hope that helps. I’m so glad you feel confident in making your own pie crust that’s what I was hoping to do. Let me know how your pie crust turns out.
Do you make ahead and Freeze? If so how?
You can make the pie dough ahead. I’ve found the best way is to make your pie dough. Shape the dough into a round, flat disc and then wrap it with plastic wrap and place into a zipper freezer bag. Freeze and when you want to make pie, thaw completely then roll and shape. I hope that helps.
Hi Shelly, I made this pie crust recipe of yours in November for my apple pie in a 9 inch baking pan. It was an easy recipe to follow and the crust was delicious so now I am coming back to make it again. Only this time, I have to make a bigger batch. I am making a pie that is going to be in a heart shaped dish with the measurements of 11×12. How should I increase the measurements for this pie crust recipe?
I would increase it by half…
1 3/4 cup + 2 tablespoons flour
3/4 teaspoon salt
4-6 tablespoons of Water
1/2 cup Fat
I think that would be enough but you could double it just to be safe.
I hope that helps, Maria.
Wow, loved the video! Thank you so much for sharing! I had tried another recipe on Christmas and it was an epic fail. I was sad because I could not make my grandpa’s pie. I decided to give it another go and came across your recipe! It was very easy and I loved how it didn’t have to be in the icebox for hrs or overnight! I highly recommend this!!! My grandpa’s pecan pie was a huge hit!!!
Alexis, I’m so glad your pie turned out great and you found the video helpful. Now I’m hungry for pecan pie.
Salted or unsalted butter?
Maria, I would use unsalted butter.
Hi there,
Not sure if you would know this. Do you know how many cans of cherry you would put in the crust? for 9 inch pie plate.
Renee, I’m not sure how many if they are the regular sized cans like 15 ounces I would say two cans should be enough.
Hi again,
new to making a homemade pie. how do you put the top crust on? I am doubling recipe to make the 2 crusts.
Renee, Here’s my raspberry pie recipe that shows in the video how to add the top crust. I hope that helps.
My pie crust always stays high even when my apples have cooked down? Am I not venting the crust enough or using the wrong apples?
Vicki, You can try these things to see if it makes a difference. Use only the amount of water you really need, the dough needs to be wet enough to hold together but not moist. When mixing and rolling out don’t over work the dough. Roll in one direction away from you and turn the dough. Instead of rolling back and forth with the rolling pin. The extra water and over handling can build up gluten in the crust so it stay high instead of shrinking back down tender crust will settle back down. Be sure to vent really well so the hot air escapes instead of being held in. Make a few slits and maybe even a hole or shape cut out of the middle. Try an apple that holds up to baking like, Granny Smith, you can mix them with a sweeter apple like honey crisp to get less shrinkage. I hope that helps.
Hi Shelley, I’ve got a question; do you best recommend a glassware pie pan or the non-stick aluminium ones? I’m actually on a hunt to buy one as I never owned any pie pan before.. sounds odd right but no especially if I never made these delicious pies before. So I’m a bit confused as too many people give their opinions on the web and I can’t tell for sure what an experience baker would suggest as to get the best result. But after watching several Recipes videos and how you generously explain and walk us through in all simplicity , I’m ready to grab a pie /tart pan and dive in. Let me know your thoughts
Jemima, I’ve always used glassware pie pans. I have a couple pyrex brand ones. One of them is 30 years old and the other is over 50 years old it was my grandma’s. And my great grandma always used glass pie plates too. Those are the only pie pan I’ve used, since when I started pie baking, that is what I had. I’ve never tested any of the non-stick aluminum ones so I’m sorry I can’t give my opinion on those. But I do love my glass pyrex pie pans and I can say they last a long time. I hope that helps.
Never be afraid to try a new recipe. While learning from other’s mistakes is less painful, our own are more memorable. Pie crusts have been fun. I love meat pies, pumpkin, apple. The more that we go ahead and try, the better the results. A good recipe helps, hands on experience builds confidence, and the family devouring that finished product shows that we have things perfected. Let it be fun. Any failure will feed the chickens or disappear into the compost pile. And the world will not come to an end.
Pete, I like your attitude, it’s true we do learn from our mistakes and the more practice the easier it gets. Thanks for sharing.
Well I tried .
Hi Shelly;
The last instruction says to bake the pie. Does this mean bake the crust, then add fruit? Or do I add the fruit, then bake? How long do I bake the pie? Can you tell I’ve never made a pie?
Christine, It depends on what kind of pie you are making. If you are making an apple pie or other fruit pie with a crumble topping, you’ll add the fruit and then bake. The same goes for a pumpkin pie or pecan pie. For these type of pies, you’ll follow the baking instructions in the recipe.
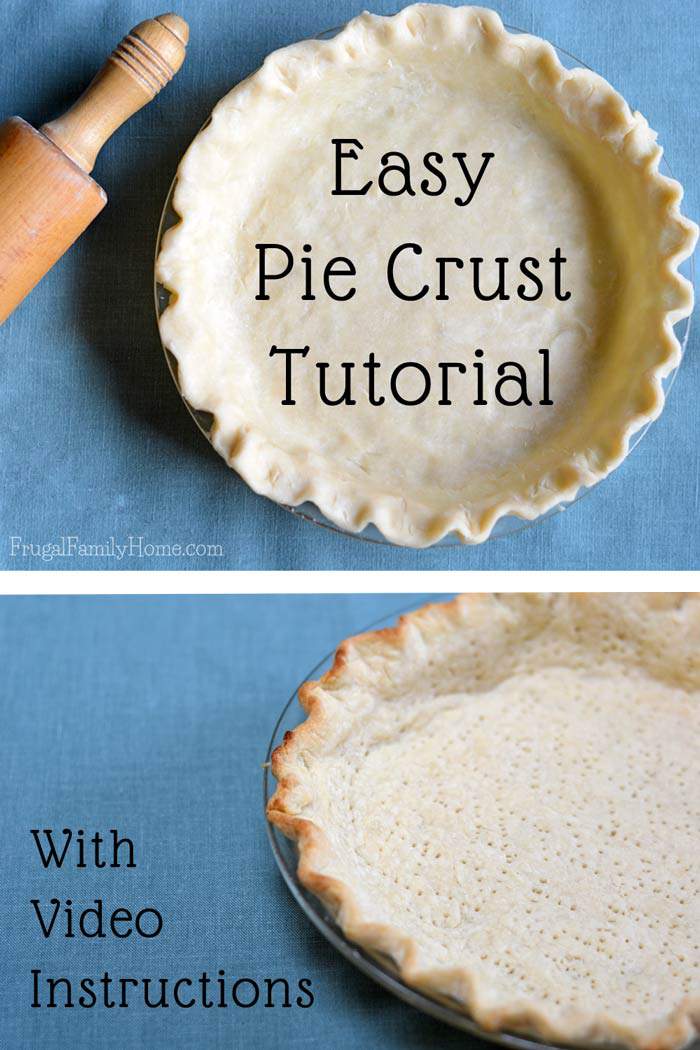
But if you’ll be making a pie like a pudding pie or lemon meringue. Then you’d bake the crust first let it cool then add the filling. To bake the crust first, set the oven temperature at 475 degrees and bake for 8-10 minutes. Then add the filling. I hope that helps, let me know if you have any other questions.