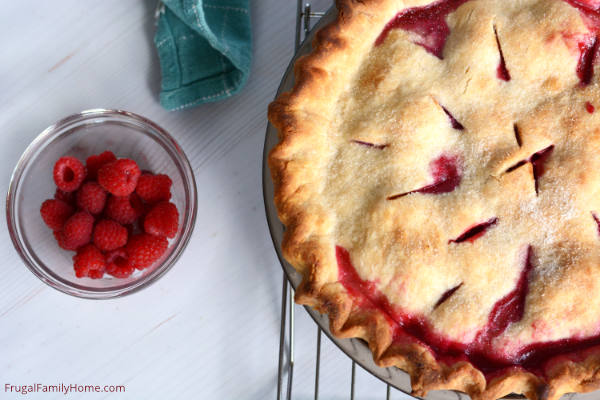
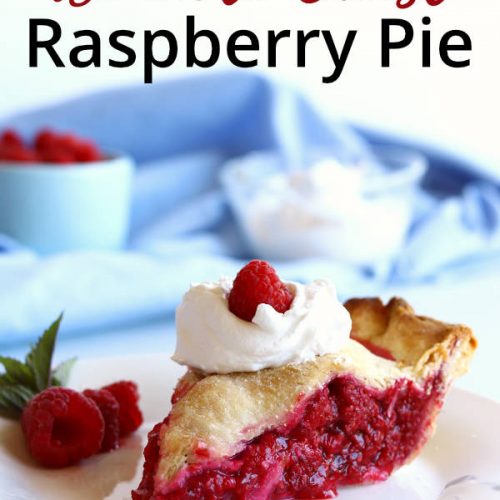
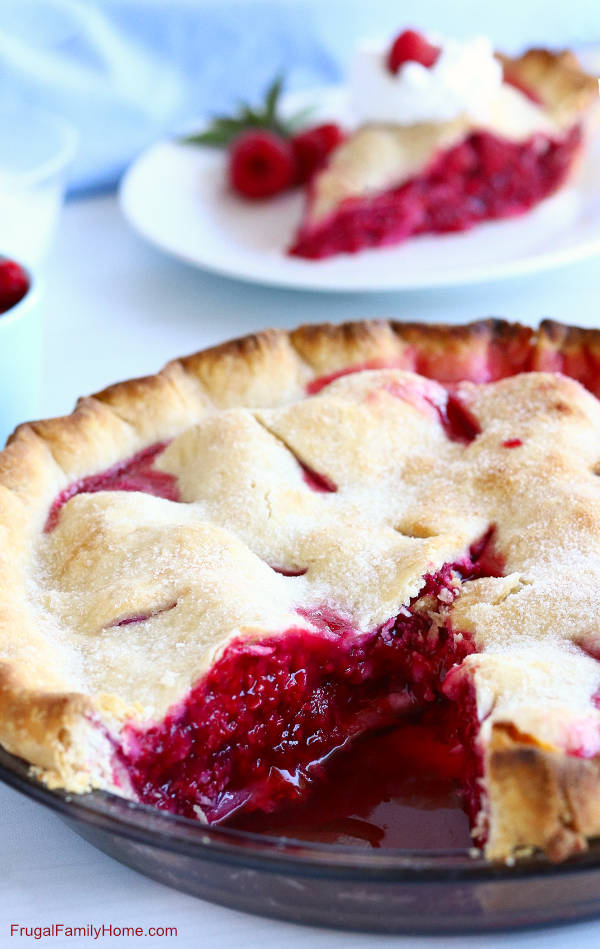
How to Make Raspberry Pie from Scratch, Even If You’ve Never Made Pie
Would you love to make a raspberry pie, but it seems so intimidating? Or maybe you tried in the past to have your pie fail. I want to help you succeed.
Let me show you how to make a raspberry pie from scratch, step by step. Ready to start? Scroll on down!
My great grandma made the best pies. She didn’t even need to measure the ingredients. She just knew how much of each ingredient to use.
I loved watching her bake. But I wasn’t a natural baker like she was, at first. It took lots of practice for me to get my pie crust right. But now it’s so easy and I want making pies to be easy for you too.
That’s why I made this tutorial. So you can feel confident about making your first pie or your tenth pie.
Let’s get started!
First let’s gather your ingredients. And this raspberry pie recipe only takes 6 ingredients. That’s it. And that’s if you’ll be making your own pie crust from scratch.
More Easy Dessert Recipes: Rhubarb Custard Pie | Orange Bars | Mint Chocolate Swirled Brownies | Mini Pumpkin Pies
Don’t worry if you’ve never made pie crust before, I’ll show you how in the video below.
And if you really don’t want to make your own pie crust, no judgement here. Check out the ready-made pie crust in the refrigerator section of the store. They work good too.
Ingredients for from Scratch Raspberry Pie
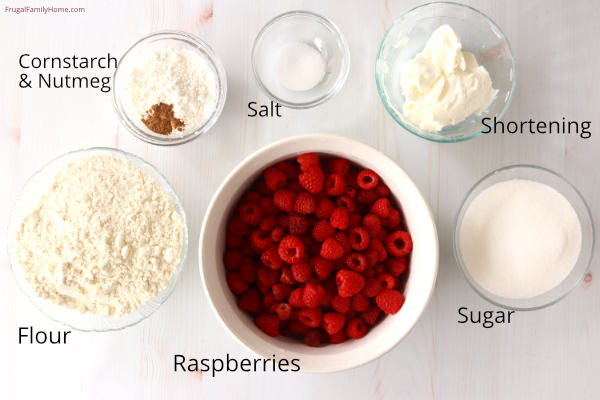
Flour, I use all purpose flour
Salt, regular table salt will do
Shortening or Butter, We use shortening to eat diary free
Raspberries, fresh or frozen, will work
Sugar, to sweeten the pie
Cornstarch, to thicken the juice from the berries
Nutmeg or Cinnamon, we prefer nutmeg (this is optional)
If you’ll be using butter instead of shortening. Make your pie crust and then refrigerate it at least an hour before rolling it out. This will help the crust be flaky. If you are using shortening, you need not chill the dough.
For thickening, I prefer to use cornstarch, you can also use tapioca. It works well to firm up the juices in the pie so they don’t flow all over the pie plate when the pie is cut. If you like a juicer pie, cut the cornstarch in half or use flour instead.
Now you have your ingredients lets get to cooking.
How to Make Raspberry Pie from Scratch {Step by Step Video Tutorial}
This quick video will take you through all the steps to make your own homemade raspberry pie. But if watching videos isn’t for you, hey, I get it. Scroll down for the written tutorial with step-by-step photos and recipe tips too.
Making Homemade Raspberry Pie (Step-by-Step Photos) and Recipe Tips
1. Make a Double Crust
In a large bowl, put the flour and salt in. Then stir.
Measure the shortening and cut it in. I like to use my hands to do this, see the video above to see the technique I use.
Add the water a little at a time and stir with a fork. To start, add a little water to the middle of the flour and stir the wet area. Then add a little more water to a dry area and stir that area again.
Keep wetting the dry areas and stirring gently to moisten all the flour. Keep doing this until the dough comes together in a ball.
Recipe Tip: It’s important not to overwork the dough or it will be tough instead of tender. Just stir gently and not vigorously. You may need more water than it says in the recipe. The primary thing to remember is your dough should be easy to work with, not dry and crumbly or wet and sticky.
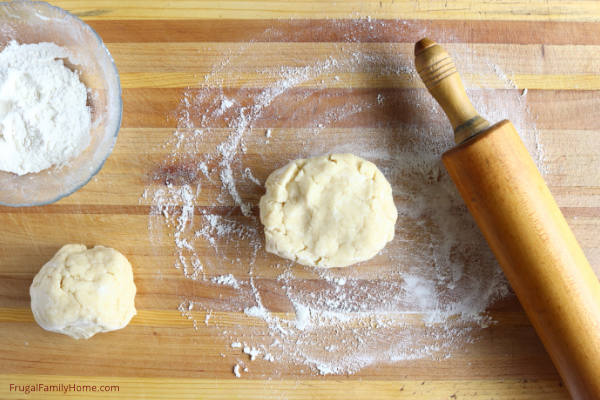
Once you have your dough into a ball. We will cut the dough just a little off the middle. So one section of dough is slightly bigger than the other. The bigger section of dough will be the bottom crust.
Roll dough into balls and set aside.
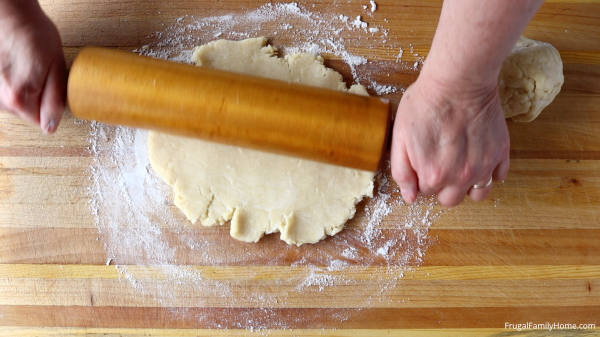
2. Roll the Bottom Crust
Now we have our dough balls, we will take the bigger dough ball and roll it out into a circle.
Place the dough ball on a floured surface and smash with your hand to flatten it a bit. Then using a rolling pin, roll the dough away from you.
Pick up the dough turn a quarter turn and roll away from you again.
Recipe Tip: rolling the dough in one direction instead of back and forth helps to keep the dough tender.
Do this process of rolling and turning, until the dough is big enough for the pie plate. You can test the size by placing the pie plate you’ll be using on the dough circle. If there is about an inch all the way around it’s big enough.
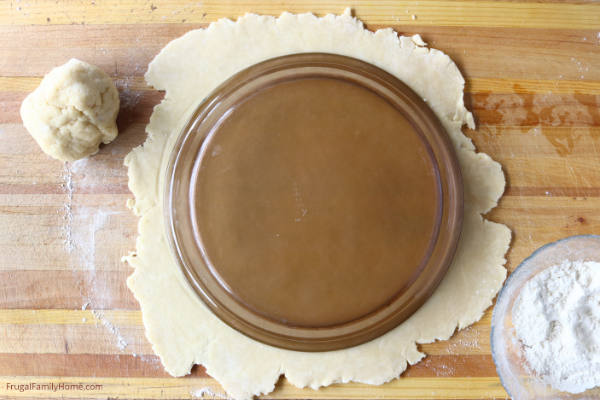
Roll your dough circle onto the rolling pin and transfer to the pie plate. Or gently fold the pie crust into half and then quarter and place in the pie plate.
Push to fit the pie dough into the pie plate. Trim the pie crust to fit just a bit over the edge of the pie plate. Then set aside for now.
Now let’s make the filling.
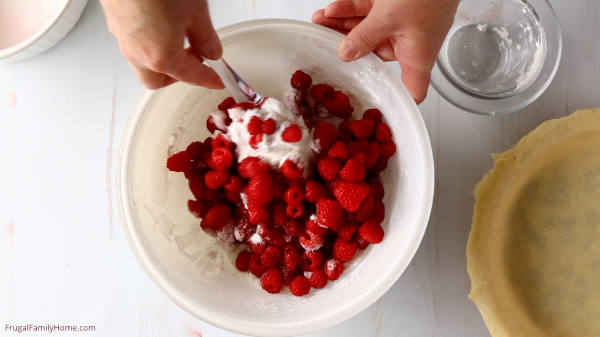
3. Making the Raspberry Pie Filling
In a medium bowl, add the sugar, cornstarch, and nutmeg to the bowl. Whisk to mix well.
Add the raspberries to the bowl and toss gently to coat the berries.
Place the berries into the prepared pie crust and arrange so they fit into the pie crust.
Recipe Tip: Use a wide spatula to gently lift and fold the raspberries to keep them from breaking up. Because raspberries are such a delicate berry, some will break apart and that’s ok.
4. Rolling the Top Crust
We will now take the smaller ball of dough and roll it into a circle. Follow the same technique you used above except making it the size to fit over top of the pie plate.
5. Add Top Pie Crust
Once you have your top pie crust rolled out. Place it on the rolling pin or fold into quarters and place on top of the raspberries.
6. Fit the Pie Crust and Flute the Edge
The next step is to fold the edges of the top dough under the bottom dough.
Just go around tucking the upper pie dough under the lower pie dough. If there is too much dough in one area, trim it off.
After tucking the upper pie dough in, make a decorative edge. You can use a fork, your fingers. See the video above for an easy fluted edge technique.
Recipe Tip: Tucking the upper pie dough under the lower pie dough will make a thicker edge that won’t burn as easily. And it will seal the juices inside the crust too.
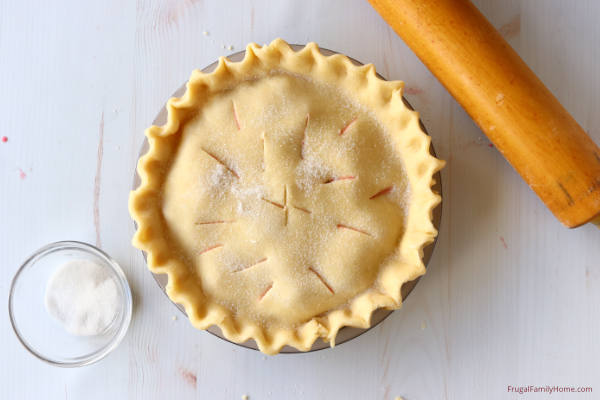
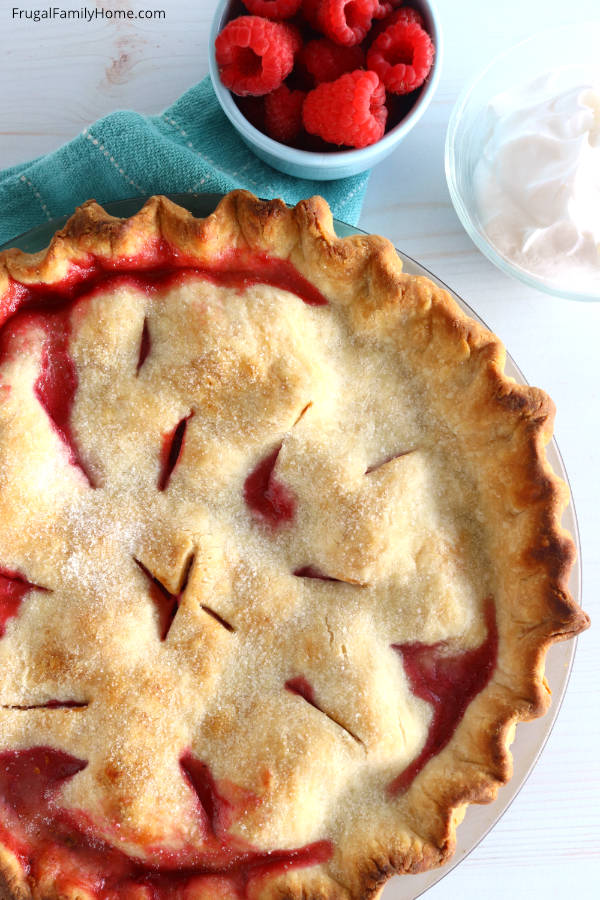
7. Cut Slits on the Top and Sprinkle with Sugar
Cut a few slits in the top. This will let the steam out as the pie bakes. Then sprinkle with sugar, if desired.
8. Bake
Preheat your oven to 425 degrees. Place your pie on the rack in the middle of the oven. And bake until the crust is browned and the juice bubbles through the slits in the top crust.
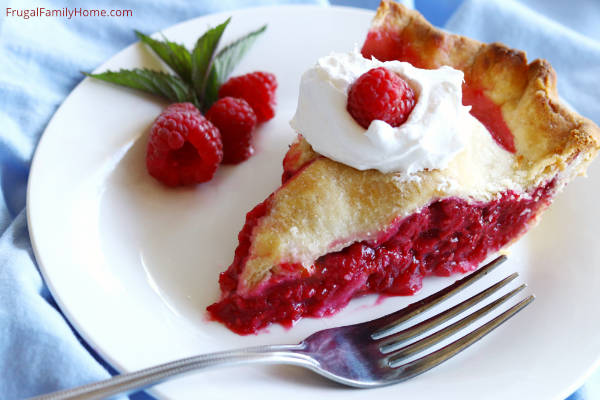
9. Cool, then Serve
It’s best to let the pie cool so the filling can thicken before you cut into the pie. I know this is the hardest part of the entire process.
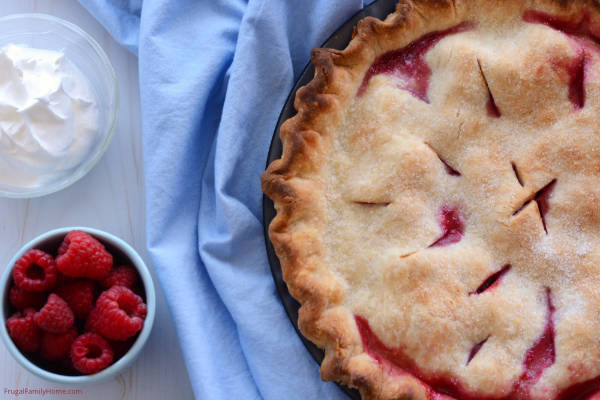
Once it is slightly warm, it’s time to eat. Serve with ice cream or whipped cream and enjoy!
That’s all there is to making your own homemade raspberry pie from scratch.
Most of the work is in making the crust. If making the crust feels too time consuming, give yourself grace and buy a crust at the store.
I hope your pie turns out delicious. If you make this recipe, let me know. Use the hashtag #frugalfamilyhome on Instagram so I can see your yummy pie.
Here’s the printable recipe for you…
Homemade Raspberry Pie from Scratch
Ingredients
For Filling
- 5 cups Raspberries
- 1 cup Sugar
- 4 tablespoons Cornstarch
- 1/2 teaspoon Nutmeg or Cinnamon
Instructions
- In a large bowl, add the flour and salt.
- Cut in the shortening or butter.
- Add small amounts of water at a time and stir in with a fork.
- Only use enough water to moisten the flour, enough to make the pie crust come together into a ball.
- Cut dough almost in half, roll out the larger portion for the bottom crust and place into a pie plate.
- Set other pie crust ball aside for now.
- In another bowl, add the sugar, cornstarch, and nutmeg or cinnamon. Stir to combine.
- Add the raspberries and gently toss to combine.
- Place raspberry mixture into the pie plate.
- Roll out the second pie crust and place on top of the raspberries.
- Fold the edges over and tuck them under the lower crust edge. Pinch to seal.
- Make a decorative edge. And cut slits to release steam in the top crust. Sprinkle with sugar if desired.
- Bake 425 for 35 to 45 minutes or until the pie filling is bubbling and the crust is brown.
- To keep the pie from oozing all over. Let the pie fully cool before cutting into it.
Nutrition
If You Like this Recipe
Subscribe and you'll get Recipes
sent right to your inbox!
Click the button below and fill out the form.
Is this recipe for 9” or 10”
Bridgette, I use a 9 inch pie pan. I hope that helps.
Just made 2 10” pies tonight and they were amazing!! I just added 1 cup more raspberries. I did 1/4 tsp each of nutmeg and cinnamon. I also added 1/2 tsp cinnamon into the crust. Love this recipe 😍. Crust came perfect! Everyone raved about it!
A trick I learned. If you cover your crust edges with foil, they will not burn. I usually just have a two to three inch strip of foil and fold around the top and bottom of edge crimping to hold it on.
Pamela, thanks for sharing your tip. I appreciate it.
I made it without the nutmeg or cinnamon, and it was fantastic! I also used Kerrigan Butter, Himalayan Salt and Clabber Girl cornstarch. This was a great hit! Thank you so much for the recipe!!!
Tibor, I’m glad you liked the recipe. Thanks for letting me know, you made my day.
I don’t bake many pies, but our raspberry patch went bonkers and this simple recipe with a video tutorial was irresistible. Following your instructions exactly, the pie was beautiful and delicious! The crust was very flaky and tender, and the filling had just the right amount of sweetness and set up nicely. Thanks so much for a fantastic recipe that I will make time and again!
Alicia, I’m so glad you liked the recipe. You made my day with this comment. Thank you.