How to Make These Easy Felt Christmas Tree Ornaments
Making Christmas tree ornaments each year has been a tradition with my kids since my daughter was little.
Sometimes we would purchase kits and then give the extras ornaments as gifts, other times we would make them ourselves out of what we had on hand. It was always fun to make one or two new ornaments each year with them.
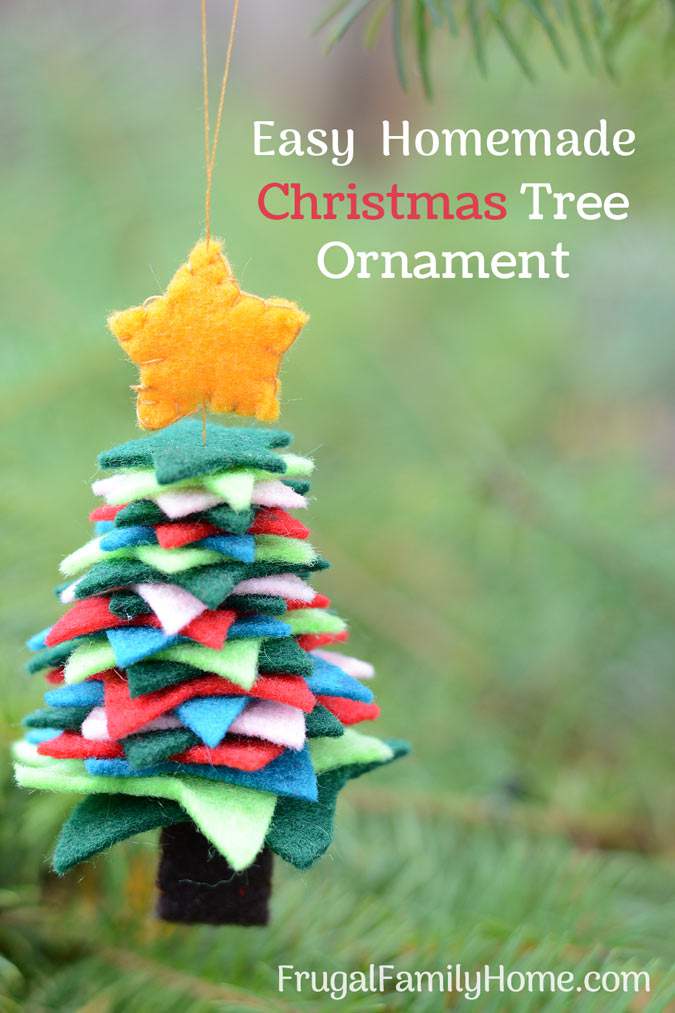
This year is no different. We’ve already started crafting and this is our first new creation for this year.
I found inspiration on Pinterest when I saw a cute felt Christmas tree made out of circles. But search as I might the blog with the instructions was gone.
While I could have given up I didn’t think it would be that hard to make a pattern. After a little trial and error, we finally got it right and I have the pattern to share with you. I think these handmade ornaments turned out so cute too.

I’ve included my referral links where appropriate. When you purchase through these links you help support us at no extra cost to you. Thanks for you support in this way.
What You’ll Need to Make these Felt Christmas Trees…
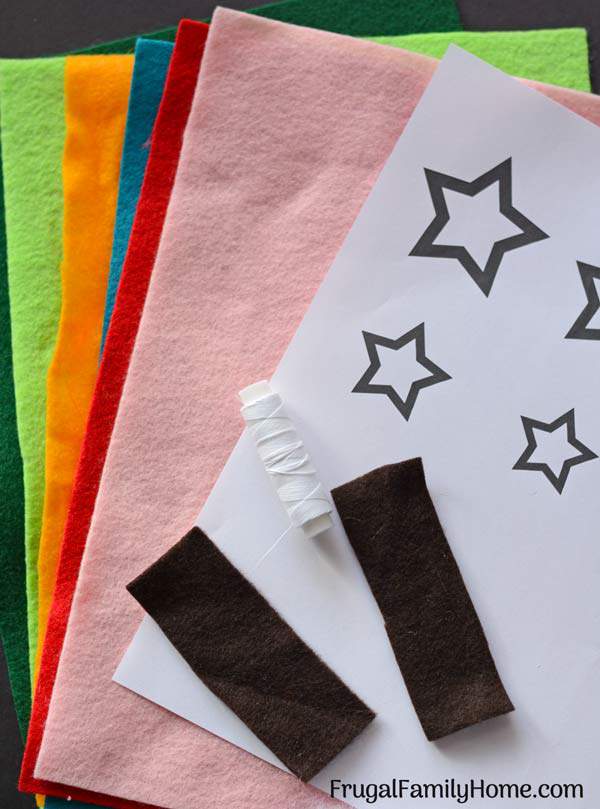
Felt Squares in assorted colors
Pattern
Thread
Scissors
Needle
Step By Step Instruction for Making These Christmas Tree Ornaments
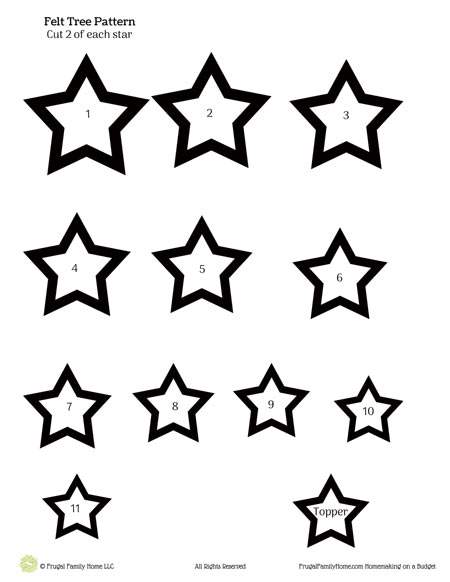
Download the pattern and cut all out the stars. The stars are numbered. The bigger stars go at the bottom of the tree and the smaller stars at the top.
There is one star marked topper and that one is for the top of the tree.

Cut the stars out of the felt squares. You’ll need two of each size of the stars. I found that stacking two different colors of felt and then cutting out each star made the process go faster.
I also alternated the colors as I went along. Two colors for the largest star, two different colors for the next largest stars and another two different colors for the next size star.
Then start over again with the color combinations. Be sure to cut two of the topper star also.
The last item you need to cut out is the trunk. I used a brown felt for the trunk but it could be any color you wish. You’ll need a rectangle the size of 2 inches long and 3/4 an inch wide.
Now you have all 22 stars for the main part of the tree, a trunk piece, and 2 topper stars, it’s time to assemble the tree.
You can either hot glue the trunk and topper star together or sew them up. For the trunk fold it in half and then sew or glue together.
I sewed mine with a blanket stitch, the kids decided to glue theirs. Do the same for the topper star, glue or sew it together.
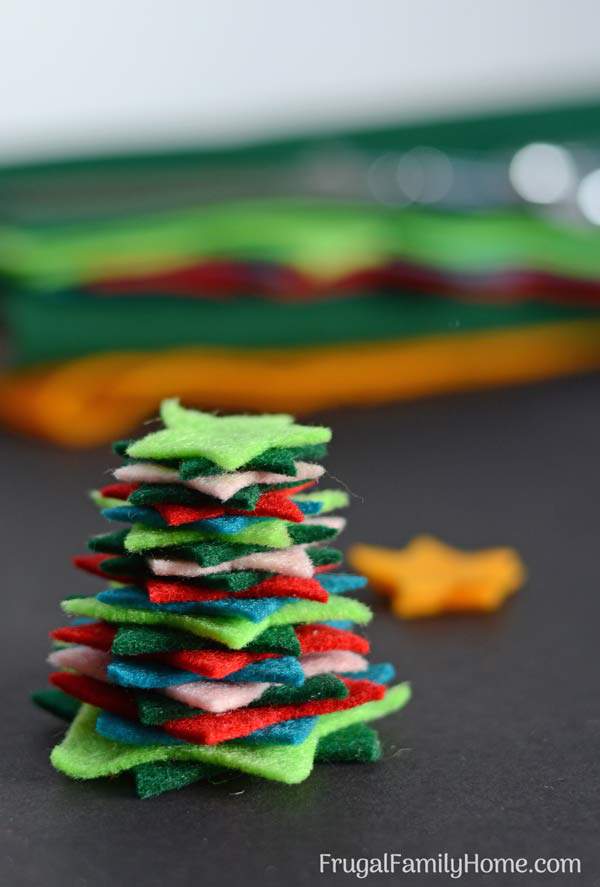
Start to build the Christmas tree ornaments by stacking the 22 stars with the biggest stars at the bottom and work up to the smallest stars.
While stacking the stars I offset them as I went along to make a full tree and to give it dimension. Once you have the layers stacked the way you want them it’s time to sew them together.
Take a needle with thread and double the thread and tie a knot at the end.
Hold the stack of stars in your hand and compress them as tightly as you can. Press the needle through all the layers.
Starting in the middle of the bottom and pushing up, coming out of the center of the top and draw the thread through.
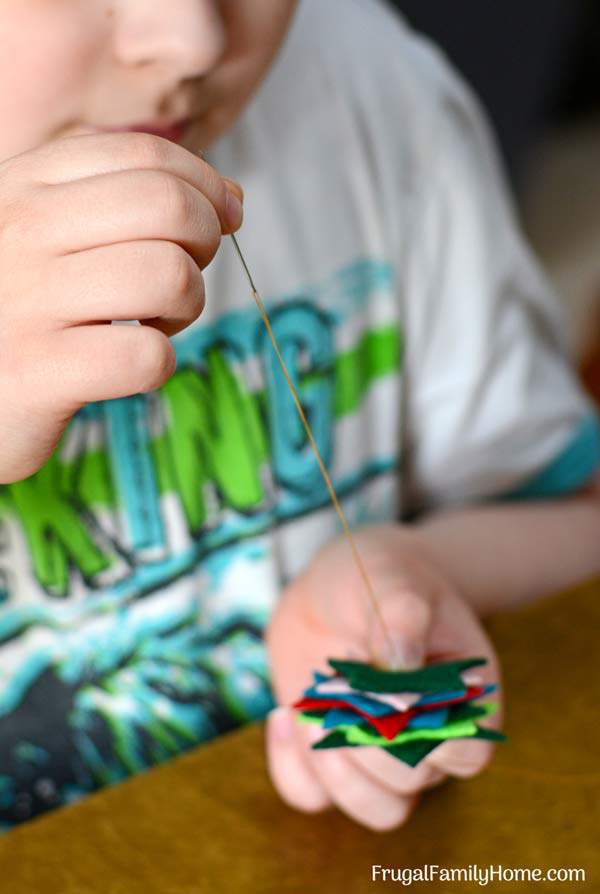
If your needle is too short to go through all the layers or it’s too hard to hold onto that many layers, take as many layers as you can and pull the thread through and repeat with the next stack.
My kids liked this way of assembling them better. It was easier for them.
Once all the stars to form the tree are added. Take the topper star and push the needle through the middle of the two layers from the bottom up through the top.
Cut the needle off the thread, leaving enough thread to tie into a circle to hang the ornament by.
You’re almost done, it’s time to sew on the trunk. Take the trunk and sew it to the bottom of the tree in the middle.
This will cover the knot from the thread that was used to sew the layer together. Once you’ve gone around the whole top of the trunk and it’s secure tie off the thread and cut the excess.
Now you have a cute felt layered Christmas tree.
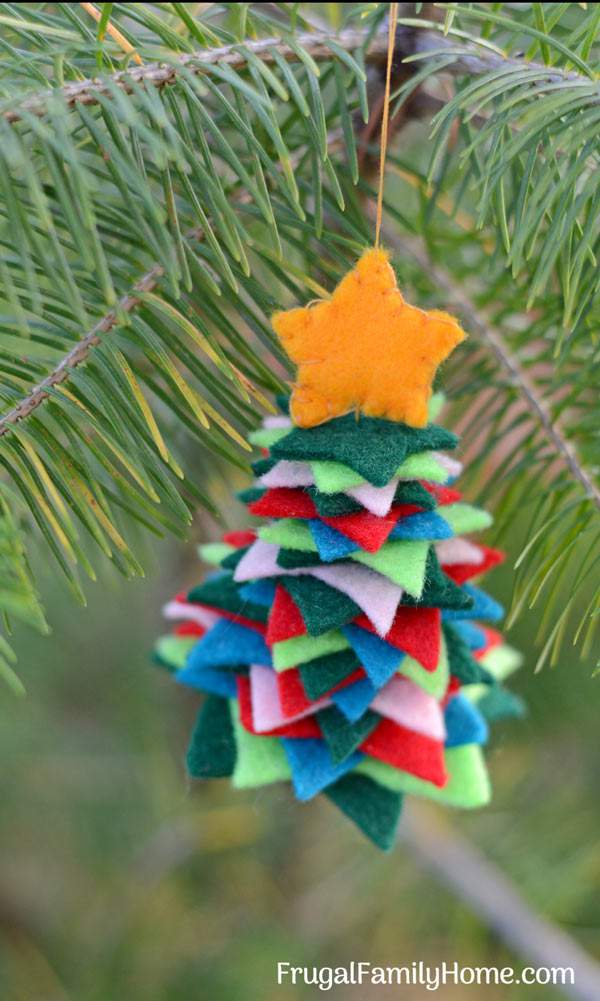
It took us about 40 minutes to make the three we made. It would have been easy to cut more felt stars if we wanted to assemble more. The cutting part is the most time consuming.
I think these Christmas tree ornaments would also be a great addition to a present. Taping it to the outside would dress up the package and make for a cute additional gift.
That’s all there is to make these cute Christmas tree ornaments. Do you add a new ornament to your tree each year?
More Ornaments to Make

I love those ornaments, Shelly! Thanks for sharing how to make them. 🙂
Thanks Sandra!
I love these cute ornaments! I like to decorate our tree with a more rustic style, and these would fit in perfectly!
We usually buy an ornament each year from a special place we’ve visited or that marks a special occasion in our lives, like when we bought our house several years ago or when our kids were born.
Super cute! Thank you for making the pattern.
When trying to download it I am getting an error- This XML file does not appear to have any style information associated with it. The document tree is shown below.
I will try back later.
Tina, Thanks for alerting me to the problem. I have it fixed now and the pattern can be downloaded. ~Shelly
Cute! Thanks for sharing the star patterns with us. I am lazy, so will probably substitute buttons or a piece of cinnamon stick for the trunk.
I’m sure they will turn out great just the same Patricia. 🙂
I have been looking for the same felt Christmas tree made out of circles, and I couldn’t find it either. So: thanks for posting this one! I’m going to make several to give to my closest friends and relatives instead of a Christmas card. I remember that the tree made of circles had a cinnamon stick as a tree trunk.
So glad you found this helpful. A cinnamon stick as a trunk would make the ornament smell so good. I hope yours turn out great.