DIY Bathroom Vanity Update…Continued
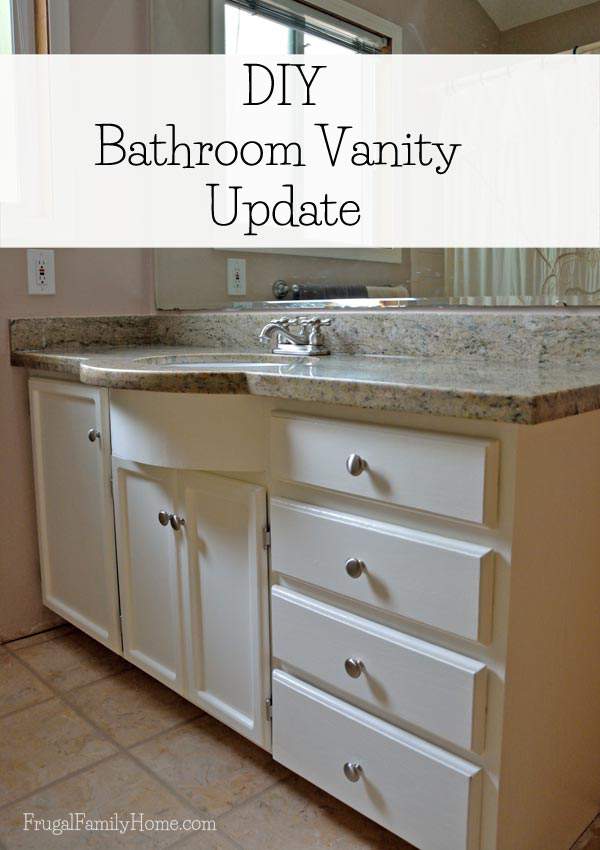
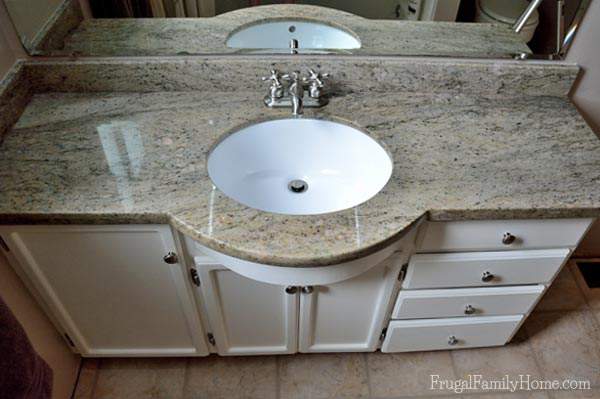
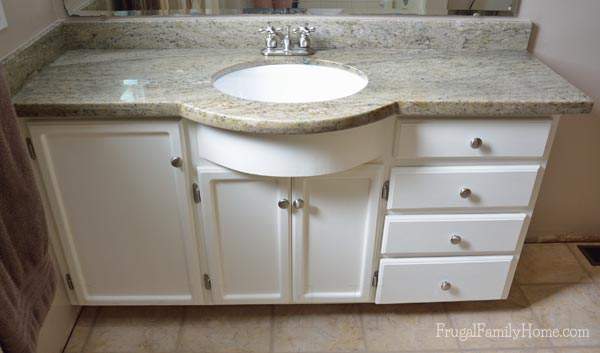
Now for the unveiling of our new vanity! If you missed yesterday’s post about how this project started you can find it here. We have been wanting to get this bathroom vanity updated for a long time, almost 16 years so I’m so glad to have it completed.
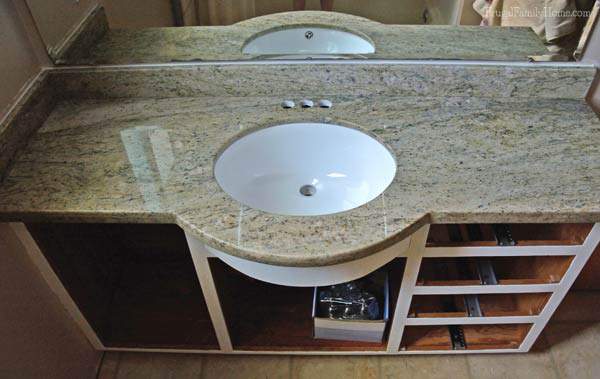
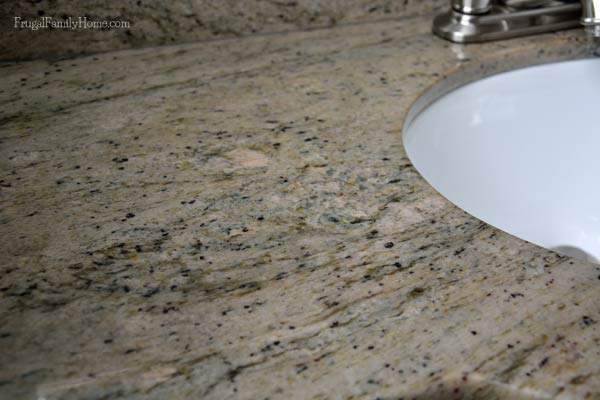
Last time, I left off with the vanity granite countertop installed and the vanity itself primed. Here’s an up close look at the granite. I think it has some nice colors in it and all neutral. So it should coordinate with any changes I might make in the future.
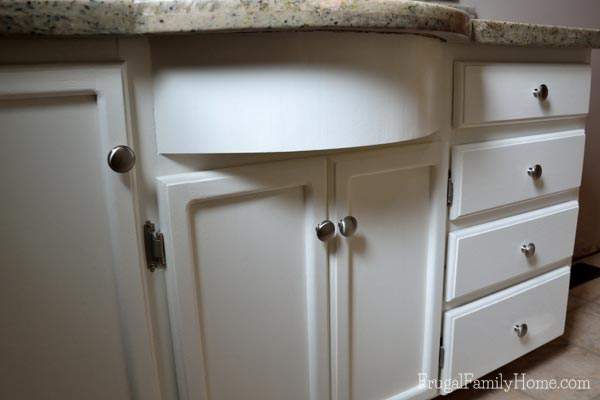
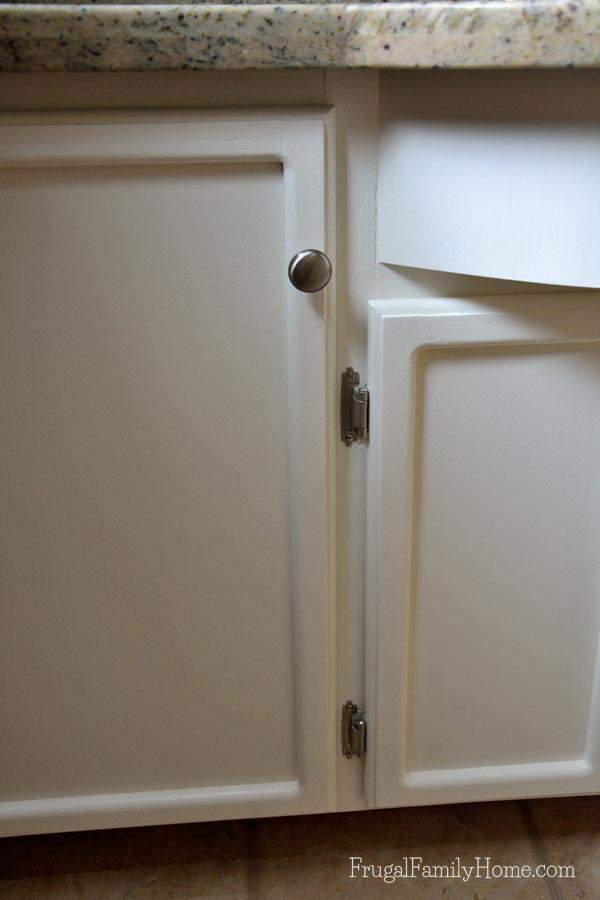
I knew that painting the wood might be a little challenging. I wasn’t sure how it would look once it was done. If all the wood grain would be covered or if there would be brush marks or roller marks. But I’m happy to say it turned out great.
Here’s a few tips to painting bare wood that I learned
Tip #1 Use a good primer
I did learn a few tips along the way for painting a wooden surface though. I primed it well. We used a good primer that stuck really well to the wood. It also sticks to skin really well, yes it was really sticky!
Tip #2 Use a close nap roller or brush that is slightly damp
When applying the paint or primer use a close nap roller or brush. I chose to use a roller with a very short nap to apply most of the paint and cut in the sides and edges with a brush. I also learned that wetting the roller first, helped to apply a lighter coat of paint and primer. Which helps to combat drips and roller or brush marks.
Tip #3 Go in one direction with the paint strokes
The person at the paint store also gave me a tip, to only roll or brush in one direction, instead of back and forth like you would a wall. Which was a great tip, I wouldn’t have known to use that technique, if she hadn’t told me. It worked really well and there are no brush marks on the surface at all. The roller marks are almost nonexistent too.
Tip #4 Do more than one coat and use the appropriate paint for the project
I was pleased that we could still see some of the wood grain showing through the paint. We didn’t want to get rid of all traces of the wood just the color. Having the wood grain showing through looks really nice.
I ended up adding two coats of primer and two coats of paint to get a nice even finish. We also used an acrylic paint that hardens like an oil based paint, to insure it would last a long time.
Since we have kids, we chose a semi gloss for the finish. I think gloss might have been better, but I’ve had trouble with gloss paints in the past so I avoided it for this project. At first, I thought I would go with a satin finish, but the lady at the paint store suggested the semi-gloss or gloss would hold up better.
Tip #5 The finishing touches really do make the project
To finish off the vanity, we added new brushed nickel hinges and pulls. We didn’t have pulls on the drawers or doors before. We thought adding them not only finished the look nicely, but would also protect the paint from fingernail nicks.
One part of our DIY bathroom remodel is done. Our next project is to tackle the floor and repair any damaged areas around the toilet.
[signoff]
Be sure to follow me on Instagram for photo updates on how the rest of our DIY Bathroom Remodel project is coming along. Or you can subscribe to my blog updates so you don’t miss any new posts.

Wow! Great job. I have the same granite counter top in my kitchen. We remodeled three years ago and I still love it! You are right, it is very neutral and goes with everything:)
Thanks Theresa. We need to redo the kitchen counters too, after we recover from the bathroom remodel. 🙂 I do really like the granite counter top, I think we will go with it in the kitchen too.
Wow, it looks great Shelly! You did a wonderful job…I would love to have a vanity like this in my bathroom 🙂
Thanks Erin, I’m really excited to have it done. Can’t wait until we get the tub and shower done too. 🙂
Your paint job looks great! We need to paint our vanity one of these days. We have only been in our house 1 year, so hopefully it gets done before 16 years. 🙂 Great tips that will come in handy someday. Will pin for future reference!
Yes it did take us a while to get it done. I hope yours doesn’t take as long. 🙂
really nice job, it looks great!
Thanks Sue!
Shelly your vanity looks wonderful. You did a great job on the project. We need to update all 3 of our bathrooms and I’m so nervous to start tackling those. Thank you for the inspiration, I have one bathroom with a weird built in vanity, I think I am just going to refinish and replace the top like you did on this one. Can’t wait to see the rest.
Thanks Sakura. We are hoping to get started on more this week.