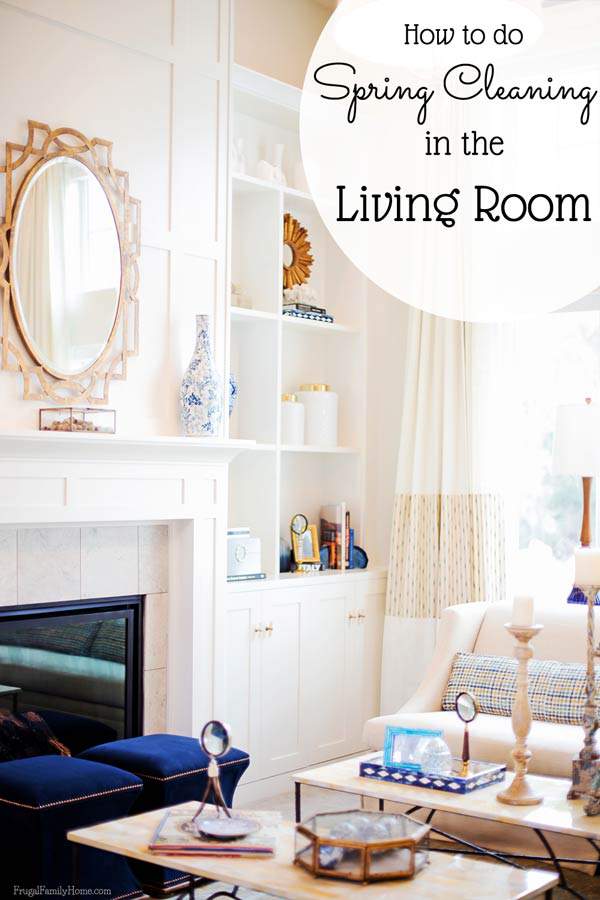
How to do Spring Cleaning in the Living Room

Do you spring clean your house? If you don’t, why is that? Is it because you just don’t really know what you should be doing or you think it will take over your life? It doesn’t have to you. You can personalize your spring cleaning plan to fit your the time you have and the tasks that need to be done.
But if you don’t even know quite where to start, I’m here to help. I used to get really excited about spring cleaning. Getting rid of all the dust and dirt that’s build up and been overlooked for a while was a fun challenge for me. But the last few years, I’ve been kinda blah, about spring cleaning. So to motivate myself, I thought I would share a couple how to do spring clean posts with you.
I like to start with the rooms, that get the most use, when I spring clean. Then if I can’t get to the whole house, at least I know our most used rooms have been freshened up. We are often in our living room, plus we have our wood stove in this room and a fine dust seems to settle on everything in this room. Now that we are done burning wood for the year I knew it was time to clean it up.
Some of the links below are my referral links. Which means as an Amazon Associate I earn from qualifying purchases and when you purchase through them I can make a little money at no extra cost to you. Thanks! See my disclosure policy for more information.
How to do Spring Cleaning in the Living Room
First you’ll want to gather your cleaning supplies. Here’s what I use,
Long handled duster (to get to those high cobwebs and clean the corners)
E-Cloth
Glass and Polishing Cloth
Furniture Polish and/or Dusting Wand
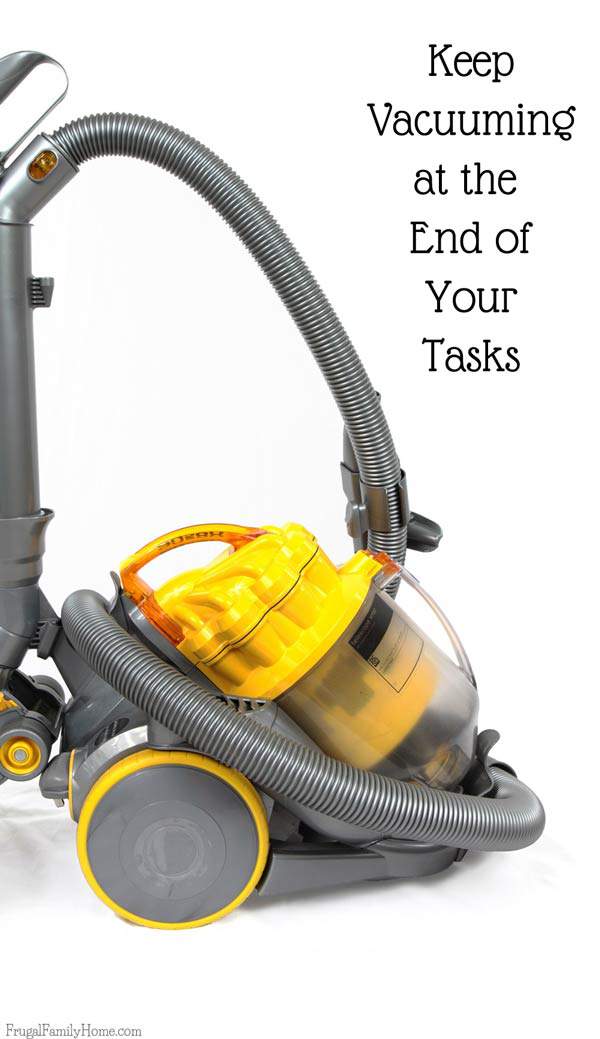
Vacuum
Spring Cleaning the Living Room
Before you even start to clean the living room, I want you to take a good look around the room, for any item that doesn’t belong. Or any items you just don’t love and move them to a box. When you are done with the room you can put the items away in their rightful place, donate or throw them away. Just clear them out so the cleaning process will be easier.
Start with the Window Coverings
If you have washable window coverings, take them down and put them into the wash. If they need to be dry cleaned, you can take them down and get them ready to go with your next trip. If you have mini blinds, take them down and wash them in the tub or wipe them down in place with a cloth, like an e-cloth.
I usually wipe mine down my mini blinds in place, unless they are really bad. If they are really bad, I will take them outside to the driveway and wash them. They won’t fit in my tub.
Work from the Top Down
Now that the window covering are handled it’s time to start cleaning the room. It’s best to start from the top of the room and work your way down. That way you keep moving any dust and debris to the floor where it can be vacuumed up and taken out of the room.
Start with the long handled duster and go around the room to get any cobwebs. Make sure to go around each light fixture and down the corners of the room.
Washing the Walls
You’ll need to decide, if you just need to spot clean with a magic sponge or if you want to wash the whole wall. In our living room with the fine dust that settles, I need to wash the whole wall.
I start with one wall and then once it’s done I move onto the next wall. First remove any pictures from the walls and wipe them down as they are taken down. With a damp or soapy cloth start cleaning the wall from the top down. I use my e-cloth for this job. If you don’t have an e-cloth you might want to mix up a small bucket of soapy water and have a rag or sponge to use.
Start at the top of the wall and work you way down in sections until you reach the bottom of the wall. When you start at the top you’ll be cleaning any streaks that form while cleaning downward. Keeping the clean area above clean.
Once you come to the bottom of the wall be sure to wipe down the baseboard too. Move any furniture away from the wall as you come to it. I know it will seem like a huge task when you start. Put on some music and keep working. You’ll be done before you know it.
Be sure to clean the windows as you come to them too. That’s why I love using the e-cloth. It can go from cleaning the wall to the window without having to switch to a different cleaning solution, since they only need water to clean.
After you have each wall clean, replace the pictures you removed, before you start the next wall. It will make for less work when you are all done washing the walls.
Cleaning the Furniture
Since you likely have all the furniture pulled out it’s a good time to vacuum and clean them. Take all the pillows and cushions off. Vacuum the cushions and pillows. Then take an attachment and really vacuum any nooks and crannies that are in the furniture. You might even need to turn the item over to clean under it. The reclining chairs often need to be turned upside down to clean them inside too.
Once the item is fully vacuumed, replace the cushions and pillows but don’t put the item back in it’s place just yet. Vacuum the carpet where the furniture sits, then place it, in it’s place. You should have the wall and the baseboard behind each piece done and the floor underneath.

Finish Dusting and Clean the Floors
Move onto dusting and or vacuuming the other surfaces in the living room, like the hearth, the mantle, and window sills. Be sure to remove pictures and keepsakes and dust them as you go along too.
Everything above the floor should now be clean and it’s time to clean the floor. If you have a rug, vacuum the floor. Take your time, making sure the vacuum cleaning has enough time to work as you go along.
If you have area rugs, vacuum them then remove them and clean the floor beneath. I like to take my area rugs outside and give them a good shake to clean them. If you have a clothesline, you could hang your rug on it and then give the rug a good beating with a clean broom.
Finishing the Room
Now that everything is clean. Replace the window coverings or blinds. Bring the rugs back in and put them into place. Make sure all the furniture is back in it’s proper spot. Adjust any crooked pictures. Light a nice scented candle, sit down and sort through your box of items.
Leave the items to be donated in the box, put the throw away items in the trash and finally place any items left over in their proper location.
Then sit back and enjoy your nicely cleaned living room.
Now it’s your turn
What is one cleaning task you really hate to do in the living room and why? I would love to hear about it in the comments below.
PS, the task I hate the most to do in the living room is…dusting. I hate that it is constantly building up. I only wish there was a way to get rid of it for good. 🙂
See the other posts in the How to do Spring Cleaning series.

I agree with you…dusting is the worst! It seems like such a waste of time, but I also hate seeing dusty furniture, so I guess it really isn’t a waste in the long run!
Cleaning blinds is also one of the things I most hate to do. I can’t get my blinds down (I’m afraid to break the clips that hold them in place), so I end up using a dusting wand and a cloth…it takes forever!
This post is amazing! Thank you so much for such clear instructions.