Easy Gift Idea, Christmas Throw Pillow
This is my second idea for easy Christmas gifts. Did you see the first one last week? If not be sure to check out the Rose Sugar Body Scrub tutorial. It’s super easy to make, just three ingredients and works really well. I’ve been using it for a while now and love it.
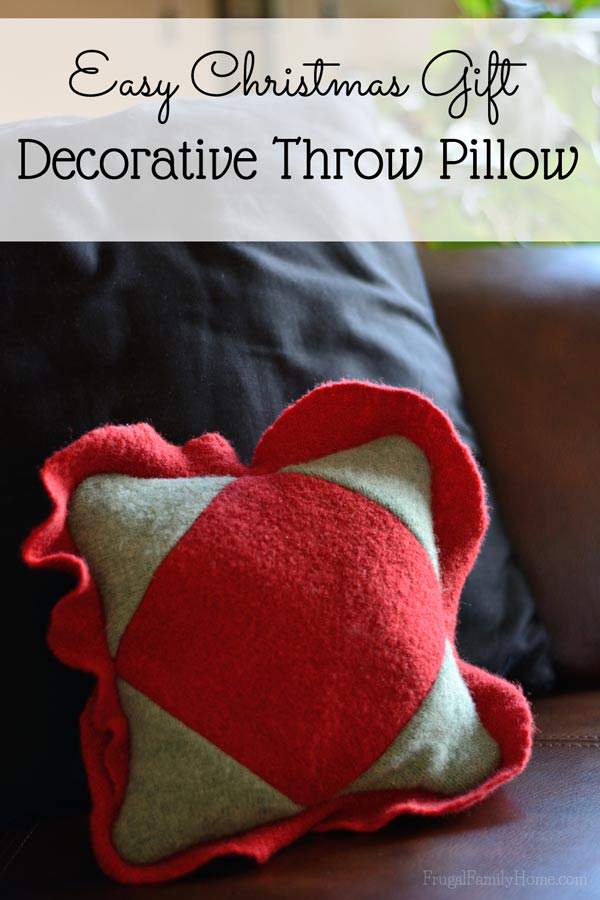
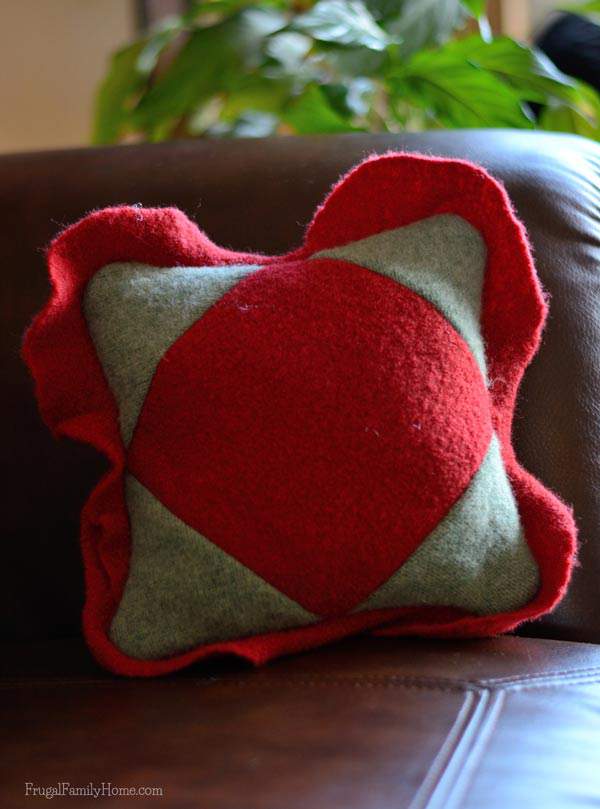
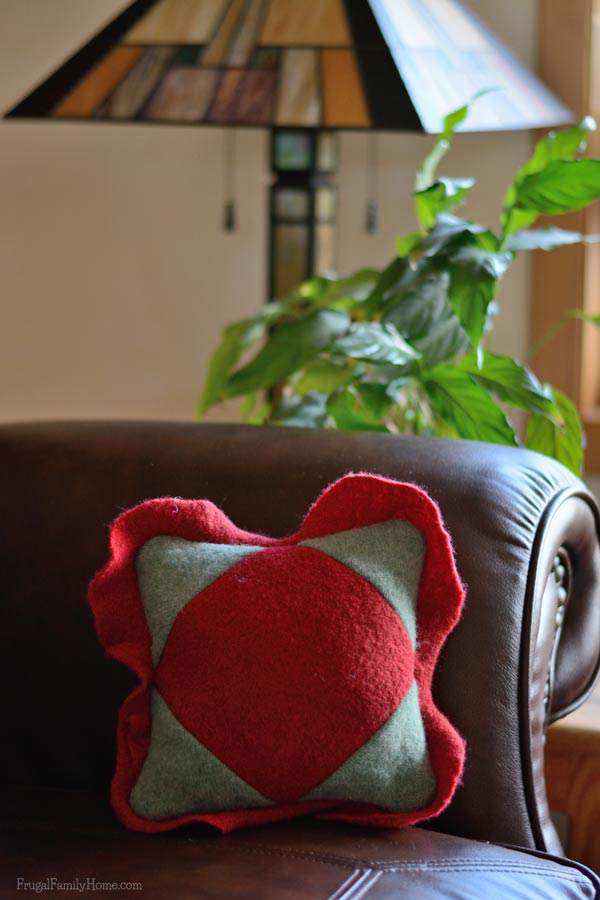
Today’s gift tutorial is for a cute little, and when I say little I mean about 8 inches square, pillow. I’m not a gifted home decor person. But I do like to add a touch of the season here and there. Like for fall, when we made the fall leaf garland.
This little pillow can add a touch of holiday color to your couch or chair without being hard to make at all. If you can match edges and sew a straight line, then you can make this pillow. It can also make a great gift for someone who is holiday decorating challenged like myself.
Here’s what you will need to make the pillow,
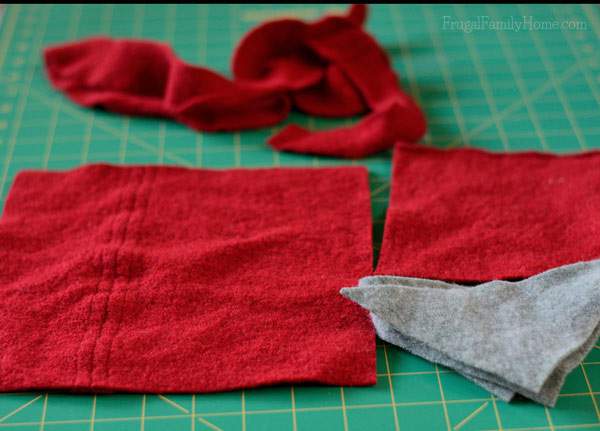
1 six inch square of fabric (I cut my square out of an old felted wool sweater)
2 five inch squares of fabric (cut these out of the felted wool sweater I had from the dog sweater project)
1 back piece, I cut a 9 inch square (out of the old felted wool sweater like the front)
Optional, 40 inches of 1 1/2 inch ruffle (I used the ruffle trim off the felted wool sweater since it was the perfect size)
Step one
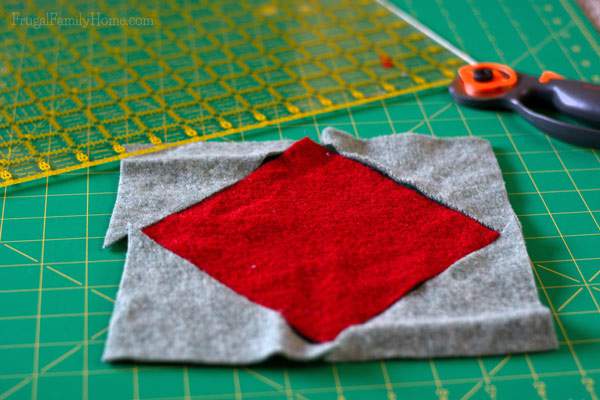
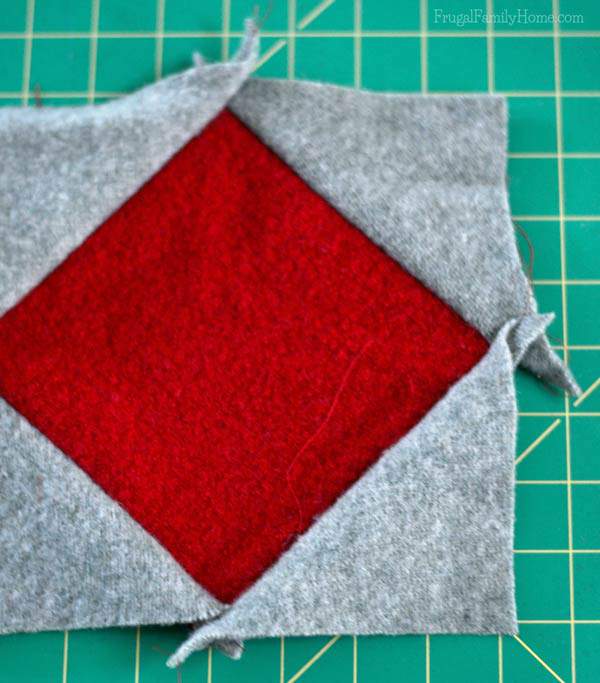
Cut the two 5 inches squares of fabric, diagonally. Then match two of them to opposite sides of the six inch square, right sides facing. Just center the triangle pieces over one edge of the square there will be a little fabric that will hang over each end. The main thing is to center it. Pin and stitch, I used a 1/2 inch seam. Do the same thing for the second triangle to the opposite side of the square.
Step Two
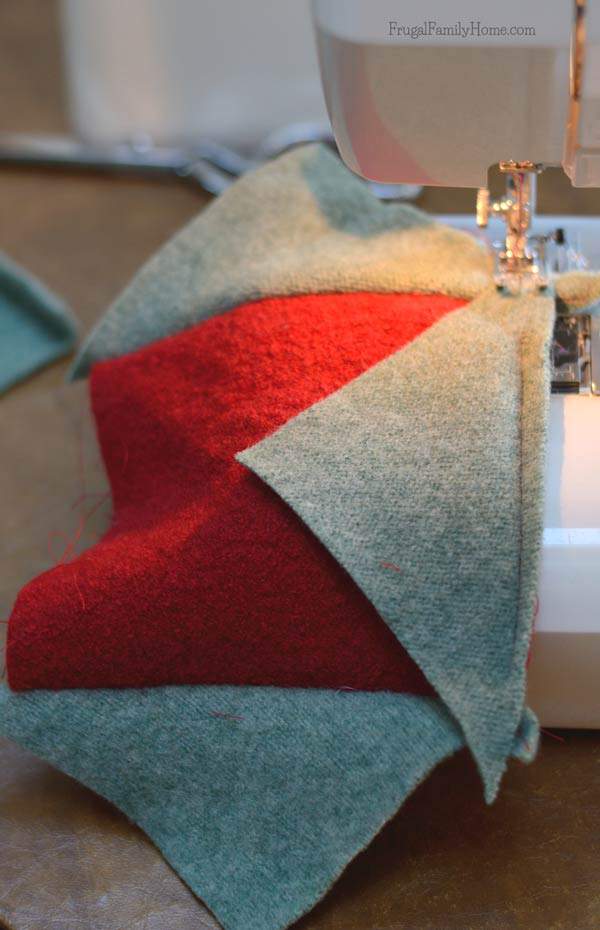
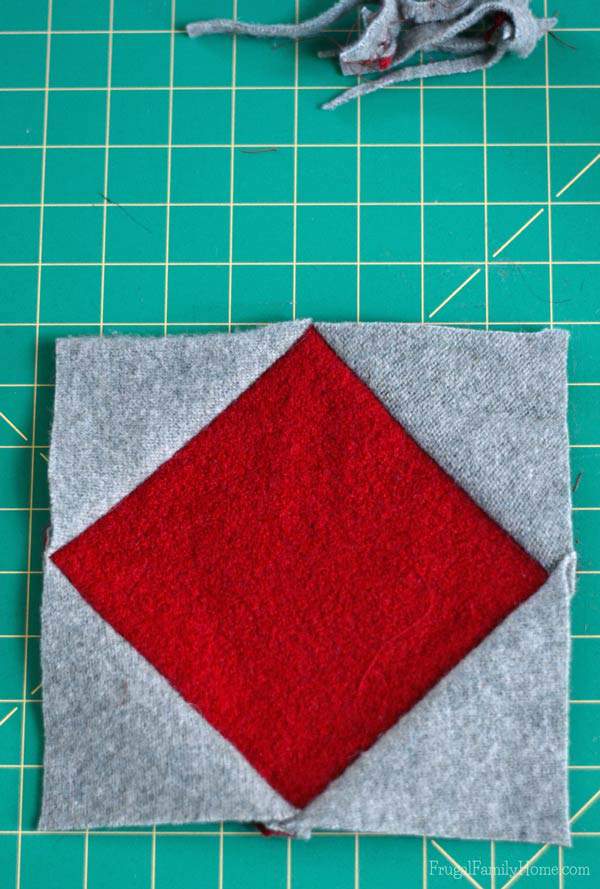
Press the two triangles back and do the same with the two other triangles to the other two edges of the 6 inch square. The main thing to remember is the first two triangle must be press back. Don’t leave them on the square or you will sew down part of the triangle you don’t want sewn. (see photo above)
Step Three
Press the final two triangles back and trim the extra bits of fabric off so you have a nice square.
Step Four
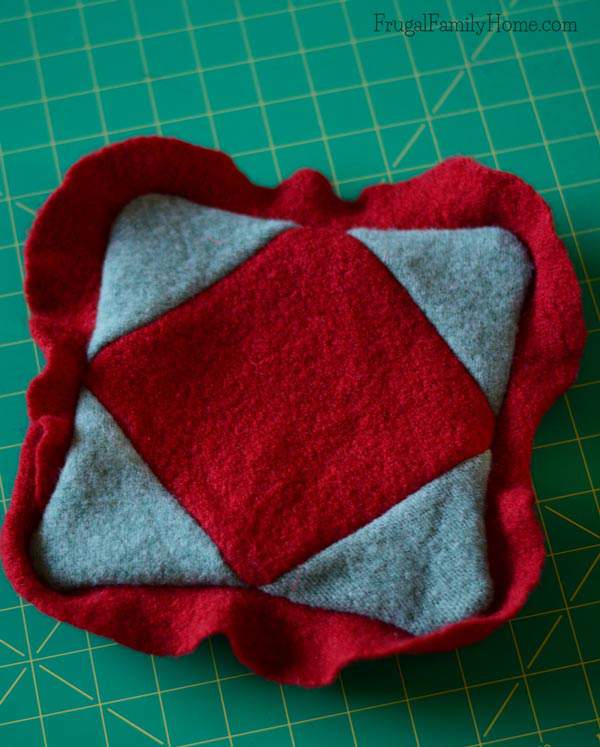
Time to add the optional ruffle trim. Pin the trim all the way around the edges of the square with right sides facing then machine baste all the way around to hold it in place. For the ends, I just tuck one in front of the other. But you can sew them together, if desired.
Step Five
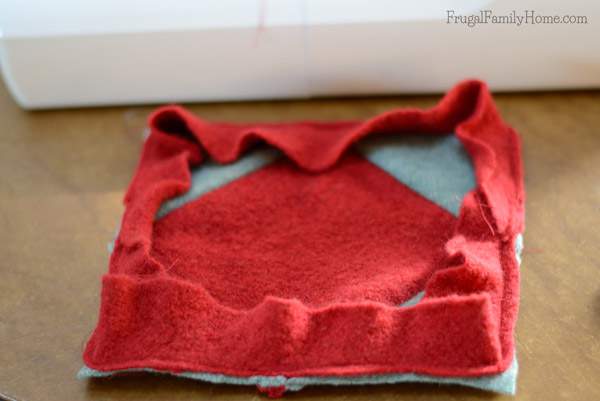
Now that the front and ruffle are done. It’s time to place the back on the pillow. I placed my fabric backing square down and then placed the front square on top and cut the backing to fit the front square. After the squares (front and back) are the same size, you will want to pin them together, with the right side of the fabric to the right side of the front square. Be sure to leave the ruffle tucked into the center so you don’t sew it down. Sew the square all the way around leaving a small opening on one side to turn the pillow.
Step Six
Stuff the pillow with stuffing, I used poly fill on mine. Then stitch by hand the small opening. Your pillow is now complete.
I love the look of the felted wool for this cute little pillow. But other fabrics could be used. Use what you have on hand or pick up a few fat quarters at the fabric store to complete this project.
Are you making any handmade gifts or decorations this year for Christmas? I would love to hear about any projects you are making too. Scroll down and leave a comment below.
[signoff]
[email]
[connect]

That’s a very cute pillow, Shelly! I don’t have a sewing machine but would like to get one someday. 🙂
This pillow is just adorable! It would be so cute in a little reading nook or just to put out on the main sitting area in the living room to decorate for the holidays.
Thanks Erin!