How to Can Tomatoes A Step by Step Guide with Video
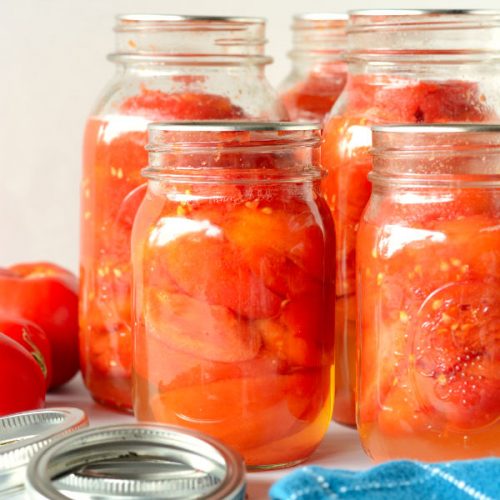
If you have a bumper crop of tomatoes you want to can then read on to learn how to can tomatoes at home.
This step-by-step canning video tutorial can help you can tomatoes from start to finish in a water bath canner.
And I have a simple way to peel the tomatoes too.
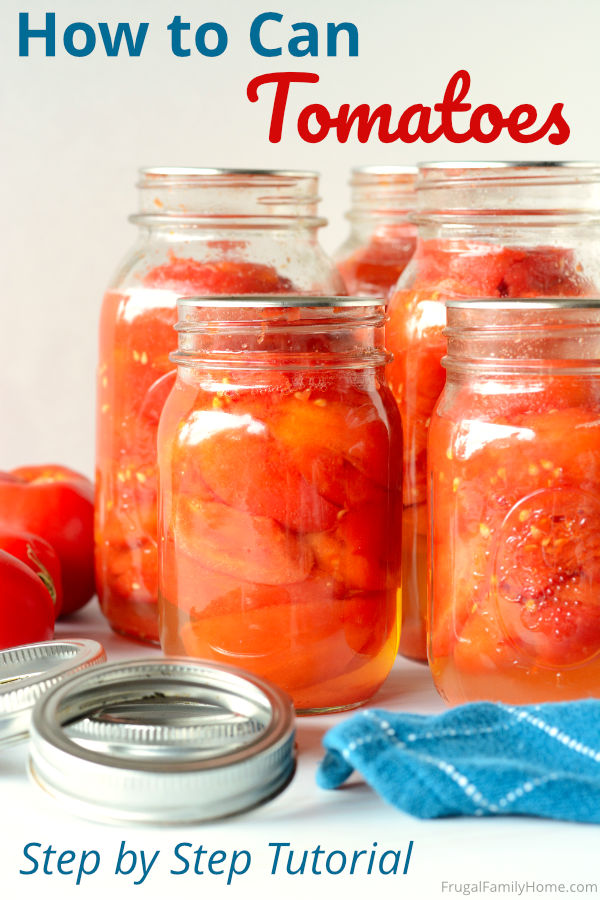
Sure you can buy canned tomatoes, but if you have a bunch ready from your garden, why not can them to preserve them for later?
It’s not as hard to do as you might think. And this tutorial can help you learn how to home can tomatoes.
What Kind of Tomatoes are Best for Canning?
I’ve found that paste tomatoes make the best canned tomatoes. Although any tomatoes can be canned.
The paste tomatoes are better for cooking with and better for canning too. They are less watery and have a good meaty texture that works great in sauces and holds up to cooking.
Do I have to Pressure Can Tomatoes?
No, you don’t have to can tomatoes in a pressure canner because tomatoes are a high acid food they are safe to can in a boiling water canner.
But you must add acid to the tomatoes to make them safe to can in a boiling water canner.
Do you have to Cook Tomatoes Before Canning?
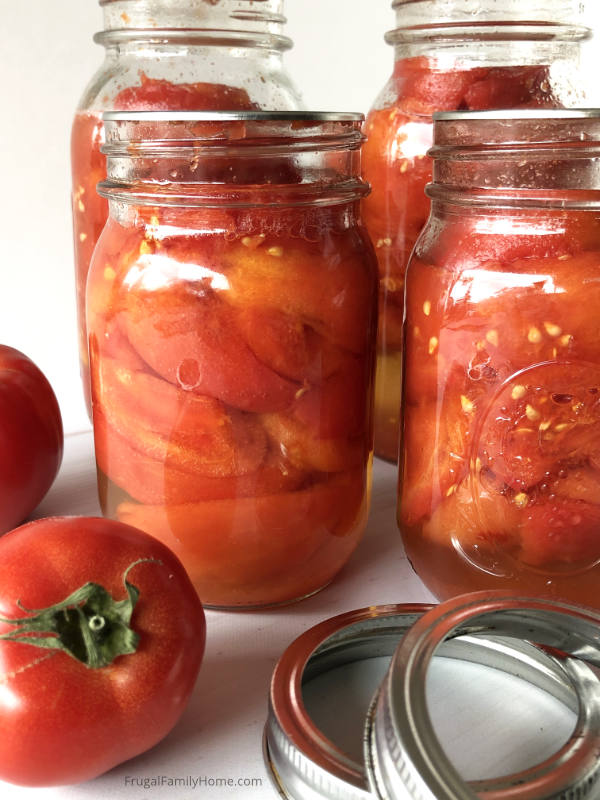
No, you don’t have to cook tomatoes before canning. You can use the raw pack method. Which is the canning method I’m sharing here. I find it easier than the hot pack method.
How do you Prepare Tomatoes for Canning?
To prepare tomatoes for canning, you need to wash and then peel and core them. You can simmer them to make peeling even easier, and I’ll show you how below.
Plus, I have a quick and easy way to core tomatoes too.
How do you Can Tomatoes without a Canner?
You can can tomatoes without a canner when using the water bath method. You can use a stock pot that has a rack in the bottom and is deep enough so that the jars are fully submerged with 1 inch of water above them while processing.
You don’t have to have a water bath canner, but they sure are nice to have.
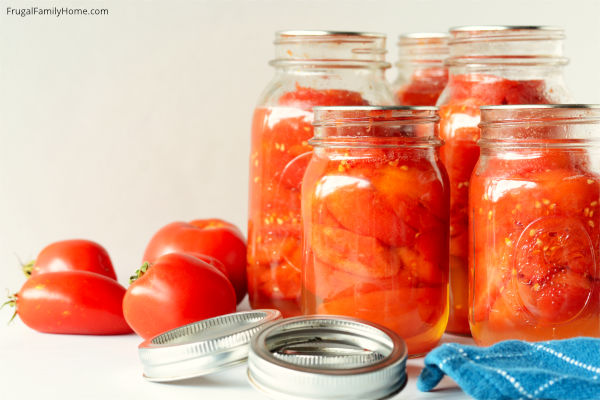
Canning Equipment Needed to Home Can Tomatoes
This is the equipment you’ll need to can tomatoes at home. I’ve listed a water bath canner and a pressure canner.
You don’t need both, just pick one or other to use. If you are looking to purchase just one canner, you might consider a pressure canner.
A pressure canner can be used for low-acid foods and high acid foods. Where a water bath canner can only be used with high acid foods.
No matter which type of canner you use, be sure to follow the manufacturer’s directions on how to use it safely.
Some of the links below are my referral links. Which means as an Amazon Associate I earn from qualifying purchases and when you purchase through them I can make a little money at no extra cost to you. Thanks! See my disclosure policy for more information.
- Pressure Canner or Water Bath Canner or an Electric Water Bath Canner or An Electric Pressure Canner (for those of us with Glass Top Stoves)
- Canning Jars (I prefer wide mouth since it’s easier to get the tomatoes in the jar) quart or pint size
- Canning Lids and Bands or New lids only if you already have jars and bands
- Large Bowl for Holding Prepare Tomatoes
- Large Stock Pot
- Jar Lifter
- Ball Blue Book of Preserving
Now let’s get to canning those tomatoes!
How to Can Tomatoes in a Water Bath Canner
I made a quick video to show you all the steps in canning tomatoes. But if watching a video isn’t for you, keep scrolling for the written instructions with photos too.
Canning Tomatoes for Beginners, Step-by-Step Tutorial
While this article is a great guide to canning tomatoes, I recommend you pick up the Ball Blue Book of Preserving.
Even though I’ve been canning tomatoes for years I still refer to it every time I can. It’s a great resource to learn all the steps needed to can safely.
If you are looking for a free guide to basic canning procedures, you can get this pdf for free from the National Center for Home Preservation to guide you through the process of canning safely at home.
1. Get your Canner Ready
Place your water bath canner on the stove 1/2 to 3/4 full of water. Wash your bands, jars, and lids in hot soapy water.
Then add your clean empty jars to the water bath canner. Let the empty clean jars simmer in the water while preparing the tomatoes.
2. Wash the Tomatoes
Fill a sink full of water and place your tomatoes in the sink. Swish them around a bit and scrub any dirt off of them. Get them a rinse. Once all your tomatoes are washed it’s time to get them ready to peel.
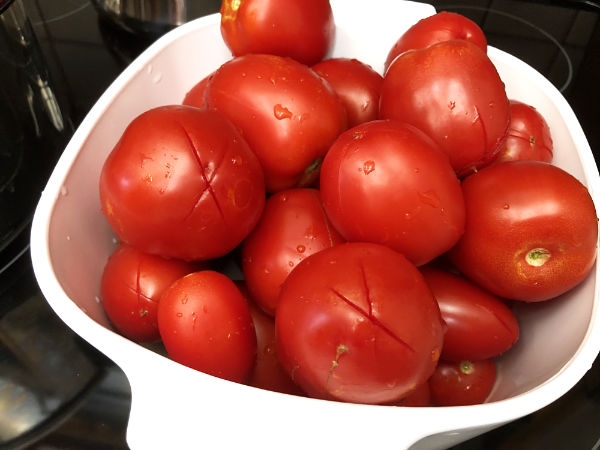
3. Score the Tomatoes
On the blossom end of the tomatoes, make a small x. By doing this, it will make it easier to peel the tomatoes once they come out of the boiling water.
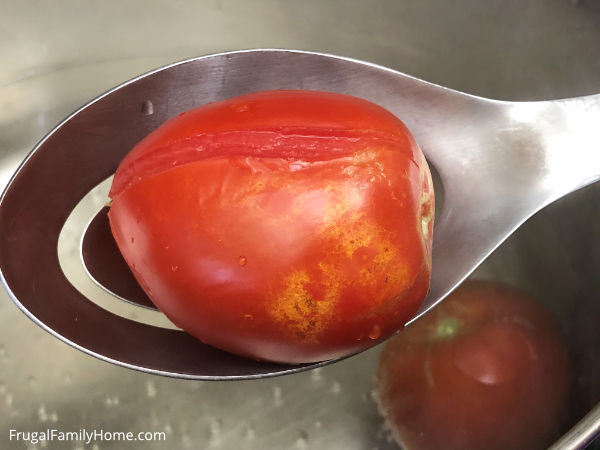
4. Simmer the Tomatoes
Bring a pot of water to a simmer, then add a few tomatoes at a time to the water. Watch the tomatoes and as soon as you see the skin split (see photo above), remove them.
This will take about 30-60 seconds. Place the split tomatoes in a bowl of cold water to cool them.
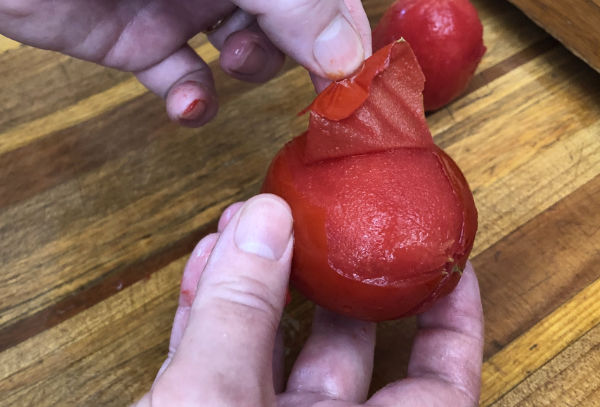
5. Peel the Tomatoes
Once the tomatoes are cooled you can easily peel them. Just grab the skin at the blossom end you cut in an x and pull. The skin should slip right off.
6. Core the Tomatoes
Once the tomato is peeled you’ll want to core them. Now you can do this by running a sharp knife in a circle around the stem end to remove the core.
Or if you’ll be quartering your tomatoes before you can them, you can quarter the tomato and cut the core out more easily.
Either way will work just fine.
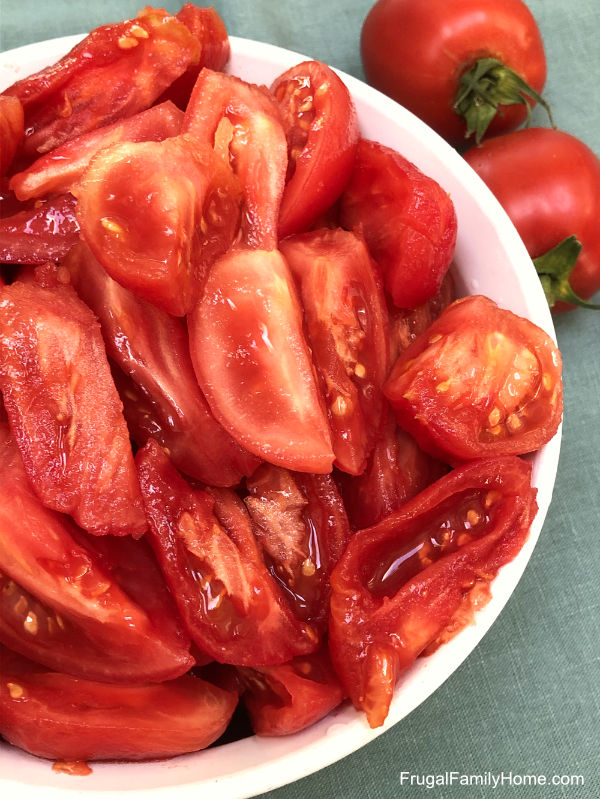
7. Cut the Tomatoes
Cut your tomatoes in half or quarters and set them aside in a bowl. You can remove the seeds too if you’d like.
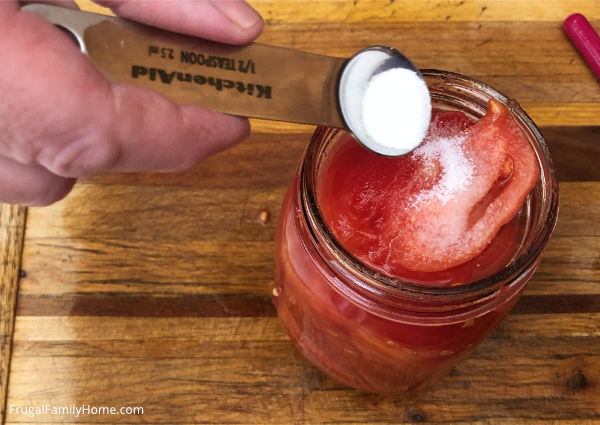
8. Filling the Jars, Raw Packing the Tomatoes
Now the tomatoes are all prepared, it’s time to get ready to can them.
Grab one of your warm sterilized jars and add lemon juice to the bottom of the jar. Use 1 tablespoon of lemon juice per pint and 2 tablespoons per quart.
Pack in your prepared tomatoes to 1/2-inch headspace. Add boiling water over top. Then using a plastic spatula to go around the jar releasing any air bubbles.
Add more water if needed to reach 1/2-inch headspace and add 1/2 teaspoon of salt if desired.
If you want to hot pack your tomatoes, you can find more information on how to do that here.
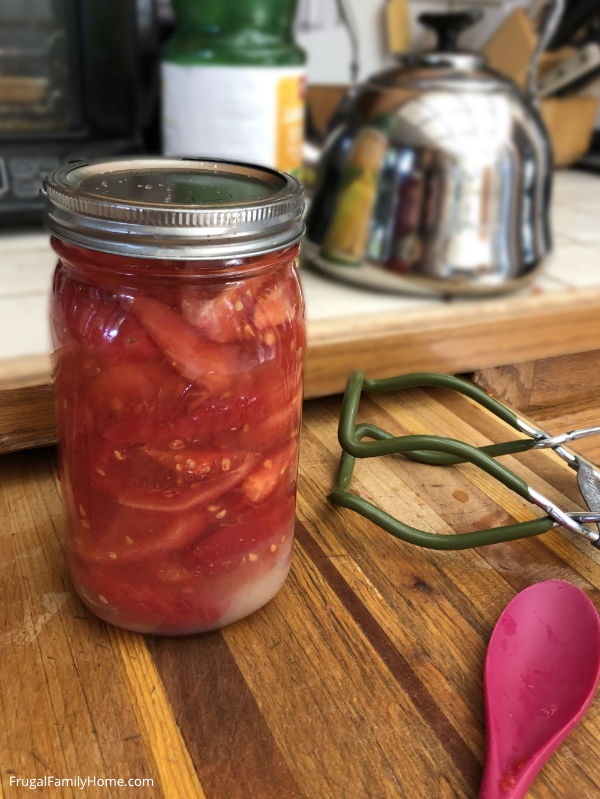
9. Adding the Lids
Now your jar is filled, it’s time to add the lid. First you’ll want to take a damp towel and wipe the edge of the lids to remove any salt or tomato that might be stuck.
You want to do this to ensure your lids will contact the jar and seal well.
Once the jar rim is clean, add your lid. Then add your ring and screw until finger tight.
10. Add Filled Jar to Canner
With a jar lifter add the filled jar into the canner and do the same process for the rest of the tomatoes.
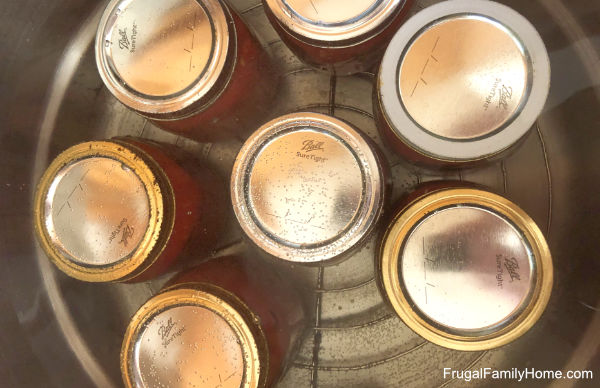
11. Processing Home Canned Tomatoes
Once the jars are all filled, bring the canner up to a boil and process for the time indicated on this chart for your altitude.
I’m at 500 ft so I process my pints for 40 minutes and my quarts for 45 minutes in my boiling water canner.
12. Remove and Cool Your Home Canned Tomatoes
Once the processing time is up, remove the jars from the canner and place on a cutting board or towel and let cool 12-24 hours.
13. Checking the Seal
Once your jars have fully cooled, it’s time to test the seal. To do this, you’ll want to remove the ring from the jar. And push the lid in the center if it’s depressed and doesn’t push down it’s sealed.
Also, gently lift the jar by the seal, if it holds and the lid doesn’t come off the jar is sealed.
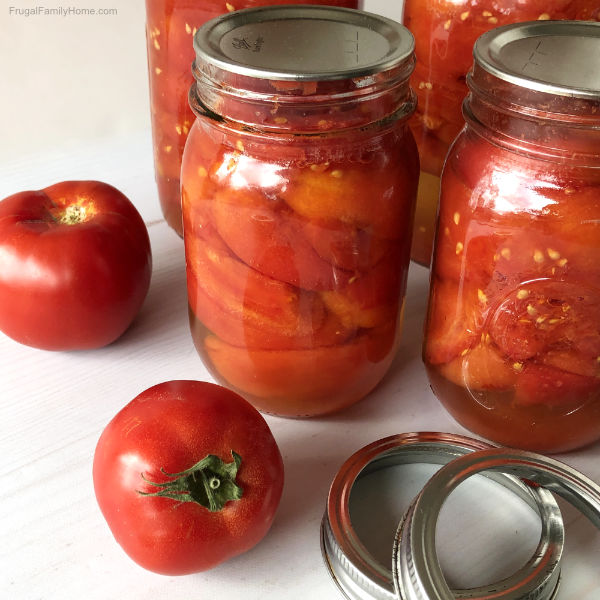
Label and place in a cool, dark place. For best results use within 1 year.
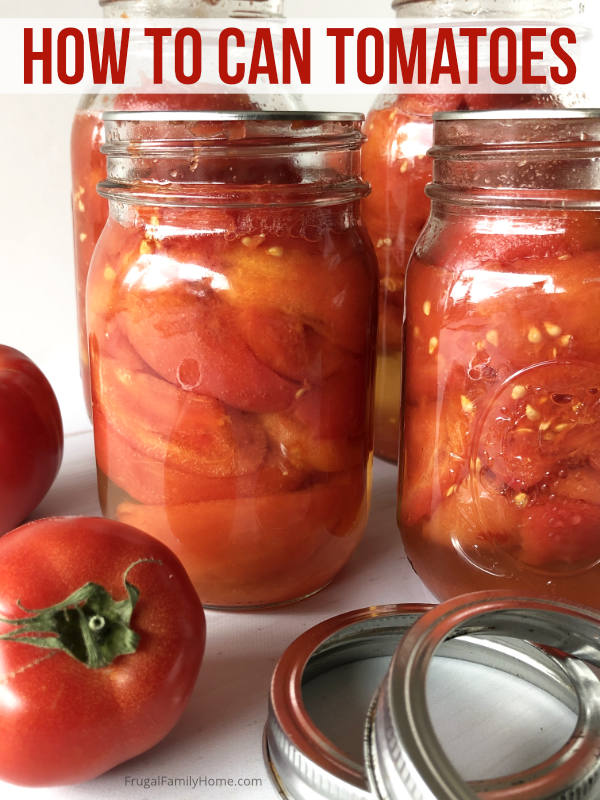
That’s the entire process for canning tomatoes. It really is a straightforward process. And if you have a lot of tomatoes coming in from the garden, this is a great way to preserve them for later use.
If you want to dry your tomatoes, you can see the tutorial on how to dry tomatoes. I love having dried tomatoes to add to soups and stew. And here’s how to freeze tomatoes too.
Get the printable tutorial…
How to Can Tomatoes
Ingredients
- Tomatoes 1 1/2 to 2 pounds per pint 2 1/2 to 3 pounds per quart)
- Lemon Juice
- Salt optional
Instructions
- Wash the jars, bands and rings in hot soapy water.
- Place the water bath canner on the stove and fill 1/2 to 3/4 full of water and bring to a simmer.
- Place clean jars in canner to simmer and keep warm until the tomatoes are prepared.
- Wash the tomatoes and cut an “x” in the blossom end. This will help with peeling.
- Bring a pot of water to a simmer, add a few tomatoes at a time to the pot. Simmer for 30-60 seconds until the skin splits.
- Place split skin tomatoes into a cold water bath to cool.
- Once tomatoes are cooled. Remove the tomatoes from the cold water bath and peel. The skins should easily slip off.
- Core the tomato and cut in half or into quarter and place into a bowl until all the tomatoes are prepared.
- Take a jar out of the canner and add lemon juice 1 tablespoon for pint jars and 2 tablespoons for quart jars. Fill the tomatoes to a 1/2-inch headspace.
- Add boiling water to the jar to bring the level to 1/2-inch headspace.
- Take a rubber spatula or plastic knife and run it along the insides of the jar to release any trapped air bubble.
- Add more boiling water to bring the level back up to 1/2-inch headspace if needed.
- Add 1/2 teaspoon of salt to pints and 1 teaspoon salt to quarts if desired.
- Clean the edge of with a damp cloth to remove any salt or tomato bits.
- Place lid onto the jar, adjust ring to finger tight. Place jar in canner filled with water on stove.
- Continue until all jars are filled.
- Make sure water level is 1 inch above the jars. And bring to a boil.
- Process according to your altitude. You can see the chart to determine your processing time here.
- Once processed, remove jars from canner and place on a towel or cutting board too cool.
- Let cool for 12-24 hours.
- Remove rings and test to see if the lids have sealed.
- If sealed, label and store in a cool dark area for up to 1 year.

Hi Shelly,
Thank you very much, this is very very useful ! canned tomatoes are much better homemade. 🙏🏼 🙂