How to Grow Green Beans, Everything You Need to Know
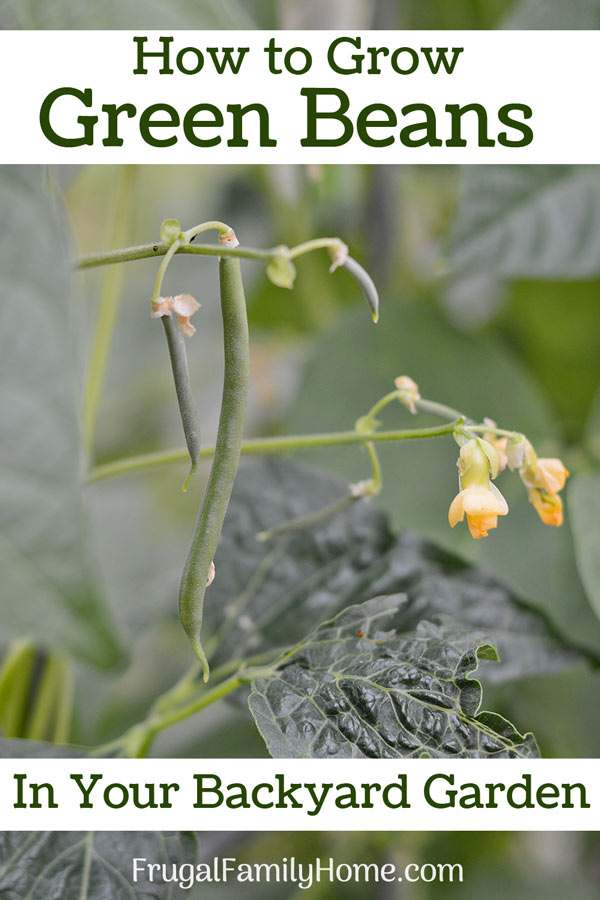
Growing your own food can reward and save you money too. You don’t have to have a big garden either. And growing green beans is a great plant to start with. Here’s how to grow green beans in your backyard garden. See how easy they are to grow.
How to Grow Green Beans
If you are new to gardening, then growing green beans is a great place to start. Because green beans are easy to grow. And they produce very well, if you follow the basic growing guidelines below.
You can have a great crop of green beans right from your backyard garden. Let’s get started to see what you’ll need and what kinds of beans to grow.
What Kind of Beans to Grow
Growing Bush Beans
You can grow bush beans really easily. Bush beans stay low to the ground so you won’t need any supports.
There are many varieties of bush beans to grow too. You can get wax bean, these are yellow. Green snap or string beans, these are your average green bean. And even purple bush beans, but I have to warn you, they will turn green when cooked. I found out the hard way.
Bush beans usually produce one good harvest and then a second harvest that is a little smaller, and they are done. If you are looking for a longer harvest time, then growing pole beans is a better choice.
Growing Pole Beans
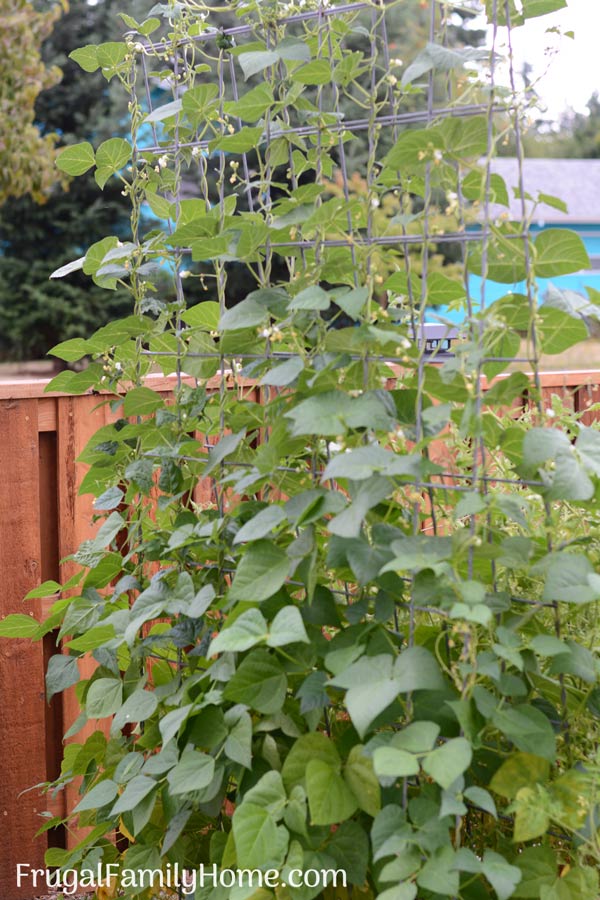
Unlike bush beans, pole beans need support. That’s probably why they are called pole beans.
I use a homemade garden trellis to support ours and it works great.
There are many varieties of green bean to choose from. The best green beans to plant are Blue Lake Green Beans, they produce well and aren’t stringy.
Pole beans will produce a lot of green beans if you keep them picked. The bean plants will keep producing well into the fall. You’ll probably get sick of picking them before they quit producing. The continuous harvest is well worth the work setting up a trellis for them.
Now that you’ve decided what beans to grow. Let’s talk about the soil needed.
Green Beans Soil Needs
You will want to plant your green beans in soil that is well drained. If your soil is clay like, which is what we have, you might want to consider making raised beds to grow your green beans in.
A loamy well-drained soil is the best soil to grow green bean in.
Green Beans Sun Needs
Green beans need a good amount of sun to grow.
Plant your beans in an area that will get 6-8 hours of sunshine for them to do really well. They can tolerate a little shade too, but really need direct sunlight to thrive.
Planting Green Beans
You’ll want to plant your green beans about 2 inches deep in the late spring after the threat of frost has passed, and the soil has heated.
If you want to get a head start on planting green beans, you can sprout them indoors with this same technique I use for sprouting peas.
It works great and you can plant the beans outdoors a little earlier too.
Once sprouted you can plant them in the garden. Beans don’t transplant very well from starts.
Spacing for Green Beans
Traditional Row Planting
For bush beans you want to allow about 4 inches between each plant. For pole green beans you can plant them about 6 inches apart along the supports you have for them.
Square Foot Garden Planting
When using the square foot garden planting technique you can plant 8 pole bean seeds per square. And with bush beans you can plant 9 per square.
Feeding Your Green Beans
How do you prepare soil for green beans?
Before planting, add a little compost to the area you’ll be planting your bean in. That will be all you’ll need to do. If you don’t add compost at the start of the season, do a side dressing of compost about halfway through the growing season.
Avoid high nitrogen fertilizer as this will produce lots of green leaves and very little beans.
Be sure to weed regularly. Beans have a shallow root system that can be easily disturbed, so weeding is important.
Watering Green Beans
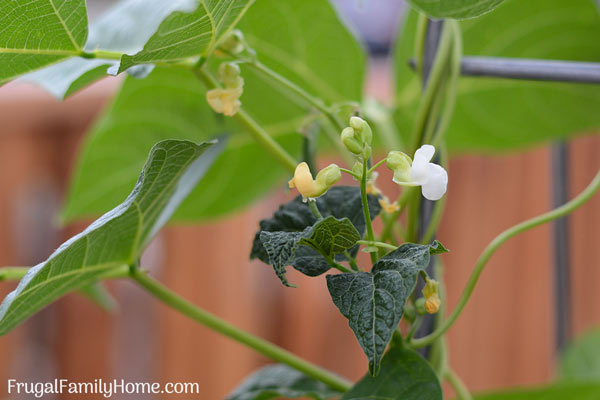
Water regularly to make sure the beans get enough water. If the beans get too dry, they will stop flowering.
And without flower you won’t get green beans.
Companion Plants to Green Beans
What are the best plants to grow with green beans?
Companion plants are plants you can grow near each other and they will thrive or do well growing near on another.
Good plant companions to green beans are beets, carrots, celery, corn, cucumbers, peas, strawberries, cabbage and swiss chard.
Growing beans next to any of these plants above will work out well.
Harvesting Your Green Bean Crop
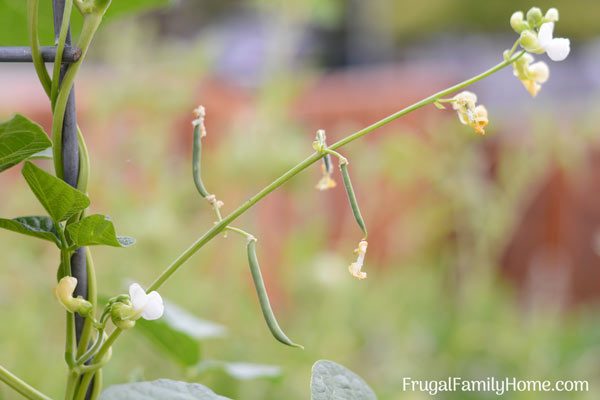
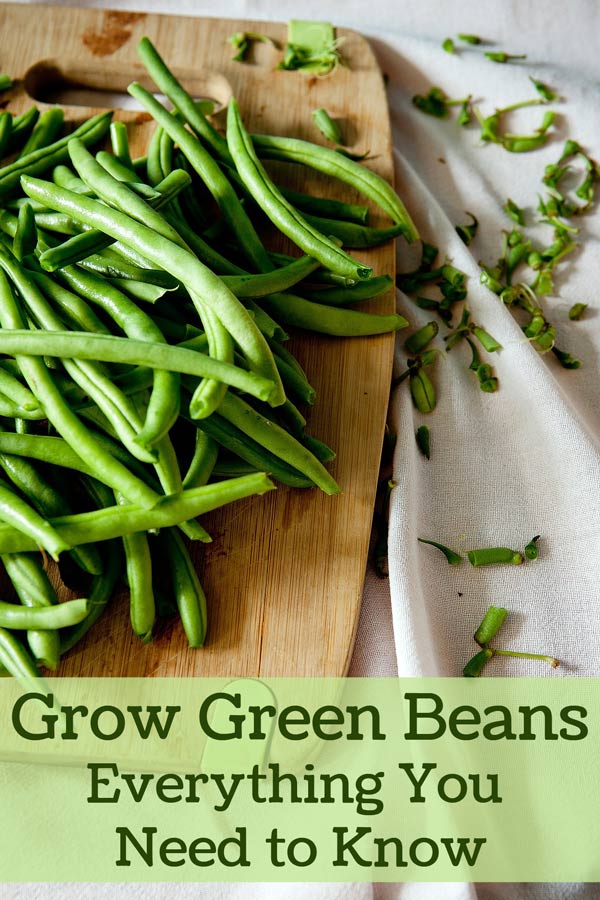
You want to pick green bean often so they will keep producing. Be sure to pick green beans before the seeds form. The size of a pencil width wise or less is a good size of bean to pick.
If the beans get too big and seeds form inside, they will be tough and are not good for eating.
Eating Your Homegrown Green Beans
Raw, you can eat green beans right off the plant raw without cooking them. My kids and husband love them this way.
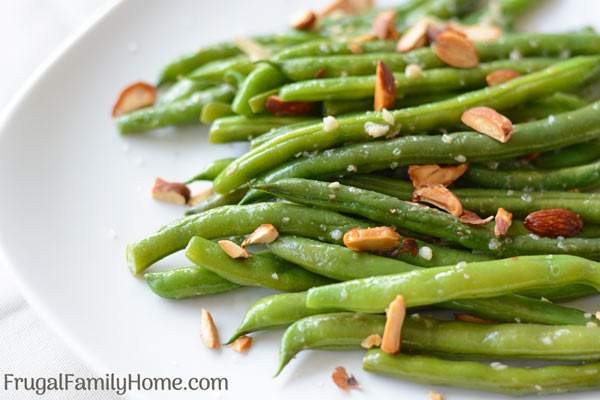
Pan Cook, My favorite way to cook green beans is in a skillet using this method. Get our favorite recipe here.
Boil or Steam, You can boil or steam green beans to cook them too. I find this method to be less flavorful but works. Be sure to only cook them to tender crisp so you don’t end up with sad soft green beans.
Preserving Green Beans
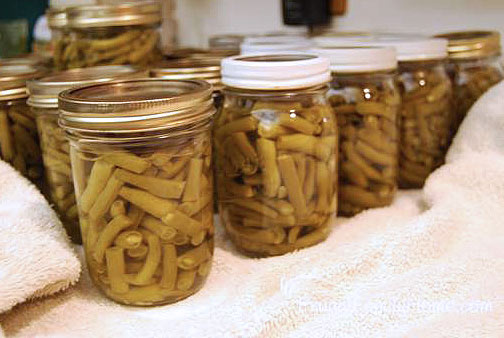
Green beans can be frozen, pickled or canned. I usually can our green beans but freezing them is fast and easy.
Freezing Green Beans
The easiest way to preserve green beans is by freezing them. One method is to blanch the green beans for 30 seconds and then place in an ice bath to stop the cooking and then freeze.
But a friend of mine swears by her method of freezing them directly from the garden. No blanching or cooling. I’ve tried and we liked it. So no more blanching for us.
Canning Green Beans
The easiest way to can green beans is by pickling them. You don’t have to worry about using a pressure canner, you can use a water bath canner instead.
And finally, you can preserve your green beans by canning them in a pressure canner. This is how I can my green beans.
That’s your full guide to how to grow green beans from planting to preserving them and every step in between.
I hope this helps you feel more confident in growing green beans in your own backyard garden.
More Backyard Garden Guides
How to Grow Carrots
How to Grow Cucumbers
How to Grow Strawberries
Get the Companion Plants List
When you join the gardening email list, you'll not only get gardening tips sent to your inbox, you'll also get the companion plants list too.


Thank you for sharing this green bean growing guide, Shelly! We’re just getting our feet wet with gardening this year but, next year, Lord willing, we’re hoping to grow a lot more! I’ll have to suggest green beans to my husband. I’m sure he’ll be on board! 🙂
Sandra, beans will be easy for you to grow and so rewarding if you grow pole beans, you’ll have enough beans for your family.
Trying to figure out why our green beans aren’t green. They are pale green to white. The plants look a little off, too. It has been a hot summer but we have watered quite regularly. Is there a nutrient we are missing or something else?
I’m not sure why your beans would be turning white. Could it be a fungus infection? Do the leaves have white on them too?
New-ish to gardening here. How would you save for planting next year?
Samantha, congratulations on getting started with gardening. If you want to save beans for the next year, you’ll want to leave a few beans on the vine and let the seeds develop in the pod, they will start to dry out on the vine. Once they are good and dry harvest the beans then remove the seeds, let them dry well. Then package to keep them for next year. I hope that helps.