DIY Chia Pet
Need a simple kid’s craft to do? How about making a diy chia pet? I know my kids like to plant seeds and watch for them to grow. I know I’m always amazed at how such a tiny seed can grow and produce food for us. It’s fun for the kids to be able to experience that too. If you don’t have room for a garden this is a great project for the kids.
We found this project over at Pinterest. If you’re on Pinterest, I would love to have you follow me, you can click here to do just that. My kids searched for some fun summer projects to try and this is one they found.
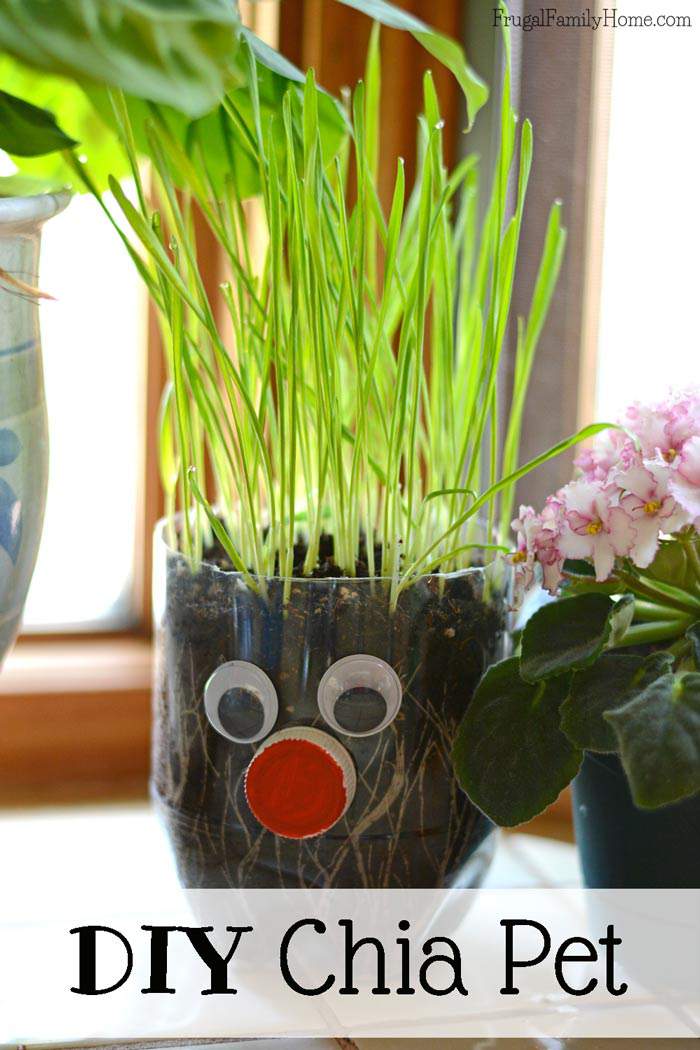
This project was a quick to make one, but then came the waiting for the seeds to germinate. Which for little ones can be a little trying. But it only took about 2 days for the wheat grass to start growing nicely. We actually could see the roots start to form through the sides of the bottle before the sprouts poke thought the top of the soil. Which was very cool.
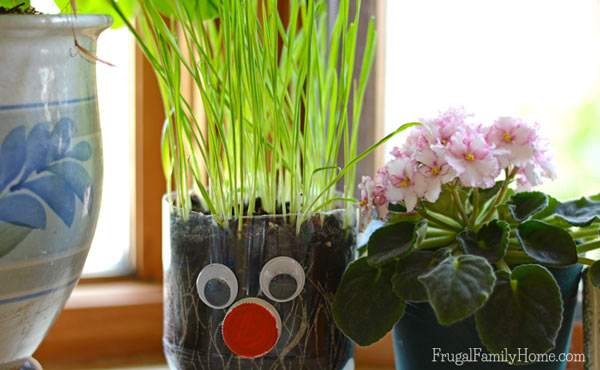
We didn’t have any chia seeds so we opted to use a few wheat grass seeds my daughter had leftover from a fairy garden kit she received as a present. I’m all for using what you have so we used the wheat grass instead of chia seeds. I also like how our chia pet turned out with fun spiky hair.
Items You’ll Need for the DIY Chia Pet
Some of the links below are my referral links. Which means as an Amazon Associate I earn from qualifying purchases and when you purchase through them I can make a little money at no extra cost to you. Thanks! See my disclosure policy for more information.
2 liter Soda Bottle
Potting Soil
Seeds, chia seeds, wheat grass, or other seeds you have on hand
Googly eyes
Paint or Sharpie Marker, if you pop bottle cap has writing on it like ours did.
How to Make the DIY Chia Pet
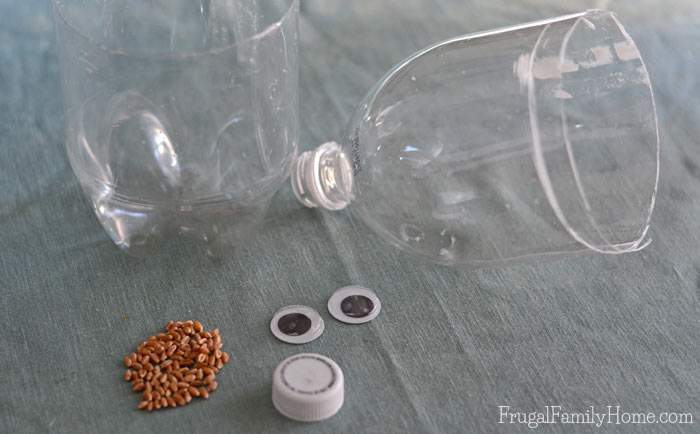
Step One, This is best done by the adult, cut the 2 liter pop bottle in half. I used a serrated bread knife to cut ours in half. But scissors would work too. I found the bread knife made a nice clean cut.
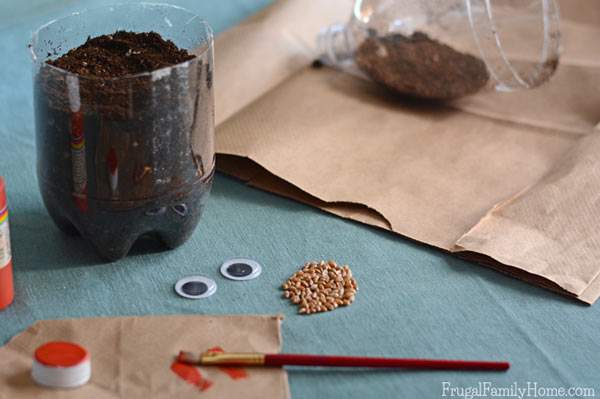
Step Two, If your bottle cap has writing on it you’ll want to paint the bottle cap or use a sharpie to color it.
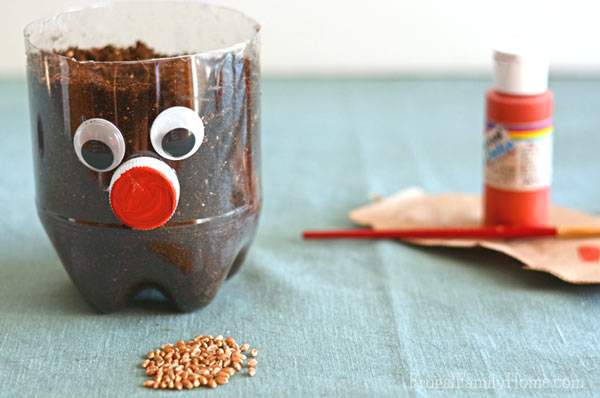
Step Three, Glue the eyes and bottle cap nose onto the bottom half of the pop bottle you cut in step one. We used a hot glue and it worked great.
Step Four , In the bottom portion of the pop bottle add the potting soil and pack it in almost to the top.
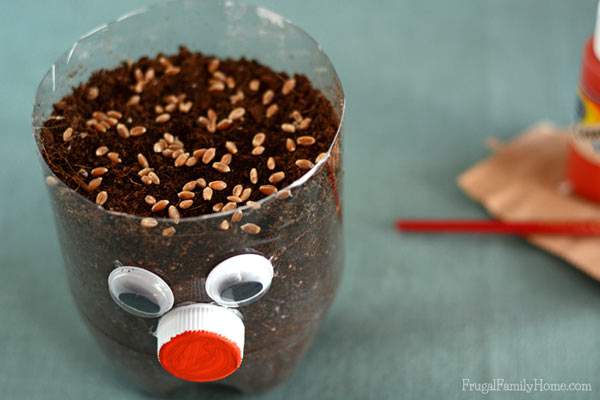
Step Five, Sprinkle the seeds on the top of the soil. Then add a little more soil on top.
Step Six, Water well.
Step Seven, Watch and wait for the seeds to grow.
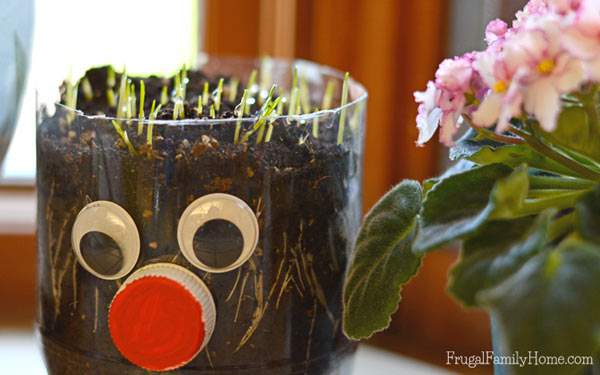

Our wheat grass seeds took about two days to germinate. Then about 5 days to get to a nice height. I think this chia pet turned out looking really cute.
If you know someone who might enjoy making this project too. Be sure to use the sharing links below, at the end of this post. If you would like to email it to someone, click on the crown in the sharing buttons below and then pick email. Thanks for sharing!
You can find more kid’s craft ideas by clicking here.
More Summer Fun or Anytime of the Year Ideas,
100 Boredom Busters
DIY Cloud Dough
Salt Painting
DIY Clothespin Airplanes

I’m definitely pinning this project. I know my kids would enjoy it. 🙂
Thanks for pinning, Sandra!
This is such a cute idea…my kids would love to do this!
This is sooooo adorable I want one for me! It would make a cute gift idea for kids too! 🙂
The kids loved making this, they thought it was super cute too. Our cat loved chewing on the grass too.
Lots of fun and it encourages students to upcycle!
I am using this in a Sunday School class about Daniel 4, in which King Nebuchadnezzar was humbled by being wet with ‘the dew of heaven’, his hair and nails growing like an animal’s and living wild until he acknowledged God Most High, had his mind restored and got cleaned up. Since it’s for a group, I made multiple smaller ones, using 8oz water bottles.
Becky, what a great idea, thanks for sharing it.
Such a cute and fast way to show plant growth. Our daycare will be using your idea this summer !! Thank you and pinterest for making our jobs easier!!!
I’m so glad you found this project helpful. I hope the kids love it.