Easy to Make DIY Sugar Scrub Soap
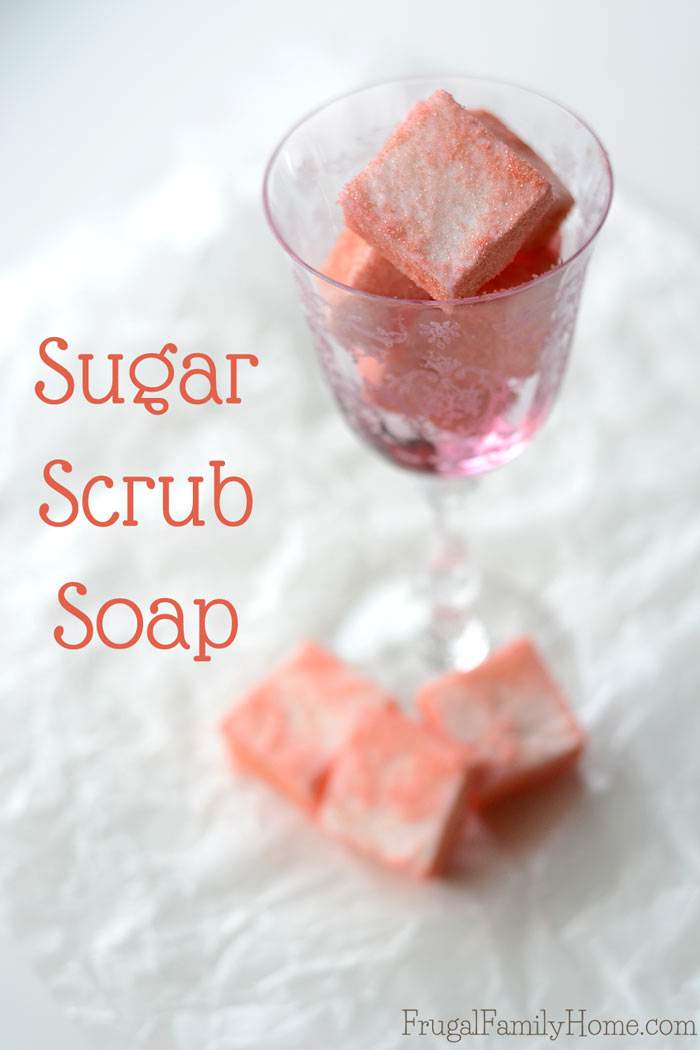
I’m really enjoying making our own beauty products. I started making my own soap with melt and pour soap base and then graduated to making soap from scratch with lye and oils. The homemade soaps are really nice to have. You can tailor them to fit what scents you like and the type of soap you like. Plus if you start with a melt and pour base they are really quite easy to make.
Other Melt and Pour Soap Recipes
Coffee Vanilla Soap
Peppermint Swirl Soap with Instruction to make Soap on a Rope too
I’ve made my own sugar scrub before and I’ve made my own soap, but then I saw the idea of combining the two to make the sugar scrub soap. I really thought this was a great idea and wanted to give it a try. Plus I thought these little sugar scrub bars would make a great gift idea too.
How to Make the Sugar Scrub Soap
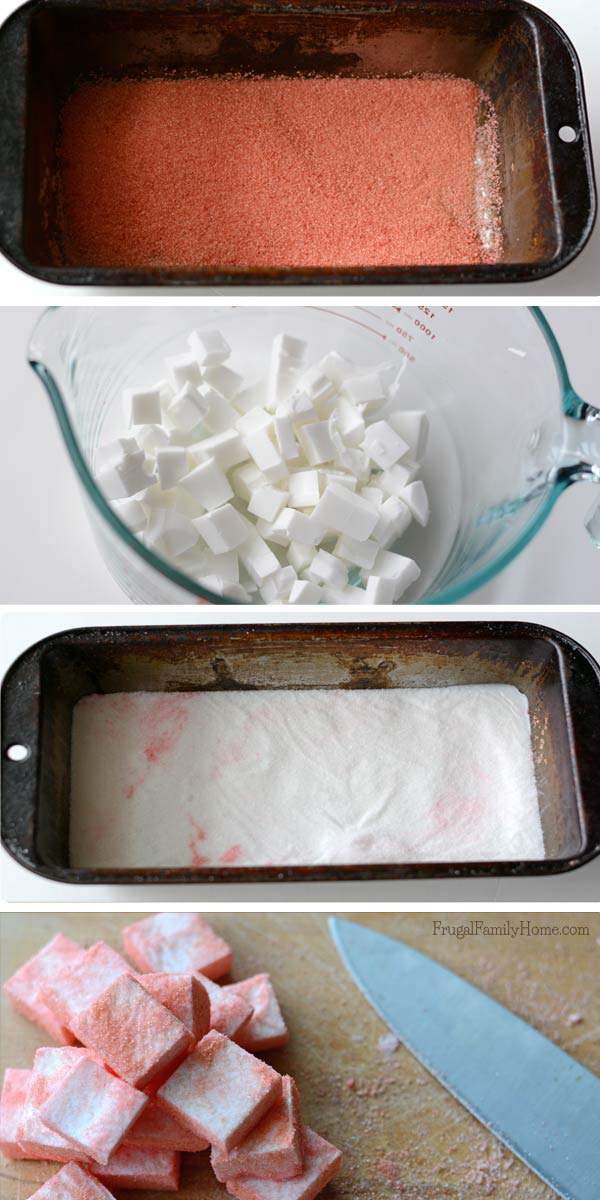
I wanted to make mine a little fancy so I started out by adding color to my sugar. I added three drops of red food coloring to about 1/2 cup of sugar. I whisked the sugar until the coloring was evenly distributed then spread it out to dry on a baking sheet.
Once it was dry I added the dyed sugar to a loaf pan to coat the bottom. If you want sugar on the top and bottom of the bars be sure to reserve a little for the top. I ended up sprinkling the regular sugar on top since I added all the dyed sugar to the bottom of the pan.
Just so you know, the links below are my affiliate links. Which means when you use them and make a purchase I might make a little money at no extra cost to you. Thanks so much for your support in this way. For more information, you can read my disclosure policy.
I cut up 12 ounces of Shea Butter Soap base and placed it into a microwave safe container. I microwaved the soap pieces at full power for 30 seconds at a time stirring after each 30 seconds. I repeated the process 3 times to get the soap melted.
Once the soap base is melted add scent and coloring if you desire. My kids don’t do well with scents so I skipped it for this batch, but a nice peppermint, vanilla, or orange would be good. You could also tailor the color of the sugar to match the scent.
Once your soap is melted and the colorant and scent is added if desired, pour the soap over the dyed sugar in the pan carefully. If you want sugar on each side of the bars, be sure to sprinkle the reserved sugar on top before the soap has a chance to set up. Then let sit until the soap is firm.
To remove the soap from the pan, go around the edges of the soap with a knife. Then gently lift the soap loaf from the pan with a spatula. Not all the sugar will stick to the soap, and that’s alright.
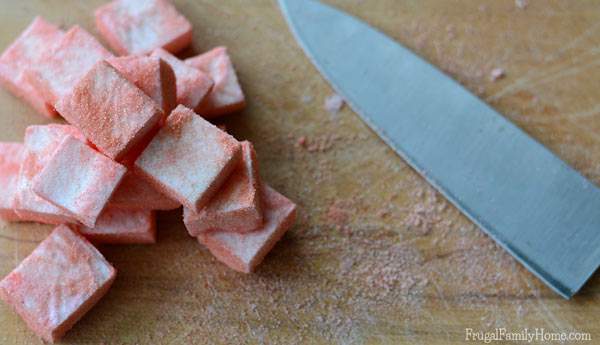
Cut the sugar scrub soap into squares, I cut mine into 3-inch squares. That size seems to be about the right size to use for a few showers. I really like the slightly scrubby side of the soap. It made my skin feel nice and soft.
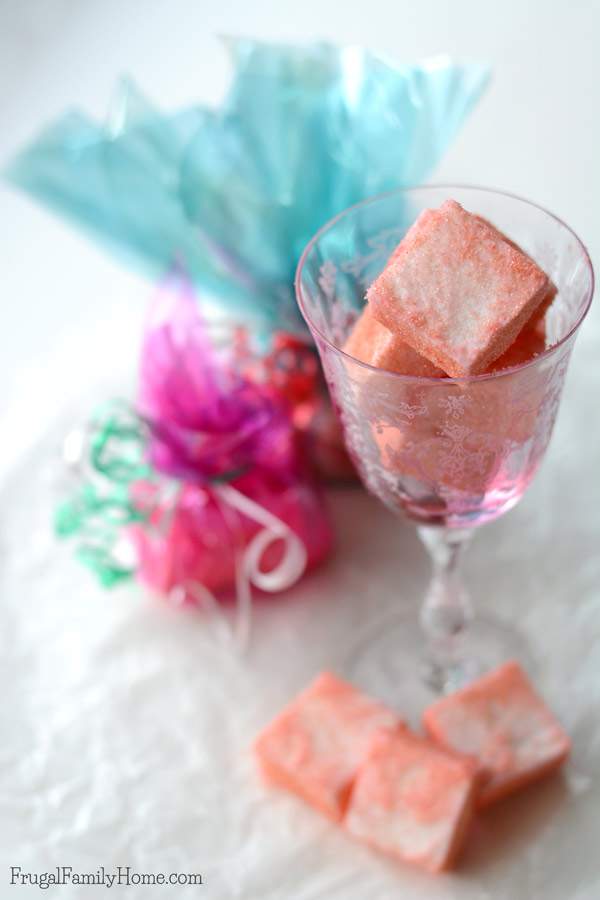
If you’d like to try making your own here’s the printable recipe
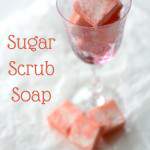
Easy to Make DIY Sugar Scrub Soap
Ingredients
- 4 drops Food Coloring
- 1/2 cup Sugar
- 12 oz Shea Butter Soap Base
- Soap Scent optional
- Soap Colorant optional
Instructions
- Place the sugar into a small bowl and then add the food coloring. Whisk until the food coloring is distributed throughout the sugar.
- Spread onto a baking sheet to dry.
- Once dyed sugar is dry, add it to a loaf pan to coat the bottom. Reserving a little for the top if desired.
- Cut the soap base into small pieces and place it into a microwave safe dish. Microwave on high 30 seconds, stir and microwave another 30 seconds. Keep repeating the microwave and stirring until the soap base is melted.
- Add the colorant and scent to the melted soap base if desired. Stir to combine.
- Pour the soap base over the dyed sugar. Sprinkle the reserved sugar on top right way before the soap starts to set.
- Let the soap sit until cooled and firm.
- Using a knife cut around the edges of the soap loaf.
- Use a spatula to gently lift the soap from the pan.
- Place on a cutting board and cut into squares.
If you like this DIY gift idea, please consider sharing it. Just scroll down a bit to the social sharing buttons for easy sharing with friends and family. Thanks so much.
Other DIY Projects You’ll Love,

What a wonderful gift idea! It’s so unique…I love to give gifts like this that people can’t really find elsewhere 🙂