Homemade Lotion Bars
With summer comes lots of sun, sunburns, swimming and cooling off in the sprinkler. With all that sun, water, and fun your skin can get pretty dried out. Am I right?
I know around our house we struggle with dry skin. My kids hands are constantly dry. I feel like I’m always reminding them to put lotion on, again and again. But some lotions have some weird ingredients. Having a natural alternative is something I like to have for the kids to use.
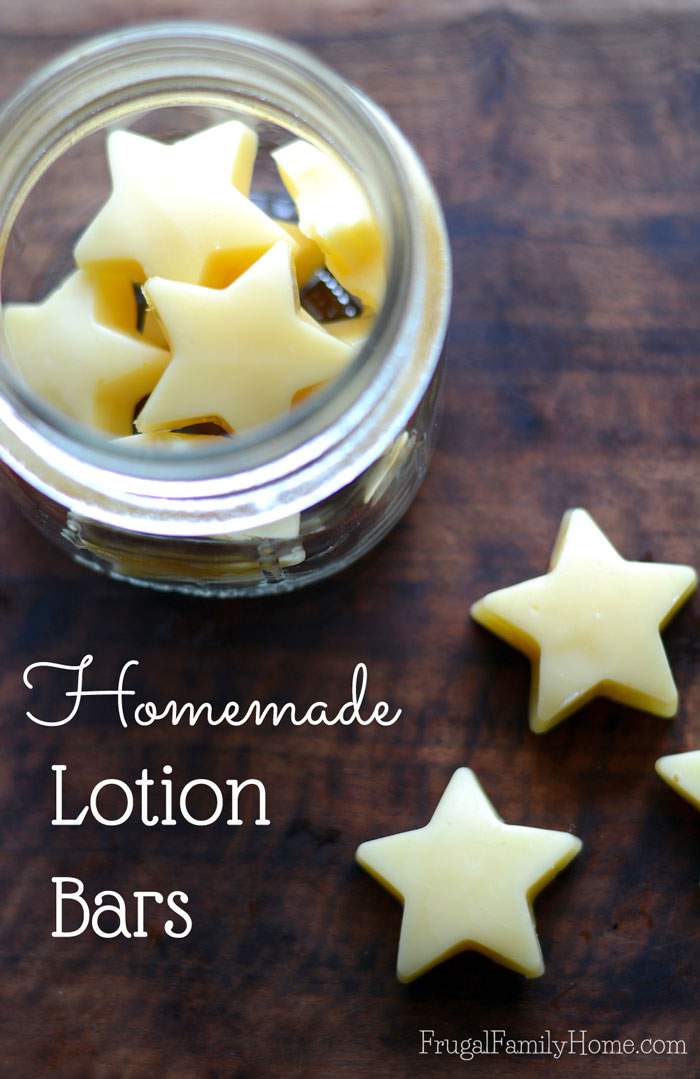
I’ve made my own beauty type products before, like sugar scrubs, homemade soap and even lip balms. I thought how hard could it be to whip up some lotion. Then I remembered, I had seen lotion bars on Pinterest.
If you’re not following me on Pinterest, I would love to have you hop on over and click the follow button. Pinterest is where I pin all the projects and recipes I want to make, along with money saving ideas I find along the way.
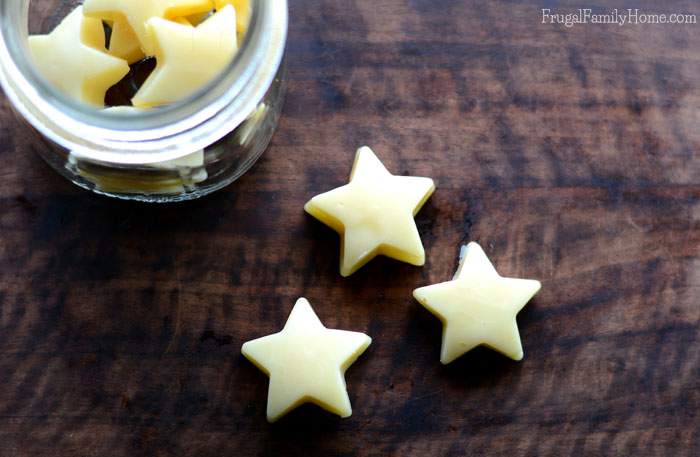
This is my first attempt at making lotion bar recipe. I looked over a few recipes and most of them called for coconut oil. I like coconut oil, but I also know from my soap making, that there are better oils for moisturizing. I knew I really like the combination of shea butter and sunflower oil in soaps, so I thought it would be the perfect combination in a lotion bar too.
Just three ingredients is all that is needed to make these lotion bars. I purchased my items at a soap making supply. But I’ve included the links to the similar items at Amazon. Because it’s super convenient to shop at Amazon for most people.
Some of the links below are my referral links. Which means as an Amazon Associate I earn from qualifying purchases and when you purchase through them I can make a little money at no extra cost to you. Thanks! See my disclosure policy for more information.
The 3 ingredients you’ll need
Beeswax
Shea Butter
Sunflower Oil
Mold to use for making bars
Scent or Essential Oils (optional, I didn’t use any since my beeswax had a nice yummy smell of honey)
I used a small mold for our lotion bars. The stars turn out to be about an inch and half, just right for my kids hands. But if you have bigger mold you could use them too. I like the smaller molds because the lotion bars set up quickly. They are easy to store in a mason jar on the counter. Making them visible and the lotion bars are used more. Plus the smaller size makes them easy to warm up in your hand and rub on the skin.
For this recipe I used 1 part Beeswax, 1 part Shea Butter and 1 part Sunflower Oil. This made a nice firm lotion bar, but when you hold it in your hand, the heat starts to soften it. Making it easy to apply to the skin. I’ve made this recipe a couple of times and I usually use an ounce of each item to fill my mold.
Step One: Measuring
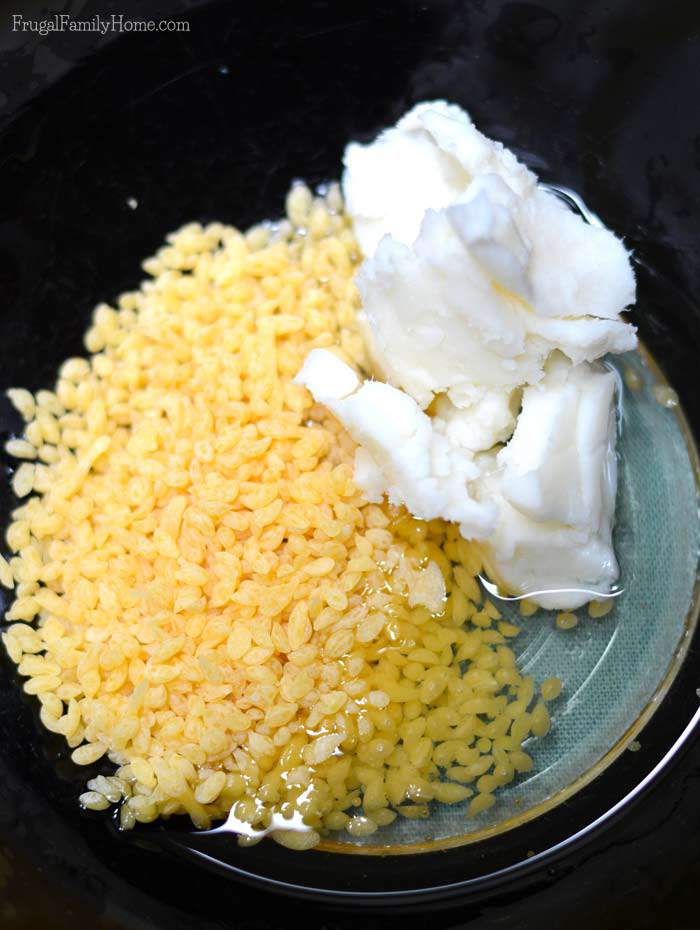
I measure out the beeswax and shea butter and place them into a microwave safe dish. I find that my glass measuring cup works great for this, plus it has a spout to pour from. The first time I made these I used a bowl and when it came time to pour, I had a little bit of a mess. If you have a glass measuring cup that should work much better than a bowl.
Step Two: Microwave or Heat on Stove
To melt the beeswax and shea butter I microwaved the mixture for 30 second intervals. Stirring in between. It takes a little while to get the beeswax pellets to melt this way, but I don’t want to take the chance of overheating the mixture either. If you would rather you can heat the mixture on the stove burner in a pan on low.
Step Three: Mix in Oil and Scent
Once the beeswax and shea butter are melted, I stir in the sunflower oil. If you are using any kind of scent or essential oils now would be the time to add them. I didn’t use any in mine, since the beeswax smelled so great.
Step Four: Pour Into Mold
Then just pour into the mold and let cool. Once the lotion bar mixture is cool, it should be firm and you can pop them out of the mold.
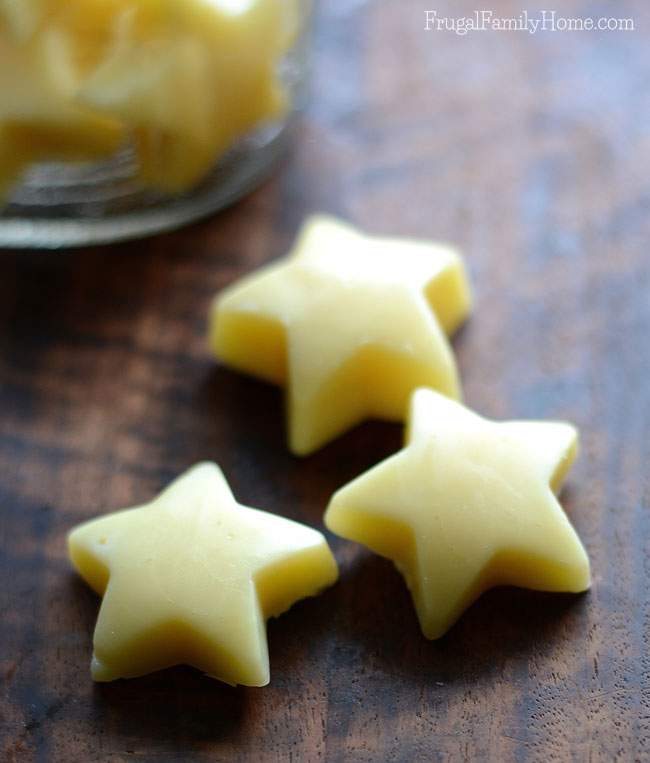
I store my lotion bars in a mason jar on the bathroom counter. They are easy for us to get to and with them being out, it reminds the kids to use them more often.
Here’s the recipe to print and be sure to pin it for later too.
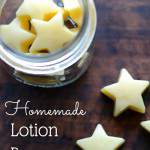
Homemade Lotion Bars
Ingredients
- 1 part Beeswax
- 1 part Shea Butter
- 1 part Sunflower Oil
- Scent or Essential Oil optional
Instructions
- Place the shea butter and beeswax in a microwave safe dish. Microwave at 30 second intervals stirring between each interval until the mixture is melted. It can also be melted in a pan on the stove over low heat.
- Add in the sunflower oil and any scent or essential oil, if using and mix well.
- Pour mixture into molds and let harden.
- Once hardened, pop out of the mold. I store mine in a mason jar.
To Use
- Place the lotion bar in your hand and let it warm slightly. Then rub on skin.
Other DIY projects you’ll enjoy,
DIY Dishwasher Tablets
DIY Custom Pillowcase
DIY Honey Lip Balm
Just so you know, some of the links in this post are my referral links. When you use them I may make a little money, at no extra cost to you. Thanks for the support. You can see my disclosure policy for more information.

Those are so adorable and I love this idea, Shelly! Thanks for sharing it. 🙂
How fun! I need to try making this with my kids….I have some star-shaped ice trays that would be perfect for this project.
Is one star enough for one use or do they last for several uses?
With equal parts beeswax, shea butter and sunflower oil, won’t the sunflower oil make this too runny?
Adrienne, I haven’t had that experience at all. The beeswax is so hard and the shea butter is pretty firm too so it counteracts the sunflower oil. The lotion bars turn out firm once set and smooth on nicely. I made this recipe several times and I have never had a problem with them being runny.
I am thinking about using your awesome recipe however my cousin is allergic to Shea Butter, ,cod that be replaced with coconut oil or something else?
Thanks!
Sarah, I think coconut oil would be fine. I might increase the sunflower oil just a bit so the lotion bars aren’t too firm, since coconut oil would be firmer at room temperature than shea butter. Let me know how it works out if you give it a try.
whats their shelf life?
We use ours within a month. So I know they will keep at least that long. But probably longer. I hope that helps.
Hello Shelly, thank you for this lovely recipe. One question, please: where from did you bought that star shaped mold? Could you please give me the link?
Thanks a lot!
Regards, Diana
Diana, I purchased it at Brambleberry. But from a quick look it doesn’t look like they carry it anymore. But I did find this one that looks just like it at Amazon. I hope that helps.
These would be cute co-worker presents.