Make Your Own Custom Pillowcase
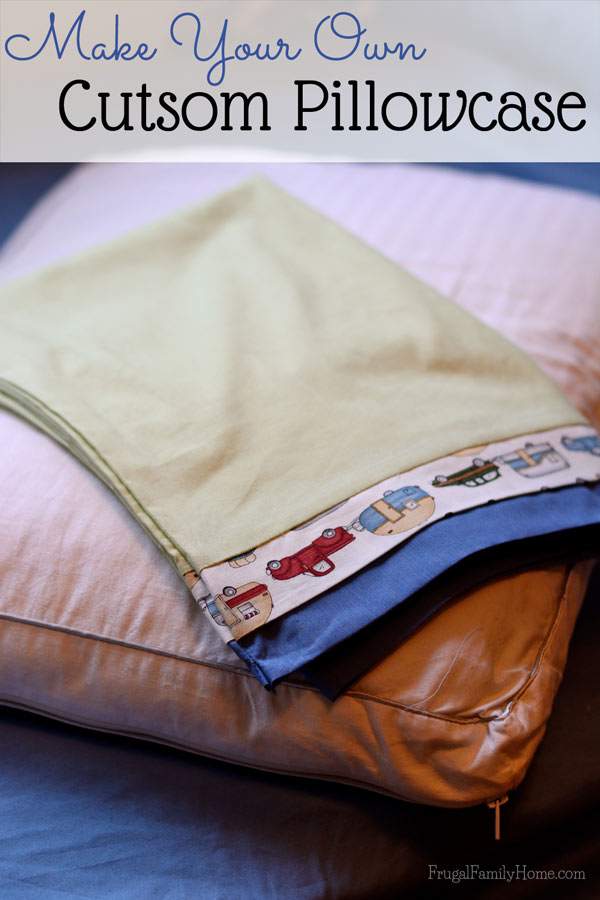
This is a super easy sewing project I’m sharing today. If you haven’t been following along, this month I’m sharing easy to make gifts that take about an hour or so. If you missed them, so far I’ve shared, Rose Sugar Body Scrub, Felted Wool Christmas Pillow, an Easy Crocheted Scarf with Cute Edging and for those who love chocolate, Chocolate Mint Crinkle Cookies.
Today’s project is a sewing project. But don’t let it scare you away, if you don’t sew much. If you can cut fabric and sew a straight line, well fairly straight. You can make this custom pillowcase.
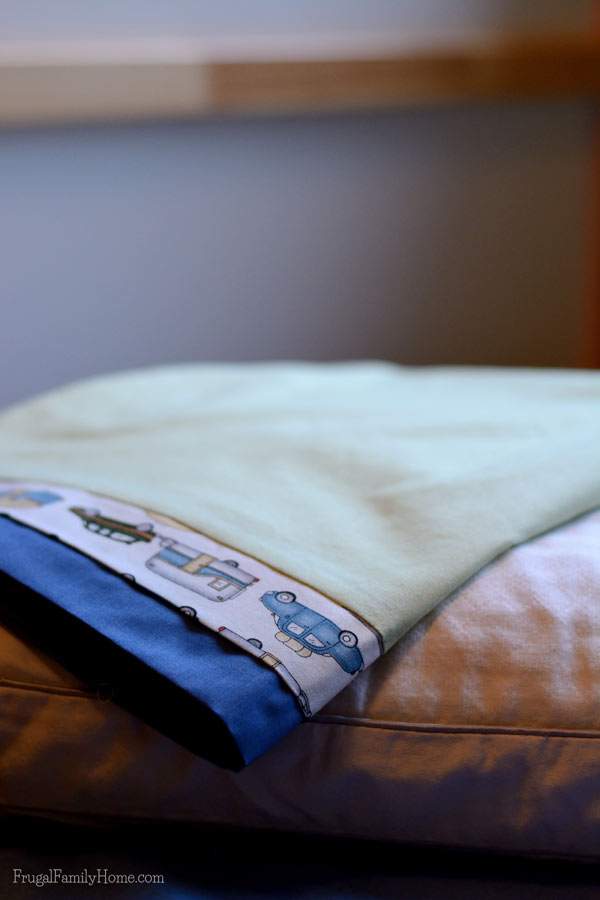
The one I made, I made for my son. I made my son a quilt out of old jeans a few years back. I had every intention of making him a pillowcase too, but I didn’t get it done, until now.
Here’s what you’ll need to make one pillowcase
1 piece of fabric, cut to 43 inches wide by 26 inches long (that’s the green fabric in the photos)
1 strip of fabric, cut to 6 inches wide by 43 inches long (that’s the blue fabric in the photos)
1 strip of fabric, cut to 4 inches wide by 43 inches long (that’s the car fabric in the photos)
Matching thread
A sewing machine
Step One, Press the 6 inch wide strip of fabric in half with wrong side together, lengthwise. You should end up with a strip that is now 3 inches wide and 43 inches long.
Step Two, Press the 4 inch wide strip of fabric, wrong sides together, lengthwise too. You should have a strip that is 2 inches wide and 43 inches long.
Step Three, Lay out the main body fabric flat on the table, right side up. Match the raw edges of the 2 inch strip of fabric to one of the long edges of the main fabric.
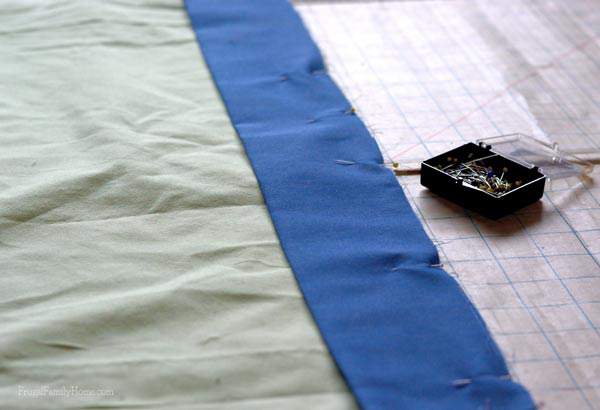
Step Four, Place the 3 inch strip of fabric on top of the 2 inch strip of fabric, matching the raw edge with the raw edge of the main fabric piece. You should have a stack now, bottom of the stack is the main body piece (green in the photo), the next layer is the 2 inch strip (car fabric in photos) and then on top is the 3 inch strip (the blue fabric). All with the raw edges even.
Step Five, Pin along the raw edge to secure the layers together.
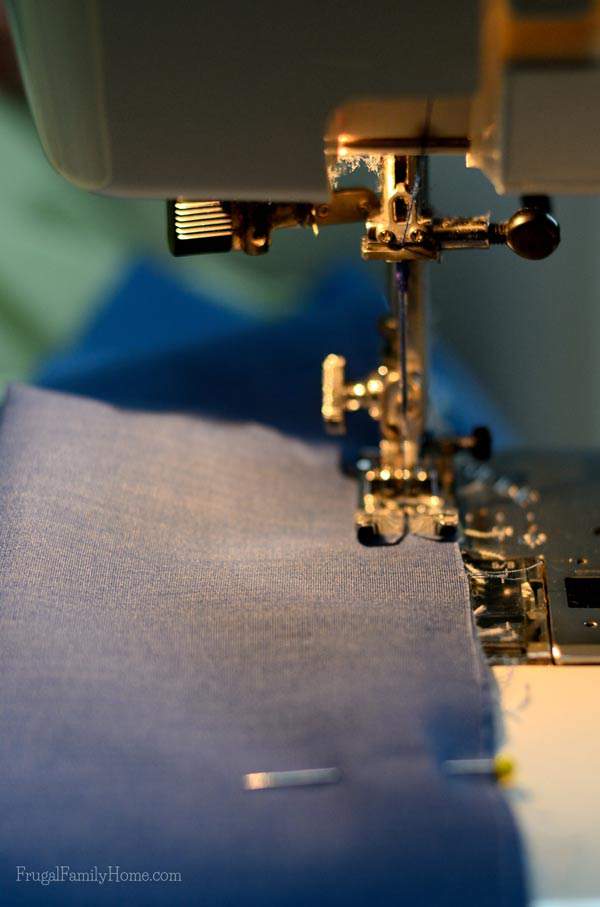
Step Six, Sew the layers together with a 1/2 inch seam. Remove pins
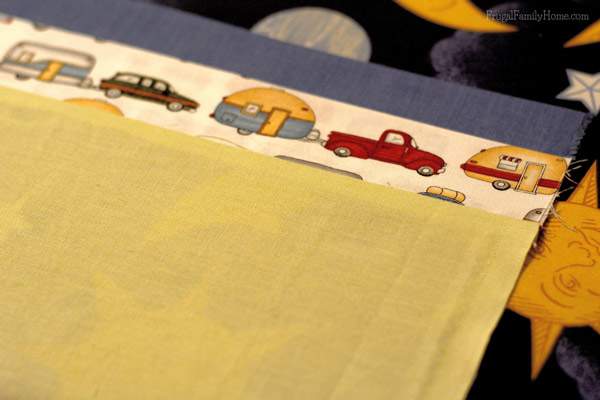
Step Seven, Press the two strips you just sewed so they are up. (see photo above)
Step Eight, Fold the fabric in half, right sides together, matching the raw edges and pin.
Set 9, Sew along the two raw edges to close up the pillow case bottom and side.
Set 10, Turn right side out and trim any strings.
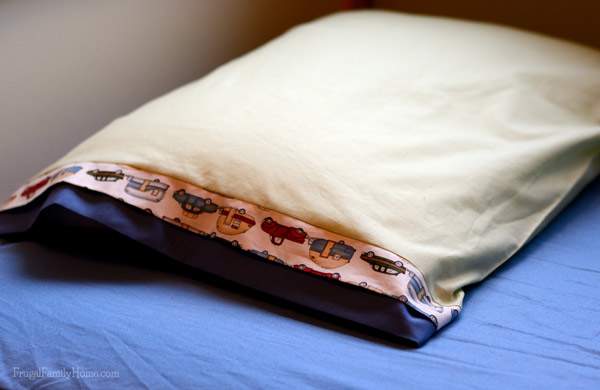
Now you have a custom standard size pillowcase. This pillowcase I made for my son will match perfectly with his quilt I made.
You can further customize the cases by using fabric ink pens to write the person name on the edge of the pillow case. Or better yet, give a fabric marker with the pillowcase and let the person, who is receiving it, customize it themselves.
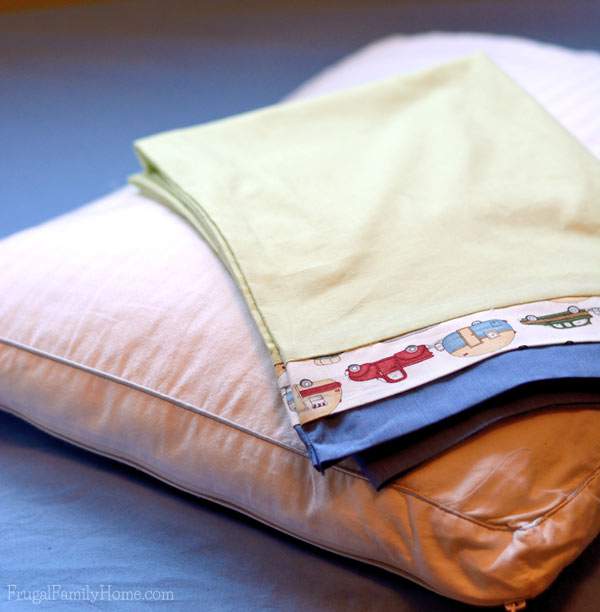
We have made a few of these pillowcases over the years, as gifts and they have always been well received. To give as a full set, pick up a flat sheet and fitted sheet in a coordinating color to add to your custom pillowcase for a full set of sheets.
Are you making any Christmas gifts this year? Share what you are working on in the comments below, I would love to hear about it.

I love this, Shelly! We’ve received a couple of homemade pillow cases and love them. 🙂
I’m planning on making sugar scrubs to give away as gifts. I’m hoping to get them done tomorrow.
Sugar scrubs are so great for gifts. I know I recently tried using a sugar scrub and love it. I hope you are able to get them done tomorrow.
What a cute idea!
I made some Christmas Potpourri and Homemade Hot Cocoa mix for gifts this year. Luckily I have some potpourri ingredients left so that I can make some for our house on Christmas morning.
Thanks Erin. Potpourri and hot cocoa mix sounds like great gifts. I hope you and your family have a great Christmas!
Beautiful job! I wish I was better with a sewing machine. I haven’t used one in years! Thanks for sharing with SmallVictoriesSundayLinkup.