How to Can Peaches, Step by Step Instructions
Peaches, have such a great flavor and are so very delicious when they are in season. But what if you have a hankering for a juicy, flavorful peach out of season? You may have to be content with a pithy, subpar peach in the off season. But if you know how to can peaches, you can preserve your own peaches at the height of flavor to enjoy during those long winter months.
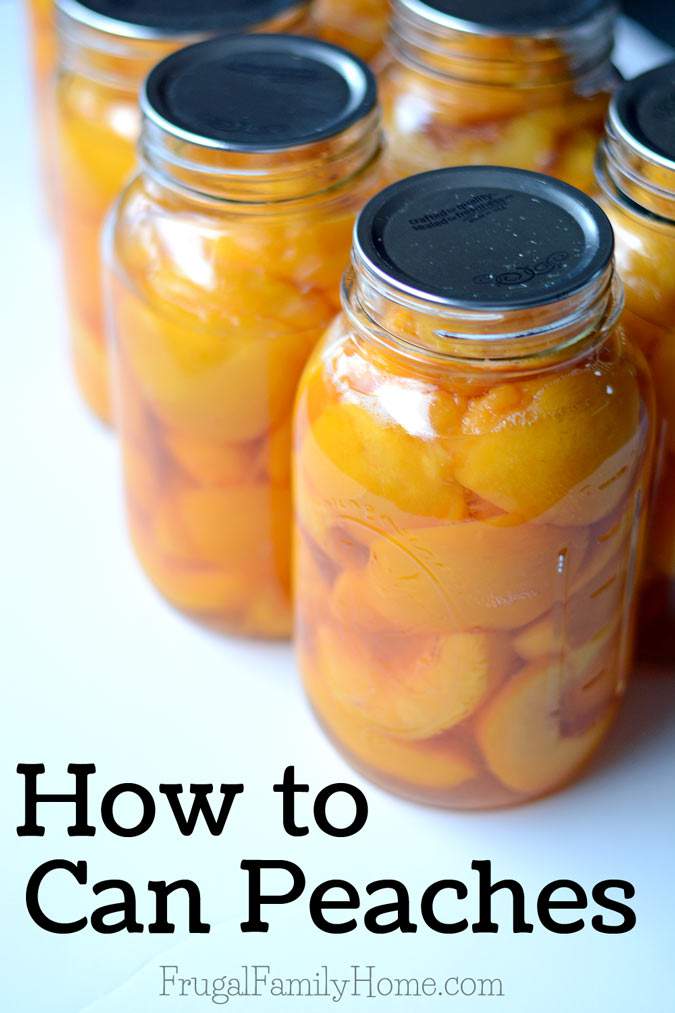
I’ve been canning peaches for years, the home canned ones are so much better than the store bought canned peaches. When you home can peaches you can pick the variety of peaches to can and the liquid to can them in. But first, you need to know where to get your peaches.
Where to Find Peaches to Can
If you have a peach tree in your yard, then you are set. If you are like me and don’t have a peach tree you’ll need a source of peaches. Our family used to go and pick peaches at a local farm, but unfortunately, they no longer have u-pick peaches.
There are a few places we can pick peaches but they are quite a drive from us so we don’t usually u-pick peaches anymore. If you want to find where to u-pick peaches in your area try this u-pick site and click on your state to find u-pick farms near you.
Because of the drive and my time is more limited than it used to be, I purchase peaches at a local farm stand. They have fresh local grown produce at a little higher price than u-pick but I can drive up, grab a box or two or peaches and then head home with them. Saving me time and gas over going out to u-pick peaches.
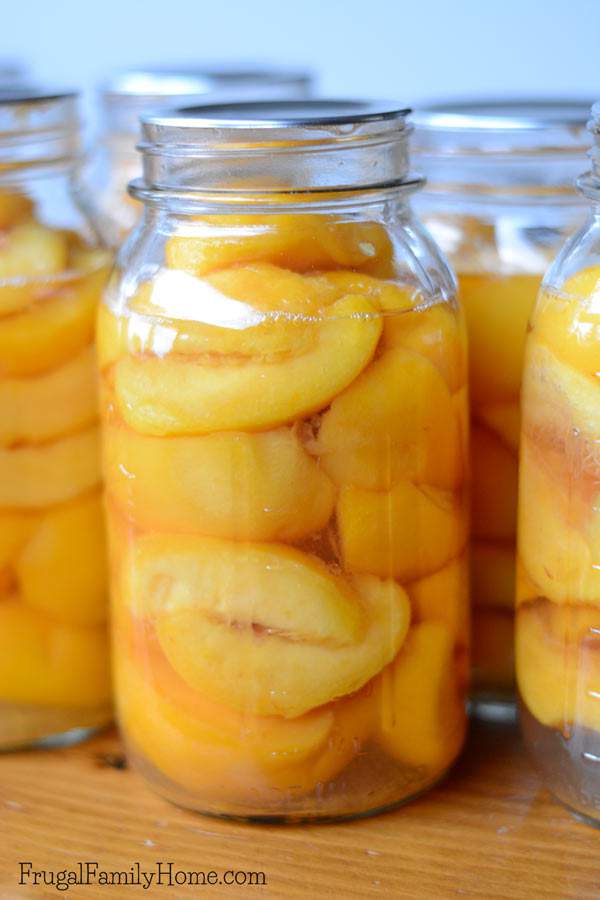
What Kind of Peaches to Can
There are three main types of peaches, freestone, cling or clingstone, and semi-freestone. The cling peaches are true to their name and they cling to the pit. It is harder to get the peaches off the pit and can result in hairy peaches where the pit is removed. I prefer to use freestone peaches.
Freestone peaches come off the pit very easily. I usually just cut the peach in half give it a twist and viola the pit is out. The semi-freestone are a hybrid of the two types but I haven’t tried them, but they are said to be good for canning and fresh eating.
My favorite peach to can is Improved Elberta. In the past, I’ve canned O’Henry, Suncrest, and Elberta peaches. All of these varieties are freestone. Certain peach varieties are in season at different times during the growing season.
When you go peach shopping you might be able to find one or all of the varieties mentioned above. But if you can’t locate one of them ask the farm stand worker what peaches they have that are good for canning. You might find one a different variety you will really like.
Ripening Peaches
Often when I purchase a box of peaches it can take a day or two or up to a week for the peaches to become ripe enough to can. You want the peaches to be ripe, not underripe or overripe.
I find the easiest way to ripen peaches is to lay them out in a single layer in a cool dark place. I place ours in our spare bedroom downstairs. I add an overripe banana to help them ripen more evenly. It’s a trick I learned from a friend.
Just so you know, I’ve included affiliate links where appropriate. Which means when you use these links to purchase a product I can make a little money at no extra cost to you. Thanks for the support in this way.
Canning Equipment Needed
This is the equipment you’ll need to can peaches. I’ve listed a water bath canner and a pressure canner. You don’t need both just pick one or other to use. If you are looking to purchase just one canner, you might consider a pressure canner.
A pressure canner can be used for low acid foods as well as high acid foods. Where a water bath canner can only be used with high acid foods.No matter which type of canner you use be sure to follow the manufacturer’s directions on how to use it safely.
Pressure Canner or Water Bath Canner or Electric Water Bath Canner
Canning Jars (I prefer wide mouth since it’s easier to get the peaches in the jar) quart or pint size
Canning Lids and Bands or New lids only if you already have jars and bands
Large Stock Pot for preparing syrup for peaches
Jar Lifter
Ball Blue Book of Preserving
Fruit Fresh or Salt
Sugar
Steps for How to Can Peaches
While this article is a great guide to canning peaches, I do recommend you pick up the Ball Blue Book of Preserving. Even though I’ve been canning peaches for years I still refer to it every time I can. It’s a great resource to learn all the steps needed to can safely.
If you are looking for a free guide to basic canning procedures you can get this pdf for free from the National Center for Home Preservation to guide you through the process of canning safely at home.
1. Get your canner ready. Place your water bath canner on the stove 1/2 to 3/4 full of water. Wash your bands, jars, and lids in hot soapy water. Then add your clean empty jars to the water bath canner. I let the empty clean jars simmer in the water while I’m preparing the fruit.
2. Start your syrup on the stove. Measure the water and sugar into a stock pot or pan. Heat and stir to dissolve the sugar, keep it warm but not boiling. It’s recommended to use a medium to heavy syrup for peaches. Get the measurements for each type of syrup here.
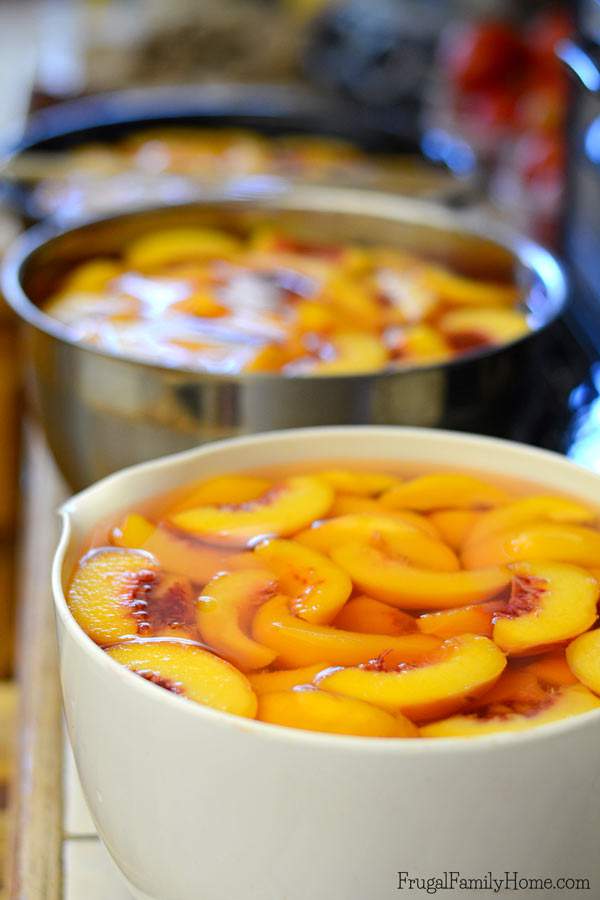
3. Wash and peel peaches. You can blanch the peaches for about 30 seconds to loosen the skins and then ice water bath them to cool them down. This will allow the skin to slip right off the peaches. Or you can use a paring knife or vegetable peeler to peel the peaches. The peaches do look better when they are blanched and peeled.
4. Decide if you will slice or halve the peaches. As you are removing the skins you’ll want to decide how you will can your peaches. Cut the peaches in half and remove the pit, then slice if desired. You can get more peaches into a jar when they are sliced instead of halved.
5. Keep peaches from browning. As you are preparing the peaches and halving them or slicing them, place them in a fruit soak to keep them from browning as you are preparing the rest of the peaches. You can use a product like fruit fresh or use the salt water to keep them from browning.
6. Heat lids. Place your washed lids into a small saucepan and cover with hot water so they are ready to go when the jars are filled.
7. Fill the Jars. Once all your peaches are ready and waiting, it’s time to can them. You can use a hot pack or a raw pack. I prefer a raw pack and that’s what I’ll be sharing but you can read more about a hot pack here. Drain the peaches. Take one jar out of the canner. Add the drained peaches and pack into the hot jar.
Ladle the hot syrup over the peaches and remove any air bubbles. I use a rubber spatula to run along the sides of the jar to loosen any air bubbles. Leave a headspace of 1/2 inch.
Wipe the rim of the jar to remove any syrup or peach debris with a clean cloth. Place lid on the jar and adjust the bands. Place the jar with the jar lifter back into the canner and proceed with the next jar.
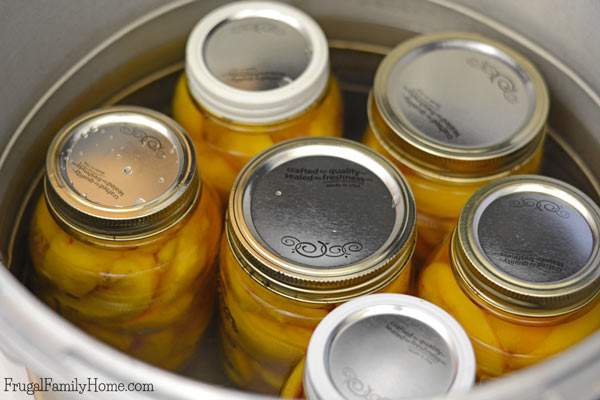
8. Process the peaches. Make sure the water fully covers the jars with at least 1-2 inches of water over the top of the jar lids. Process the peaches in the water bath canner according to your altitude and jar size. You can find processing times for pressure canner and water bath canner for either a hot or raw pack here.
9. Remove from Canner and Cool. Once processing time is up, remove jars from water bath canner place them on a towel and cover to prevent a draft. Let sit overnight and cool. Once cooled, check to make sure the lids have sealed properly.
10. Label your jars by writing on the lid the date and canner batch if you have more than one canner batch. Store in a cool dark area until ready to use.
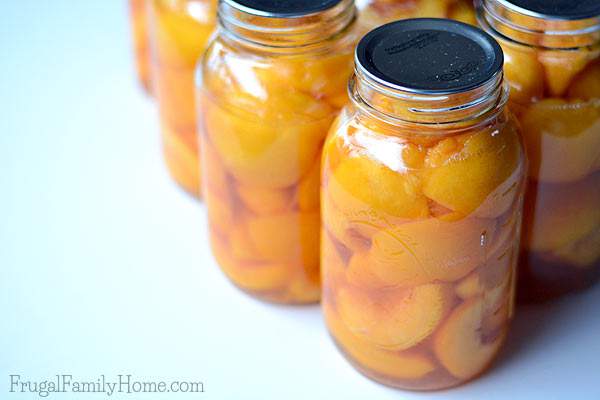
There you have it, the basics on canning peaches. Be sure to pick up a copy of the Ball Blue Book of Preserving or download the free home canning guide from the USDA site, so you will have all the steps necessary for a safe and successful canning experience.
More Preserving Tips and Tutorials
Find More Food Preserving Tips
Learn How to…
Dry Tomatoes
Dry Peaches
Dry Watermelon
Can Tomatoes
Can Pears
Dry Pears
Make No Pectin Plum Jam

I love canned peaches, Shelly! I just wish there was an easier way to get the skins off – I think I’d do a lot more if it weren’t for that, ha!
Yes, peeling the skins does take time, but I have the kids help so it goes pretty fast for us. 🙂
You are tempting me! I miss my grandmas home canned peaches. I never canned any. She and grandpa would go to Eastern Washington every summer and bring back loads of peaches and tomatoes for her to can. Then she would share them with the family. I was so spoiled!
Now I want them and will have to can them myself. Thanks for the inspiration!
Your welcome, Diane. Canning is something my grandma, mom, and aunt used to do together each year. They used to can green beans, peaches, pears, and freeze corn too. I remember sitting in my aunt’s garage shucking corn for all three of our families. It was a lot of work but fun too. My kids help me now with our canning and freezing now.
What a great tutorial, Shelly! Thanks for sharing it! 🙂
Thanks Sandra!
Your peaches look just delicious! I bet they taste a whole lot better than the ones in the can 🙂
Thanks for such a great tutorial…you make it look so easy that I feel like I might be able to can peaches one day!
Now that I have 4 quarts of peaches I am in need of recipes to use them! Don’t want to just eat over ice cream.
We like to add our canned peaches on top of oatmeal. I’ll use them in peach crisp, cobbler or peach pie. You could also blend a peach and add it to hot tea for a burst of peach flavor. You can also use the liquid the peaches are canned in to sweeten and flavor plain tea. Puree a couple and add them to maple syrup for pancakes. I hope those ideas help.