How to Debone a Chicken Breast and Save Money
Bone in chicken breast is often less expensive than the boneless, skinless chicken. You can save money by taking the skin off and taking the bones out yourself. Watch the video below to see how to debone a chicken breast.
It’s easier to do than you might think.
I usually purchase boneless, skinless chicken breasts. They are easy to make into freezer meals. They are quick to cut up or grill because it isn’t much you have to do with them. And less handling of raw meat is better in my book.
I hate handling raw meat. Yuck!
But when I find a great deal on split chicken breasts, the cheaper side of me always wants a deal, I purchase them and process the split chicken breasts myself.
It really isn’t hard at all. And when you are done, you have bones to use to make chicken stock too. So you can really get your money worth.
When to Buy Split Chicken Breasts and When to Skip Them
Like I mentioned above I usually purchase boneless, skinless chicken breasts. I used to purchase them from Zaycon Fresh (until they went out of business) or at the grocery store.
But when I can find split chicken breasts at half the price of the boneless skinless breasts, I grab a few packages and process them myself.
My usual buy price for boneless skinless chicken breasts is $1.99 per pound. When I find split chicken breast for $.99 a pound or less I will buy them instead.
Why Buy Split Chicken Breasts
The main reason I purchase split chicken breasts instead of boneless and skinless breasts is first the price. If I can save money with a little work, I’ll do it.
Second, I get bones from the chicken breasts to make bone broth. And that is always nice to have on hand for casseroles, soups, and making chicken noodles.
Third, If I want to make pre-cooked chicken for the freezer I only have to take the skin off and cook it. Cooking the chicken on the bone helps to keep the meat from shrinking up. Some people say it adds flavor too.
Some of the links below are my referral links. Which means as an Amazon Associate I earn from qualifying purchases and when you purchase through them I can make a little money at no extra cost to you. Thanks! See my disclosure policy for more information.
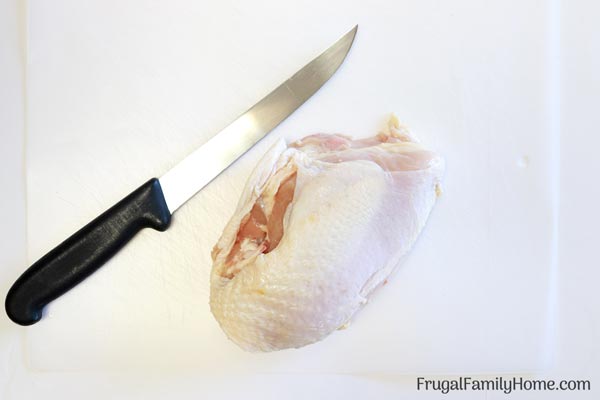
What You’ll Need to Debone a Chicken Breast
A Sharp Knife, I love my Victorinox knives. I use a 6-inch chefs knife to debone the chicken breasts. But they also have a 6-inch deboning knife too. If you have dull knives and no way to sharpen them I love this little sharpener. It’s cheap and works really well.
A Cutting Mat, you can get these plastic cutting mats at the dollar stores or at Amazon. I’ve had a set of two for years now. I like them because they are a good size. I can put the chicken that is done off to the side on the cutting board and still have room to work.
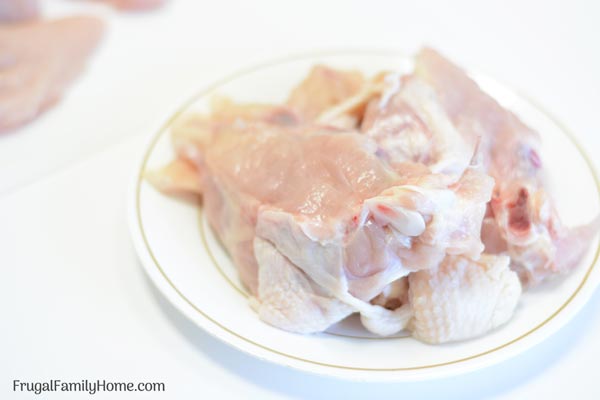
Chicken you will need split chicken breast. I found a great deal on them this trip. They were only $.88/lb. I haven’t seen that price in quite a while. I’m hoping it will come around more often.
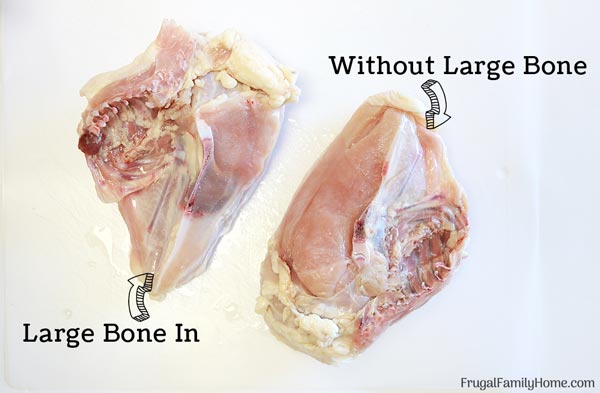
Two Types of Split Breasts
In the video below, I talk about two types of split chicken breasts. When the breasts are split, there is half with a bigger bone and a half without that bone. The bigger main bone goes with one of them and one doesn’t have the big bone from the middle.
I show in the video below how to debone both types since it is tricky getting around that bigger bone and not losing as much meat.
I want you to know of the differences so you don’t get frustrated trying to get around that piece of bone.
How to Debone a Chicken Breast
Ok so now let’s get down to taking those bones out. You can leave the skin on or take the skin off. In the video below I do it both ways. But I usually pull the skin off and then take the bones out.
Here’s the video and I’ll have tips below….
Chicken Deboning Tips
Before You Work, Setting Up Your Workspace
If you are a germ-a-phobe like me you might want to cover your work surface. I place a layer of newspaper on the counter and then a layer of plastic wrap. Then I put my cutting board on that. Clean up is quick and easy, all I have to do is pick it up and throw it away.
I also sanitize the covered surface to be on the safe side. It’s just a quick and easy way to keep your counter or table cleaner.
Get Everything You Need and Have to Close by
Once you have your workspace set up, it’s time to gather your tools. If you’ll be making broth set your pot or slow cooker out so you can drop the bones right into the pot.
I like to minimize the handling of the raw chicken so I like to have it ready to go in its final place once I get the bones out.
If you won’t be making broth have a bag nearby to place the skin and bones in to dispose of them easily. I can’t keep anything like this in the house trash as our dogs and cat have learned how to open the cupboard and get to the trash.
At my house, it’s better to get it chicken bones moved out to the garbage as soon as I’m done and maybe that’s the same at your house too.
Get your knife sharpened and ready to go. If you missed it above I talk about my favorite knife and sharpener. I know it’s easy to miss these things when you skim.
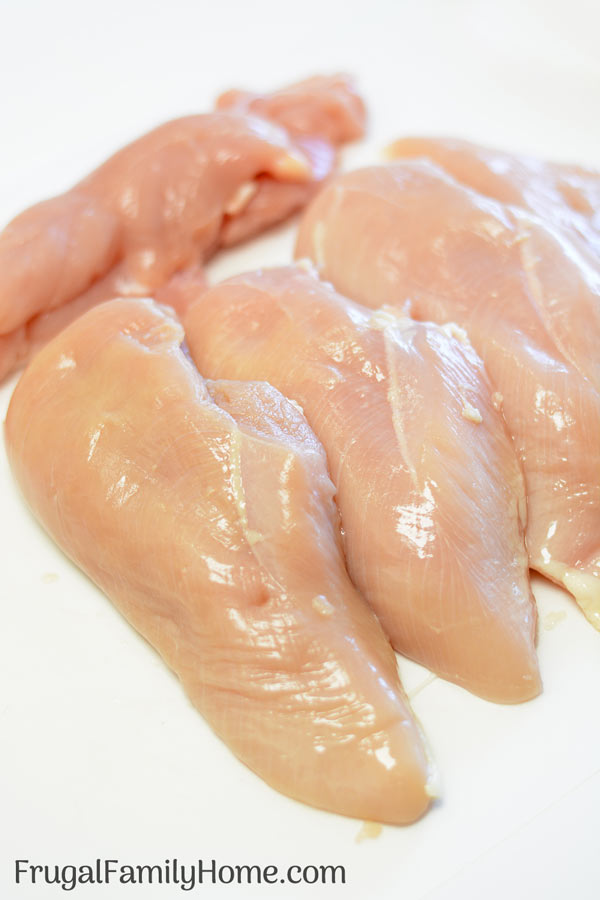
Debone the Chicken
Now we have everything ready to go and our work surface is ready too. Let’s get to deboning that chicken.
First, grab the edge of the chicken skin and pull it back. If it’s too slick to hold, it might be easier to grab the edge with a paper towel and pull it off.
Second, determine if the breast has a large done on one edge or not.
If it has the large bone, follow the instruction in the video for the second breast to minimize the amount of meat left behind on the bones while cutting them out. I would explain the process here but I think it’s really better to watch it.
If the breast you are working on doesn’t have a large bone, it will be easier to debone. It’s just a matter of sliding the knife under the membrane and bones as closely as you can and cutting. I show it in the video. And while I could explain it, I think watching the video will be better.
Third, After the bone is cut away, take off the tenderloin, if desired.
There is a little strip of meat called the tenderloin you can use separately if you desire. If you have a split breast without the big bone, the tenderloin will be mainly intact once you are done.
If the split breast you were working on had a big bone in it, the tenderloin might be a little misshaped or thinner, since it’s harder to get around that extra bone. Either way, you can leave it attached to the breast or remove it.
The tenderloins are great for breading and making chicken strips. Or you can cut them up into slices or strips for dishes like stir-fry.
Prep the Chicken Breasts the Way You Like
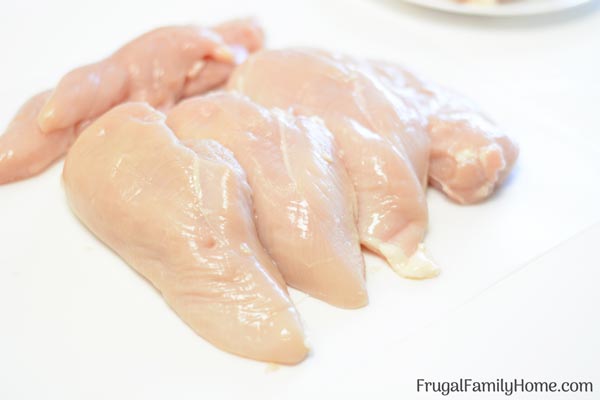
Once you have the bones removed, you are done or ready to prep them for the freezer. I like to make freezer meals with mine. I make marinades and put the chicken pieces in to marinate in the freezer. Then all I have to do is thaw and cook.
So easy and I don’t have to mess with the raw chicken again. Yay!
What do you think?…
Now that you know how to debone a chicken breast, is this something you will do the next time you see split chicken breasts on sale? I know I don’t purchase them often but when I see a good price, I can’t pass up the bit of work is worth the savings.
Chicken Dinner Ideas…
Precooking Chicken for the Freezer
Chicken Freezer Meals
Chicken and Artichoke Casserole
You make deboning chicken look so easy Shelly! I’ll have to keep on the lookout for deals on split chicken breasts so that I can try this out 🙂
Thanks for the helpful video!
I can tell you’ve done this a time or two before. This was so very helpful and I, surely appreciate you taking the time to show how to save money and learn something new. I don’t have a proper knife for the de-boning, yet, but I will be on the lookout for one. I have 4 breasts I have to cook tonight but, they’re all different sizes so, I was looking for an option to cook split breasts when I came across your post on Pinterest. Thank you for sharing!
Cynde, Thanks for stopping by and letting me know that you found this helpful. You made my day!