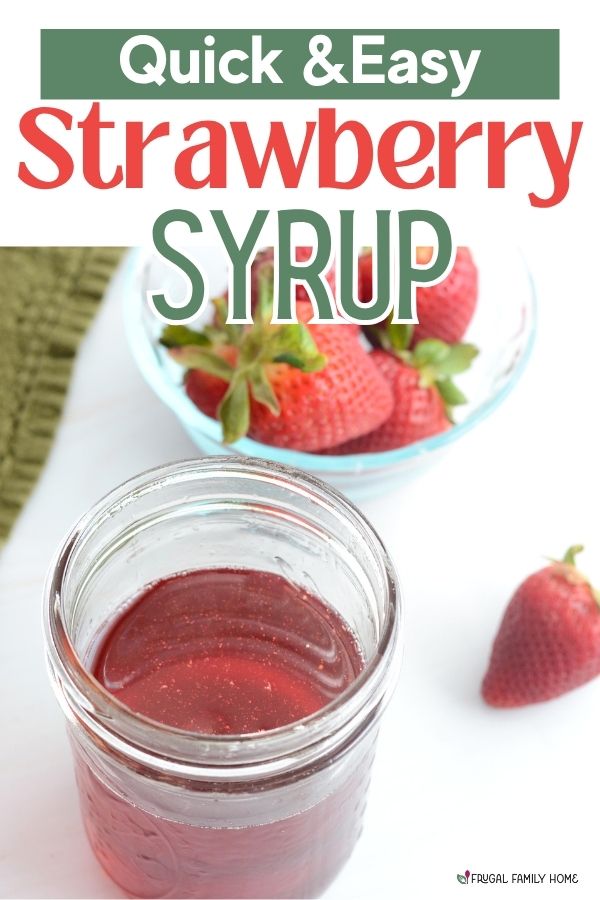
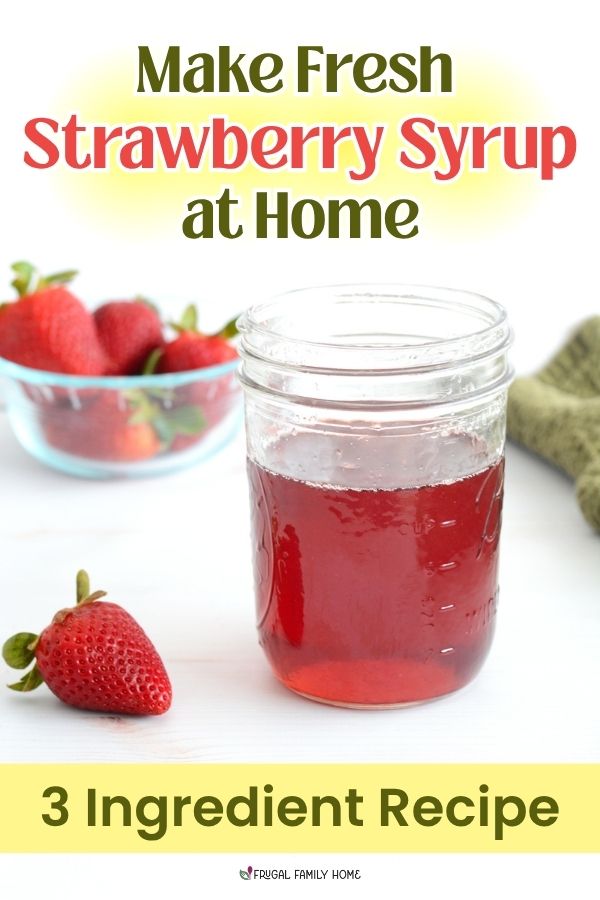
Simple Homemade Strawberry Syrup, Just Three Ingredients
Picture this: Sunday morning pancakes topped with syrup that actually tastes like real strawberries.
Not the bottled kind. But something simple you made yourself in about ten minutes.
All you need is three ingredients and one pot. No special equipment—just a quick, easy way to turn fresh berries into something you can enjoy all week.
It’s not just for pancakes.
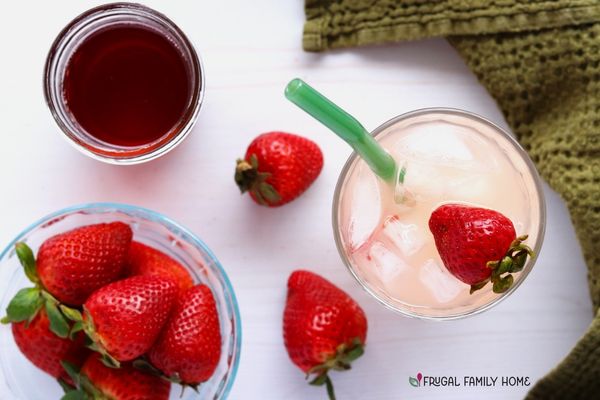
You can drizzle it over yogurt, spoon it onto ice cream, or stir it into sparkling water for an easy homemade treat.
Let me show you how to make it, because strawberry season is coming.
Where This Simple Recipe Came From and Why It Still Works
Fruit syrup might sound fancy, but it’s really just a simple kitchen trick that’s been around forever. People used to cook down fresh fruit with sugar so they could enjoy those flavors longer.
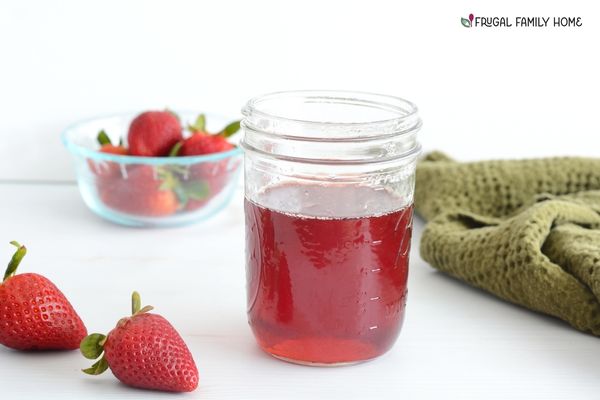
The best part about this recipe is, it’s incredibly simple. Just fruit, sugar, and water. That’s it. Just a quick way to turn fresh strawberries into something you can pour and use all week.
You’re simply pulling out all that fresh strawberry flavor and turning it into a smooth, pourable homemade strawberry syrup.
It’s one of those back-to-basics methods that every home cook should know.
Why This Easy Recipe Works (and Tastes Better Than Store-Bought)
- Basic ingredients = better flavor.
You’re using equal parts strawberries, sugar, and water. The flavor stays balanced and actually tastes like real fruit. No extra ingredients you don’t want. - Quick cooking keeps it fresh-tasting.
This comes together fast. A quick boil pulls out the color and flavor from the berries without overcooking them, so your syrup stays bright and fresh tasting. - Smooth, pourable texture.
After a quick strain, you’re left with a syrup that’s smooth and easy to pour. No seeds, no chunks—just something that works perfectly on pancakes, yogurt, or whatever you’re making. - It’s fast and hard to mess up.
This is a simple, quick process that takes about 10 minutes from start to finish. Once it reaches a good boil, you’re basically done.
Equipment You’ll Need
You probably already have everything you need sitting in your kitchen.
- Small or Medium Saucepan
Any saucepan will work here. A medium one (around 2-quart) gives you enough room for everything to bubble without spilling over. No need for anything fancy. - Spoon or spatula
Whatever you usually cook with is fine, wooden spoon, silicone spatula, even a metal spoon. You’re just stirring and keeping things moving. - Fine-mesh strainer or fine mesh sieve
This is the best way to get seed free syrup. A fine-mesh strainer gives you a smooth syrup without seeds or pulp, so it pours easily and looks nice too. - Jar or container with a lid
A mason jar works great, but any heat-safe container with a lid will do. Just make sure it can handle warm liquid.
If you don’t have a fine-mesh strainer, you can still make this work. Line a regular strainer with a bit of cheesecloth and strain it that way—it takes a little longer, but you’ll still get a seed-free result.
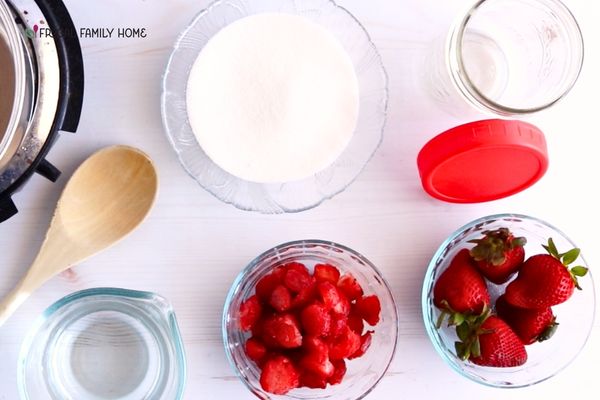
Ingredients You’ll Need (and Why They Work)
- 1 cup water
This is your base. It helps dissolve the sugar and pulls all that strawberry flavor into the syrup. You’re not trying to make something super thick or overly sweet, just a smooth, pourable syrup.
Use regular tap water. If it tastes fine in a glass, it’ll work here.
- 1 cup sugar
Plain granulated sugar works best. It dissolves easily and gives you that classic syrup texture without adding any extra flavors.
You can use cane sugar if you prefer, but it won’t change much. I’d skip honey or maple syrup here—they’ll take over the flavor instead of letting the seasonal strawberries shine.
- 1 cup sliced strawberries (fresh or frozen)
Either fresh or frozen works, so use what you have. Frozen strawberries are actually a great option because they break down quickly and release their flavor fast.
If you’re using fresh ones, just slice them up into halves or quarters. The goal is to expose more of the fruit so you get the most flavor.
Slightly soft berries are totally fine here, but skip anything moldy.
You can find strawberries year-round, but in the off-season, frozen berries are often the easiest and most consistent choice.
Watch the Video…
I’ve made a quick video for you. It walks you through each step of making this strawberry simple syrup. If watching a video isn’t for you, keep scrolling for the written directions below.
Step-by-Step Instructions
The step by step instructions for how to take sweet strawberries and transform them into a delicious homemade syrup.
1. Pour 1 cup of water into the saucepan and add 1 cup of sugar. Stir.
Stir it a few times to start dissolving the sugar. It won’t fully dissolve yet. That’s fine.
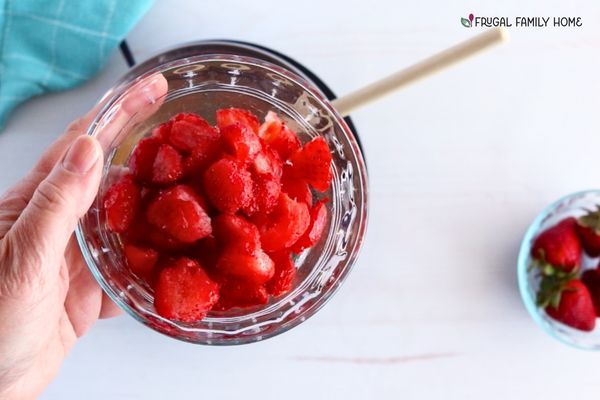
2. Add 1 cup of strawberries and stir.
Toss the berries into the sugar water. Give it a quick stir to distribute everything evenly. The berries will float. That’s normal.
3. Put the burner on high and stir the mixture until the sugar dissolves.
High heat from the start. Keep stirring occasionally so the sugar doesn’t settle on the bottom and scorch. You’ll see the sugar disappear as the liquid heats up. Once it’s fully dissolved and the liquid looks clear, you’re ready for the next step.
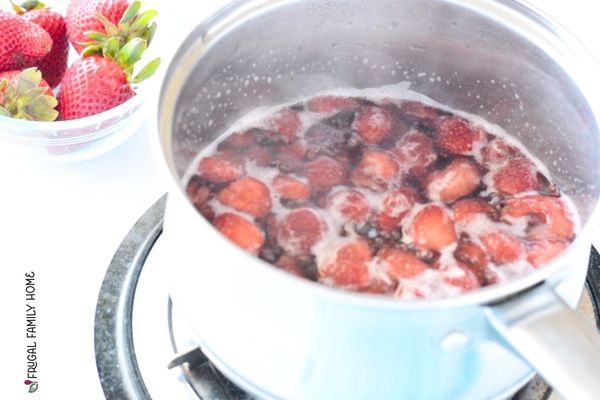
4. Once the sugar is dissolved, continue cooking on high until the mixture reaches a full rolling boil.
A full rolling boil means big, aggressive bubbles that don’t stop when you stir. This is different from a simmer or a gentle boil. You want the whole surface to move. This brings the sugar up to the syrup stage.
5. Once the mixture reaches a full rolling boil, turn off the burner and let it sit on the burner until the bubbling stops.
Turn off the heat. But leave the pan on the burner. The residual heat from the burner and the liquid itself will continue cooking the berries. The bubbling will slow down and stop within a minute or two.
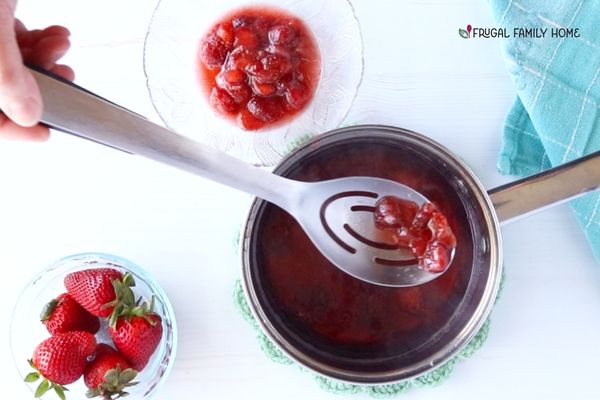
6. Scoop out the majority of the strawberries.
Use a spoon to fish out most of the fruit. You don’t need to get every single piece. Just grab the big chunks. This makes straining faster and keeps the strainer from clogging. Don’t throw these berries away. See the tip below for what to do with them.
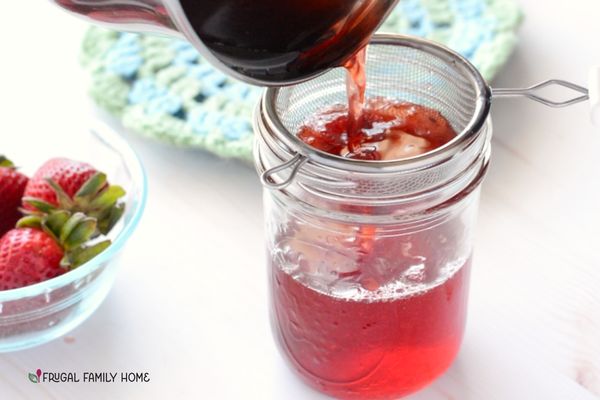
7. Strain the liquid with a fine-mesh strainer into your canning jar.
Pour the syrup through the strainer into the jar. Press gently on any remaining fruit to extract extra liquid, but don’t force pulp through the mesh. You want clean, seed-free syrup.
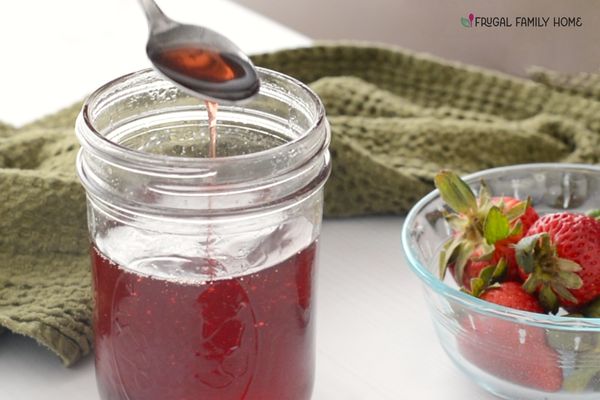
8. Let cool in the jar, place a lid on the jar, and store in the refrigerator.
The syrup will thicken as it cools. Don’t add the lid while it’s hot or you’ll trap condensation inside. Wait until it’s at least room temperature. Once it’s cool, add your lid and refrigerate. It’ll keep for two to three weeks, if it last that long.
The whole process, start to finish, is about ten minutes of active time.
Favorite Ways to Enjoy this Syrup
For Breakfast:
This strawberry pancake syrup is not only great for pancakes, but is delicious on french toast, and waffles, too. But it’s way more versatile than breakfast.
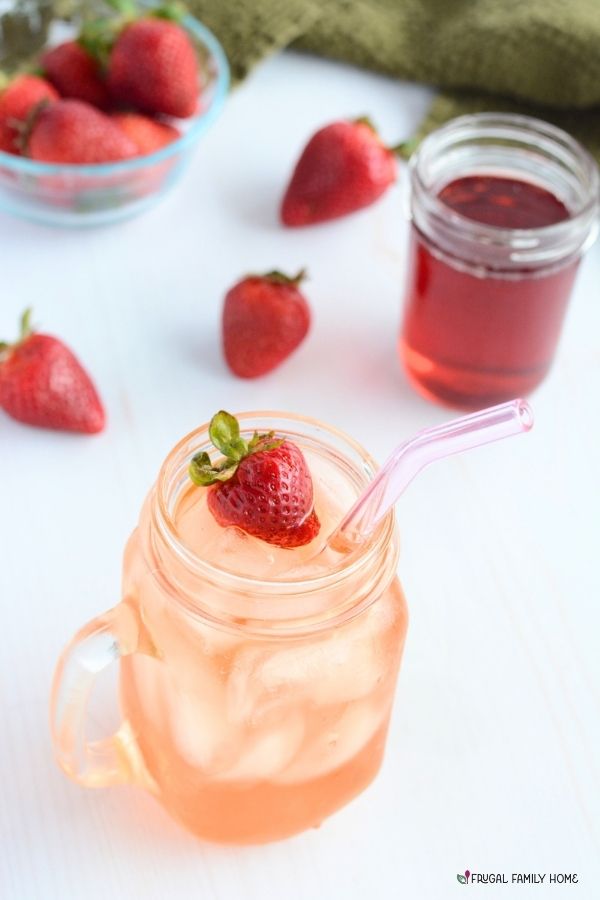
Flavored Water, Lemonade or Tea:
Add a tablespoon or two to plain water or tea. Stir it in and add some ice. It adds a subtle sweet berry flavor to plain water or tea.
Sparkling water:
Two tablespoons in a glass of sparkling water makes instant strawberry soda. Add a squeeze of lime if you want it a little more complex. This is the easiest way to use up a batch if you’re not a big pancake person.
Yogurt and oatmeal:
Drizzle it over Greek yogurt or stir it into overnight oats. The bright berry flavor cuts through the richness of dairy and makes plain yogurt actually exciting.
Ice cream:
Vanilla ice cream becomes a completely different dessert with this drizzled on top. You could also fold it into softened ice cream and refreeze it for strawberry swirl.
Desserts:
Use it to soak cake layers, glaze pound cake, or drizzle over cheesecake.
Other Great Simple Syrup Recipes
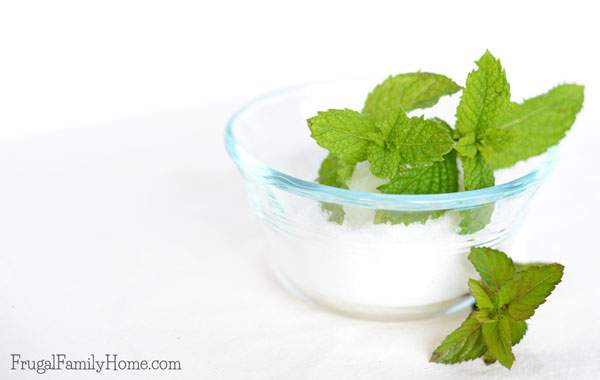
You can also mix this syrup recipe with my mint simple syrup to add a hint of mint too. Or find my plain simple syrup here for a great way to add sweetness without the grit to your favorite drinks. Great for water, tea, and lemonade.
Once you realize how many places this fits, you’ll start keeping a jar in the fridge at all times.
Storage Tips
Since this is made with fresh ingredients, you’ll want to keep it in the fridge.
- Store in the refrigerator for up to 2–3 weeks
Keep your syrup in an airtight container or glass bottle in the fridge. The sugar helps preserve it, but it still needs to stay cold to keep it fresh. - Give it a quick check before using
If anything looks off or smells unusual, it’s best to toss it. But if you’re using it regularly, it likely won’t last that long anyway. - If it thickens, don’t microwave it
Syrup can thicken a bit in the fridge. Instead of microwaving, just let it sit at room temperature for a few minutes or run the jar under warm water to loosen it up. If you want a thicker syrup use it straight from the refrigerator. - Freeze for longer storage
You can freeze the syrup in small portions (like ice cube trays), then pull out what you need later. It keeps well in the freezer for up to 3 months.
One quick tip: this isn’t like grocery store pancake syrup, so it’s best not to leave it out on the counter. Keeping it in the fridge will help it stay fresh and ready to use.
Don’t Toss Those Cooked Strawberries
Before you throw out the strained strawberries, here’s an easy way to use them up.
Blend them until smooth, then pour the puree into ice cube trays and freeze. You can drop a cube into water, lemonade, or iced tea for a quick boost of fruit flavor.
They’ve already given up a lot of their juice, but there’s still plenty of flavor left. It’s an easy way to stretch what you made just a little further.
So there you have it. Three simple ingredients, about ten minutes, to make a fresh strawberry syrup.
Once you make it yourself, it’s hard to go back. The flavor is fresh, the color is bright, and you know exactly what’s in it.
Give this delicious strawberry syrup a try this weekend and see where you end up using it.
More Strawberry Recipes
Strawberry Jam
Strawberry Limeade
Strawberry Shortcake for the Freezer
How to Freezer Strawberries
How to Dry Strawberries
Grab the printable recipe on with the recipe card below…
Homemade Strawberry Syrup Recipe
Equipment
- Saucepan
- Spoon
- Canning jar with lid
- Strainer (fine mesh or cheesecloth)
Ingredients
- 1 cup water
- 1 cup sugar
- 1 cup sliced strawberries fresh or frozen
Instructions
- Pour the 1 cup of water to the small saucepan and add 1 cup of sugar and stir.
- Add 1 cup of sliced strawberries and stir.
- Put burner on high and stir the strawberry mixture until the sugar is dissolved.
- Once the sugar is dissolved continuing cooking on high until the mixture to a full rolling boil.
- Once mixture reaches a full rolling bowl, turn off the burner and let it sit on the burner until the bubbling stops.
- Scoop out the majority of the strawberries
- Strain the liquid with a fine mesh strainer into your canning jar.
- Let cool in jar and place a lid on the jar and store in the refrigerator.
Notes
Nutrition
If You Like this Recipe
Subscribe and you'll get Recipes
sent right to your inbox!
Click the button below and fill out the form.


Can I used Stevia or Munk fruit to replace the sugar?
Trish, I’ve never tried it with either of those so I’m not sure if it will work or not. Sorry I couldn’t be of more help.