How to Make Cherry Cream Chocolates, A Simple & Easy Candy Recipe
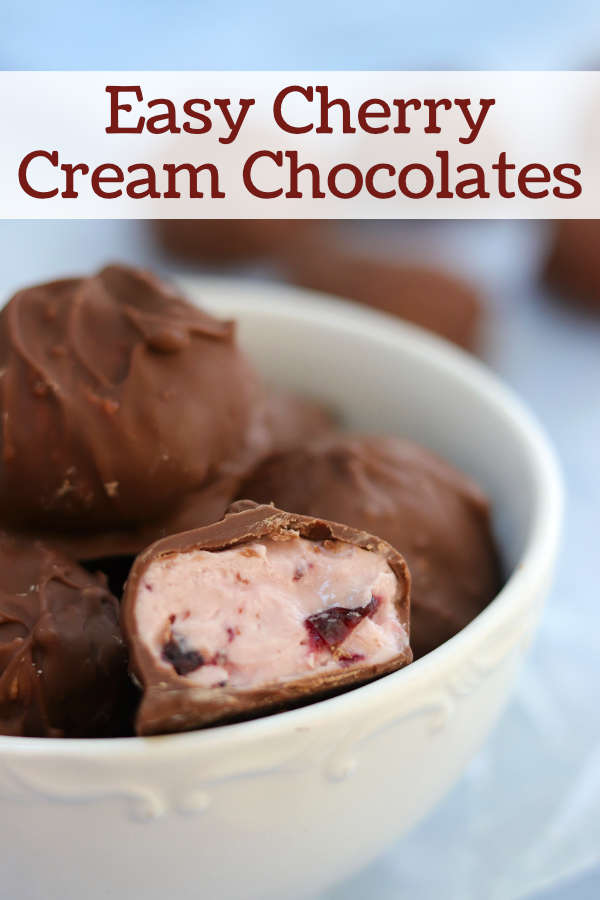
Make your own cream chocolates can be simple and easy. And they are so delicious too. So if you love cream chocolates make your own with this easy cherry cream chocolates recipe.
Be sure to scroll down for the video and step by steps photos too.
More Easy Chocolate Candy Recipes: Peanut Butter Balls | Butterscotch Truffles | Brownie Truffles
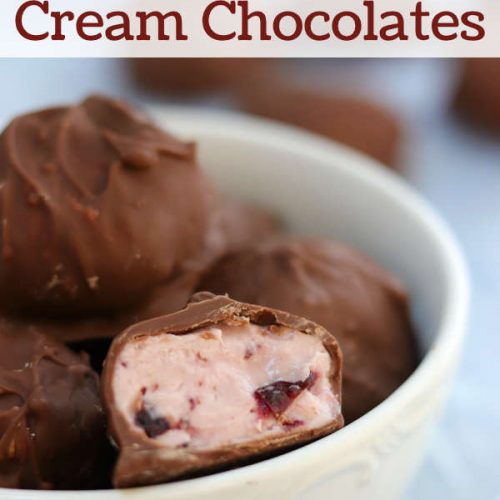
These homemade cherry cream chocolates are so good. The delicious chocolate coating, hold the buttery and creamy filling inside. Just bursting with cherry flavor from the real dried cherries used in this recipe.
Plus, no food coloring needed at all.
They are great to give as a gift too. And so easy to make. Just watch the video below to see each step.
What You’ll Need to Make Homemade Cream Chocolates
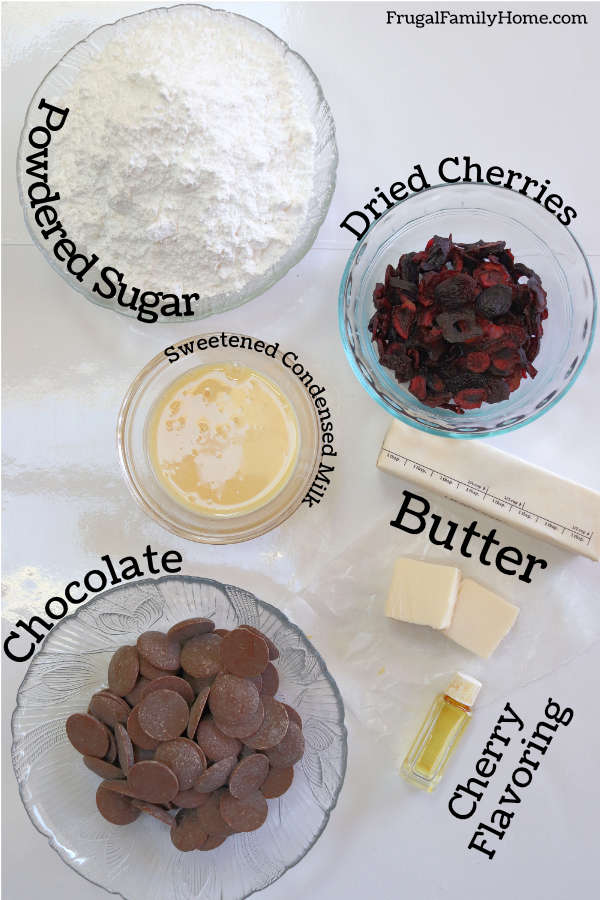
All you need are a few simple ingredients to make your own cream chocolates. These are cherry flavored but you can easily make any flavor you’d like. They are sweet and smooth and easy to make.
- Powdered Sugar
- Butter
- Sweetened Condensed Milk
- Cherry Candy Flavoring
- Dried Cherries
- Chocolate or Chocolate Candy Coating
Recipe Tip: You can use chocolate or chocolate candy coating to dip your cream centers in. If you’ll be using chocolate, be sure to temper it so it doesn’t become speckled when it cools. Or use a mix of candy coating and chocolate for the best of both worlds.
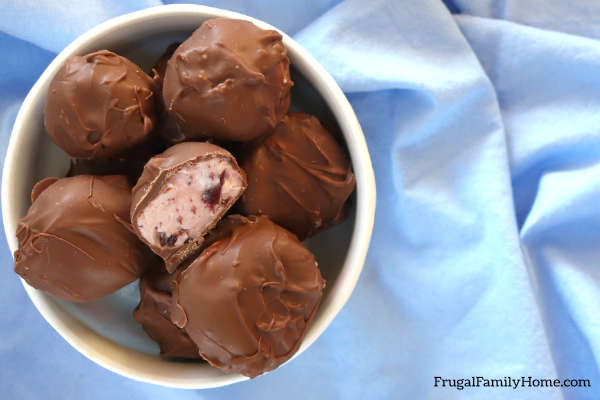
How Long Will Cream Filled Chocolates Last?
Now if you are wondering how long your cream filled chocolates will last, they will keep about 3 months. You need to store them away from light in a cool, dark place. We keep ours in the refrigerator in an airtight container, to make sure they don’t get too warm and melt.
If you need longer storage, place them in an airtight container in the freezer for up to 12 months.
Now that you know what you’ll need to make these chocolates and how to store them. Let’s see how to make them, it’s easier than you might think.
Cherry Cream Chocolates, Step-by-Step Video
This video will show you how to make your own homemade cream chocolate easily. But if watching a video isn’t for you keep scrolling down for the recipe and then step-by-step photos too.
Make Your Own Cream Chocolate, Step by Step
Just in case you’d rather not watch the video, each step of the recipe is written out below and in photos. Because I know not everyone is a fan of video.
Step One…
If your dried cherries are too hard to chop, you’ll want to soak them first. Place them into a small bowl. Add boiling water over them and then let them soak about 15 minutes. Drain well. Then chop. Set aside.
Recipe Tip: Keep the extra cherry juice just in case you add too much powered sugar later in the recipe and need to add a bit of moisture back.
Step Two…
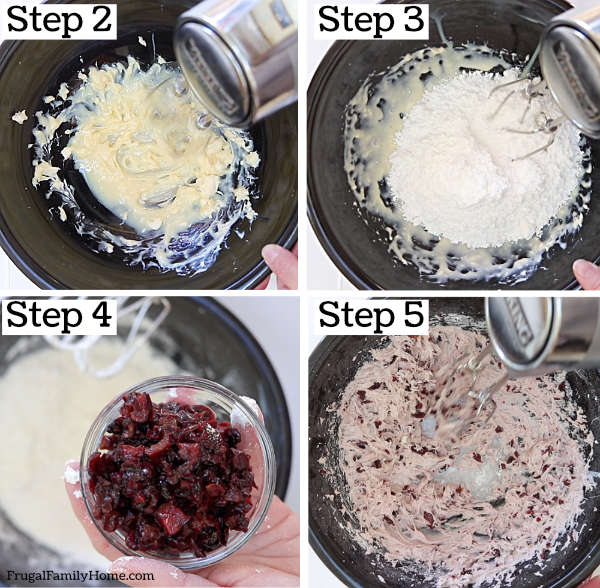
In a bowl, combine the butter, sweetened condensed milk and cherry flavoring. With the mixer mix well into the butter is beat into the milk
Step Three…
Add the powdered sugar to the milk mixture. Start by adding in half of powered sugar and slowly beat, they mixture should be grainy and dry.
Step Four…
Add the chopped, drained cherries to the bowl and beat. Moisture will come out of the cherries to color and moisten the powdered sugar.
Step Five…
Continue to add more powdered sugar until the cream filling gets very thick. You’ll need to mix in the last bit with a spoon or knead it in with your hands. The cream filling will be thick and soft, but shouldn’t be sticky.
Recipe Tip: if needed add more or less of the powdered sugar in the recipe. You want a soft and rollable cream filling. If the mixture is too sticky, add more powdered sugar. If it’s too dry, add a little of the reserved cherry juice.
When done the mixture should be easy to handle, not sticky or crumbly.
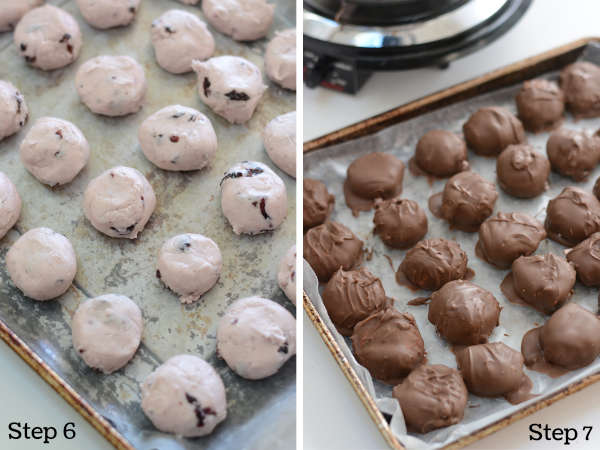
Step Six…
Once your filling is easy to handle, you’ll want to roll them into 1-inch balls. Place each cream filling ball onto a wax paper lined or silicone lined baking sheet. Continue until all the cream filling is rolled.
Place in the freezer for 30 minutes or until the creme centers are firm.
Step Seven…
While the cream centers are in the freezer, place the chocolate into a saucepan. Over low heat melt the chocolate. Stirring occasionally to keep the bottom chocolate from scorching or getting grainy. But you don’t have to stir constantly.
Dip the cream centers into the chocolate coating and let the excess drip off. Place back no the lined cookie sheet to set.
Store in an airtight container or in the refrigerator. If you wish to keep your cream chocolates longer than 3 months. Place them in a freezer container and freeze for up to 12 months.
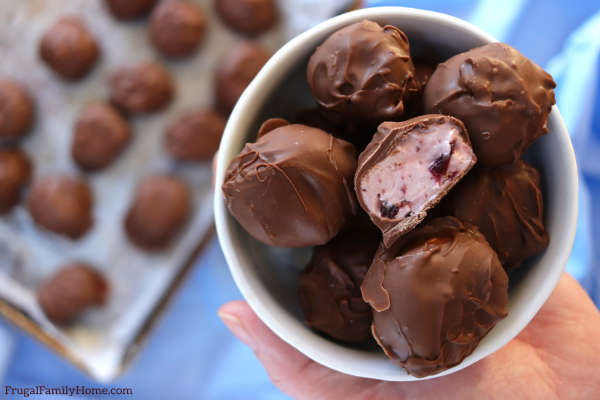
Giving Homemade Cream Chocolates as a Gift
If you’ll be making these cherry cream chocolates to give as a gift, you can make them pretty with packaging.
To keep them separate, you can wrap them individually in tissue paper squares or purchase mini baking cups.
Place your wrapped or lined chocolate into a gift box or tin to give as a gift. This make them look so pretty and perfect for gift giving.
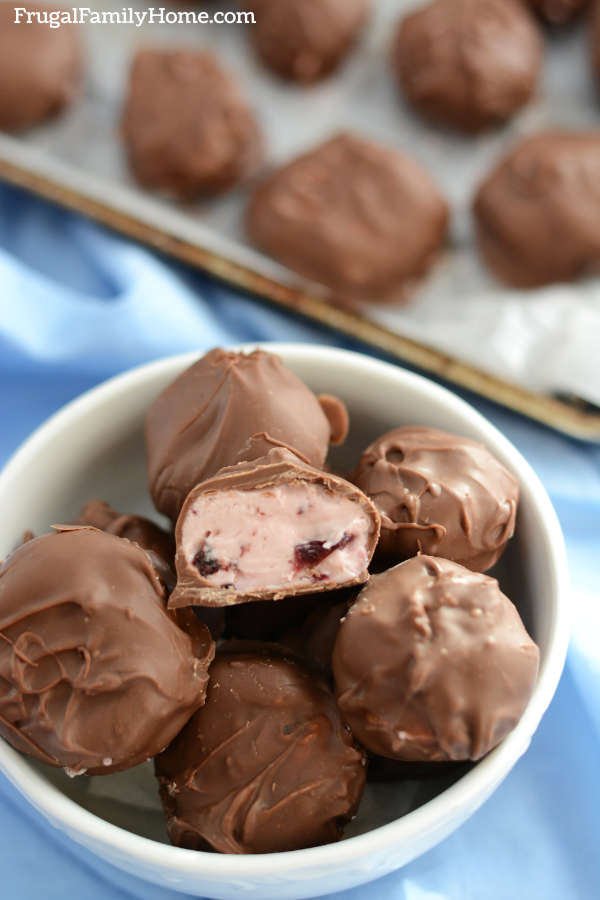
That’s how simple and easy it is to make your own cherry cream chocolates to enjoy yourself or to give as a gift. If you love this recipe, you’ll also enjoy these other easy candy recipes too.
Candy Recipes: Pistachio Toffee Bark | Peanut Brittle | 4 Ingredient Fudge | Peanut Butter Fudge | Peanut Butter Bark
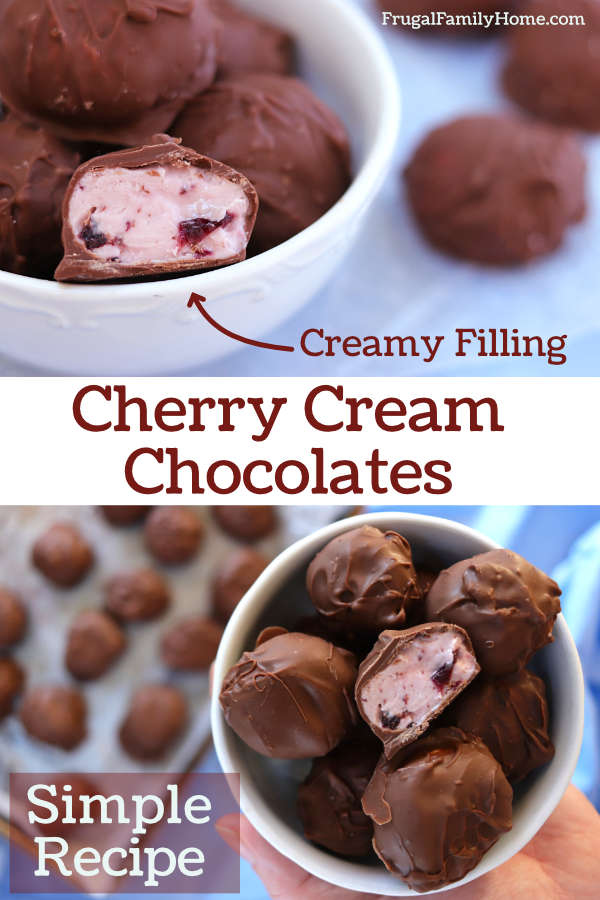
Get the Printable Recipe…
Homemade Cherry Cream Chocolates
Ingredients
- 5-7 cups Powdered Sugar
- 2 tablespoons Butter
- 3.5 ounces Sweetened Condensed Milk
- 1 drop Cherry Candy Flavoring
- 1/2 cup Dried Cherries chopped
- 8 ounces of Chocolate or Chocolate Candy Coating
Instructions
- Place dried cherries into a small bowl and pour boiling water over them. Let them soak about 15 minutes. Drain all the water off and finely chop. Set aside.
- In a bowl, cream the butter, milk, and cherry flavoring.
- Add 5 cups of powdered sugar and the drained chopped cherries, mix well.
- Slow add the last 1 cup to 2 cups with a mixer or spoon when mixture gets too thick. Knead in the last bit of powdered sugar. The mixture should be soft but not sticky. Depending on humidity you may need more or less than powdered sugar.
- To make the mixture easier to roll you can refrigerator for an hour or overnight.
- Roll into 1-inch balls. Place on a wax paper-lined cookie sheet.
- Place prepared balls in the freezer for 30 minutes or until firm.
- Melt the chocolate over low heat, stirring until the chocolate is melted and smooth.
- Remove chocolate from heat.
- Dip each frozen ball into the chocolate, let the excess drip off and then return to the lined cookie sheet.
- Let set until chocolate is firm and set.
- Store in an airtight container.


“If your dried cherries can be chopped without soaking, you can skip the soaking step and chop from dried state.”…how much liquid do you add to the mixture to compensate for the liquid lost by not soaking you cherries?
JP, you might not even need any extra liquid you could just use a little less powdered sugar. If the mixture is too thick you can add a little water 1/2 teaspoon at a time. I hope that helps.
These look really good. Do you think you could use maraschino cherry juice or some sort of substitute? I don’t know if I want to buy a bottle of extract for a drop.
Deanna, I’m sure you could you might need to add a bit more powered sugar to get the right consistency as the juice will add a little more liquid.
Hi, attempting to work with unsweetened chocolate for tempering, non dairy coconut condensed milk and cherries with stem jar , wanted to know if in t as of filling molds for chocolate valentine’s , should the consistency of cherry cream be a light softer for filling after the chocolate has coated first layer or shell of the mold? Trying to get a decent picture, yet on my own. Thank you for this video. Super easy. I made truffles for Christmas and they were a hit. Wanted to try obligation marshmallow for white day after valentines day and something in the spring since i got back into baking after a chronic post surgical condition flared up again. Excited to try it out, so do let me know what you think.
Kara, you can make the filling softer/thinner since you’ll be pouring or squeezing it into a mold instead of rolling it into balls. So it doesn’t need to be as thick and will be easier to flow into the molds if it is thinner. I hope that help.
one more question for non dairy – how mant days in pyrex will it keep fir in fridge? gone by a week and nothing looks or smells off but will still be making it again fresher to avoid spoiling. coconut is tricky. can taste like alcohol when the water is concerned when sugar sits in cartons for that, but creak would soup. this hasn’t yet but to be safe, what is perfered?
these were very good. but I skipped the soaking step and wish I wouldnt have. I will be making more of these.
Bette, so glad you like the cherry cream chocolates. We just made a batch for Christmas they are so good.